Tutorial
Deploy a Crunchy PostgreSQL for Kubernetes Operator to an OpenShift cluster
Follow these steps to deploy a supported Crunchy PostgreSQL for Kubernetes operator from Red Hat Marketplace to an OpenShift clusterArchive date: 2025-07-11
This content is no longer being updated or maintained. The content is provided “as is.” Given the rapid evolution of technology, some content, steps, or illustrations may have changed.Red Hat OpenShift 4 users can access certified software for container-based environments via the Red Hat Marketplace. Software in the marketplace is immediately available to deploy on any Red Hat OpenShift cluster in a fast, integrated way.
Follow the steps in this tutorial to set up and deploy a Crunchy PostgreSQL for Kubernetes operator hosted on Red Hat Marketplace. Crunchy PostgreSQL for Kubernetes offers an advanced integration with Kubernetes internals to enable hybrid cloud, infrastructure-agnostic PostgreSQL as a service.
Prerequisites
- Red Hat OpenShift version 4.3 is required to use with software in Red Hat Marketplace.
- Create an account on Red Hat Marketplace.
Steps
- Configure a Red Hat OpenShift cluster on Red Hat Marketplace
- Install the Crunchy PostgreSQL for Kubernetes Operator
- Create and deploy a Crunchy PostgreSQL for Kubernetes Operator on an OpenShift cluster and create a database
- Access the cluster on your localhost
Step 1. Configure a Red Hat OpenShift cluster on Red Hat Marketplace
- Configure a Red Hat OpenShift cluster on Red Hat Marketplace.
Step 2. Install the Crunchy PostgreSQL for Kubernetes Operator
Go to the Red Hat Marketplace catalog, search for "Crunchy PostgreSQL for Kubernetes" and select the product from the results.
The Crunchy PostgreSQL for Kubernetes product page gives you an overview, documentation, and pricing options associated with the product. Select the Free Trial button.

Next, the purchase summary will show the Subscription term, with a total cost of $0.00. Click Start trial.

You can view your list of purchased software.
In the Red Hat Marketplace dashboard, select the Crunchy PostgreSQL for Kubernetes tile, and then click the Operators tab.
Select the Install Operator button. Leave the default selection for Update channel and Approval strategy.
Select the cluster and namespace scope as
Crunchydb-test-projectfor the operator and click Install.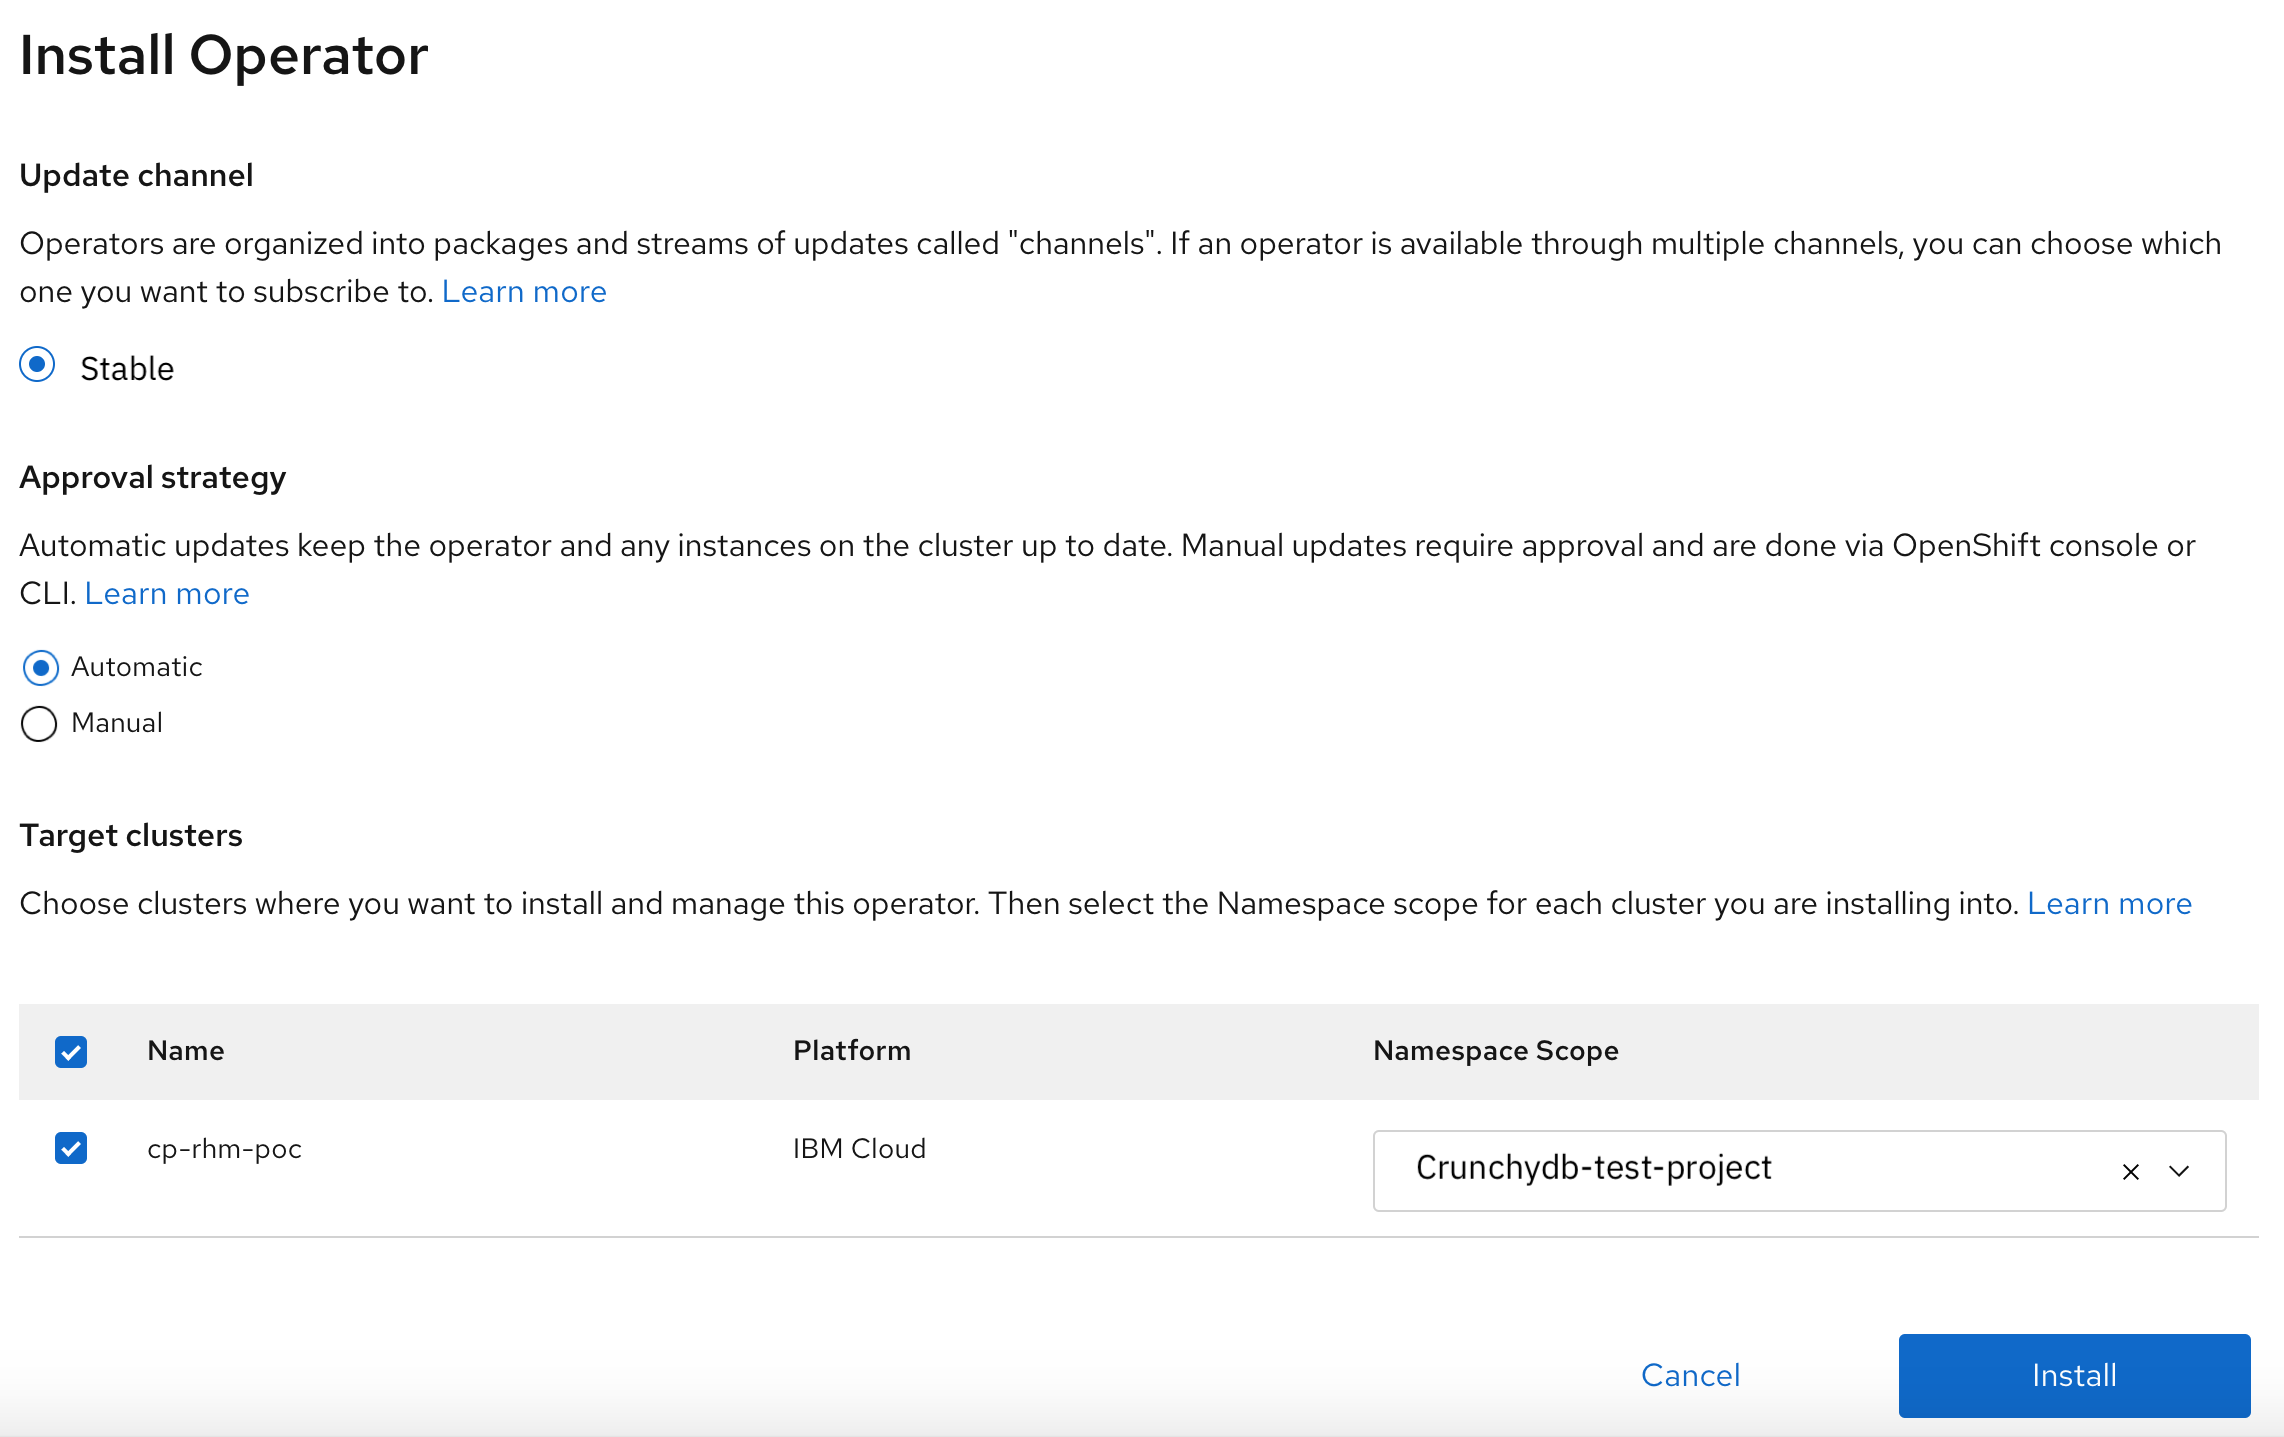
You should see a message that indicates the install process initiated in the cluster.
Step 3. Create and deploy your operator on an OpenShift Cluster and create a database
Use the new namespace where you installed the Crunchy PostgreSQL operator.
Run the following command in your command line interface (CLI). Once it runs successfully, check the logs and be sure there are no errors in the Ansible logs. Wait for the pod state to change to
Complete.NOTE: Download postgres-operator.yml from our GitHub repot.
oc create -f postgres-operator.ymlSwitch to the Postgres Operator (pgo) namespace. pgo is a library used to connect to the OpenShift cluster.
Edit
pgo-config configmapand updateDisableFSGrouptofalse.Restart the PostgreSQL operator pod. You can get the postgres pod name with the command
oc get pods |grep postgres.NOTE: The reason we restart the PostgreSQL pod in step 5 is because Crunchy PostgreSQL for Kubernetes is set up to work with the
restrictedSCC by default, but we may need to make modifications. In this mode, you should ensure thatDisableFSGroupis set to false. Changing thepgo-config ConfigMaprequires thepostgres-operatorpod to restart.Download the pgo binary mentioned in the PostgreSQL Operator Quickstart guide.
NOTE: We need to create a project that we can use and manage from the command line. Click on Create Project and supply a name such as
Crunchydb-test-projectMake sure the pvc are in a bound state. Run the following command:
oc get pvc
Create a database using the following command:
pgo create cluster -n pgo hippo. This command creates a database (pods) in the pgo namespace.To validate that it worked correctly, run the following commands:
- To validate the cluster:
pgo show cluster -n pgo hippo - To validate the test:
pgo test -n pgo hippo
- To validate the cluster:
Step 4. Access the cluster on your localhost
To view the results of the commands you ran in the earlier steps via the pgAdmin 4 console, Crunchy Data's console. Access the console at localhost with port forwarding.
Run the following command in your terminal:
pgo create pgadmin hippoThis creates a pgAdmin 4 deployment unique to this PostgreSQL cluster and synchronizes the PostgreSQL user information into it.
To access pgAdmin 4, you can set up a
port-forwardto the service, which follows the pattern<clusterName>-pgadmin, to port5050:kubectl port-forward -n pgo svc/hippo-pgadmin 5050:5050Forwarding from 127.0.0.1:5050 -> 5050 Forwarding from [::1]:5050 -> 5050Open
http://localhost:5050on your browser and use your database username (e.g.hippo) and password (e.g.datalake) to log in.
Note: If your password doesn't work, retry setting up the user with the pgo update user command:
pgo update user -n pgo --username=hippo --password=datalake hippo.
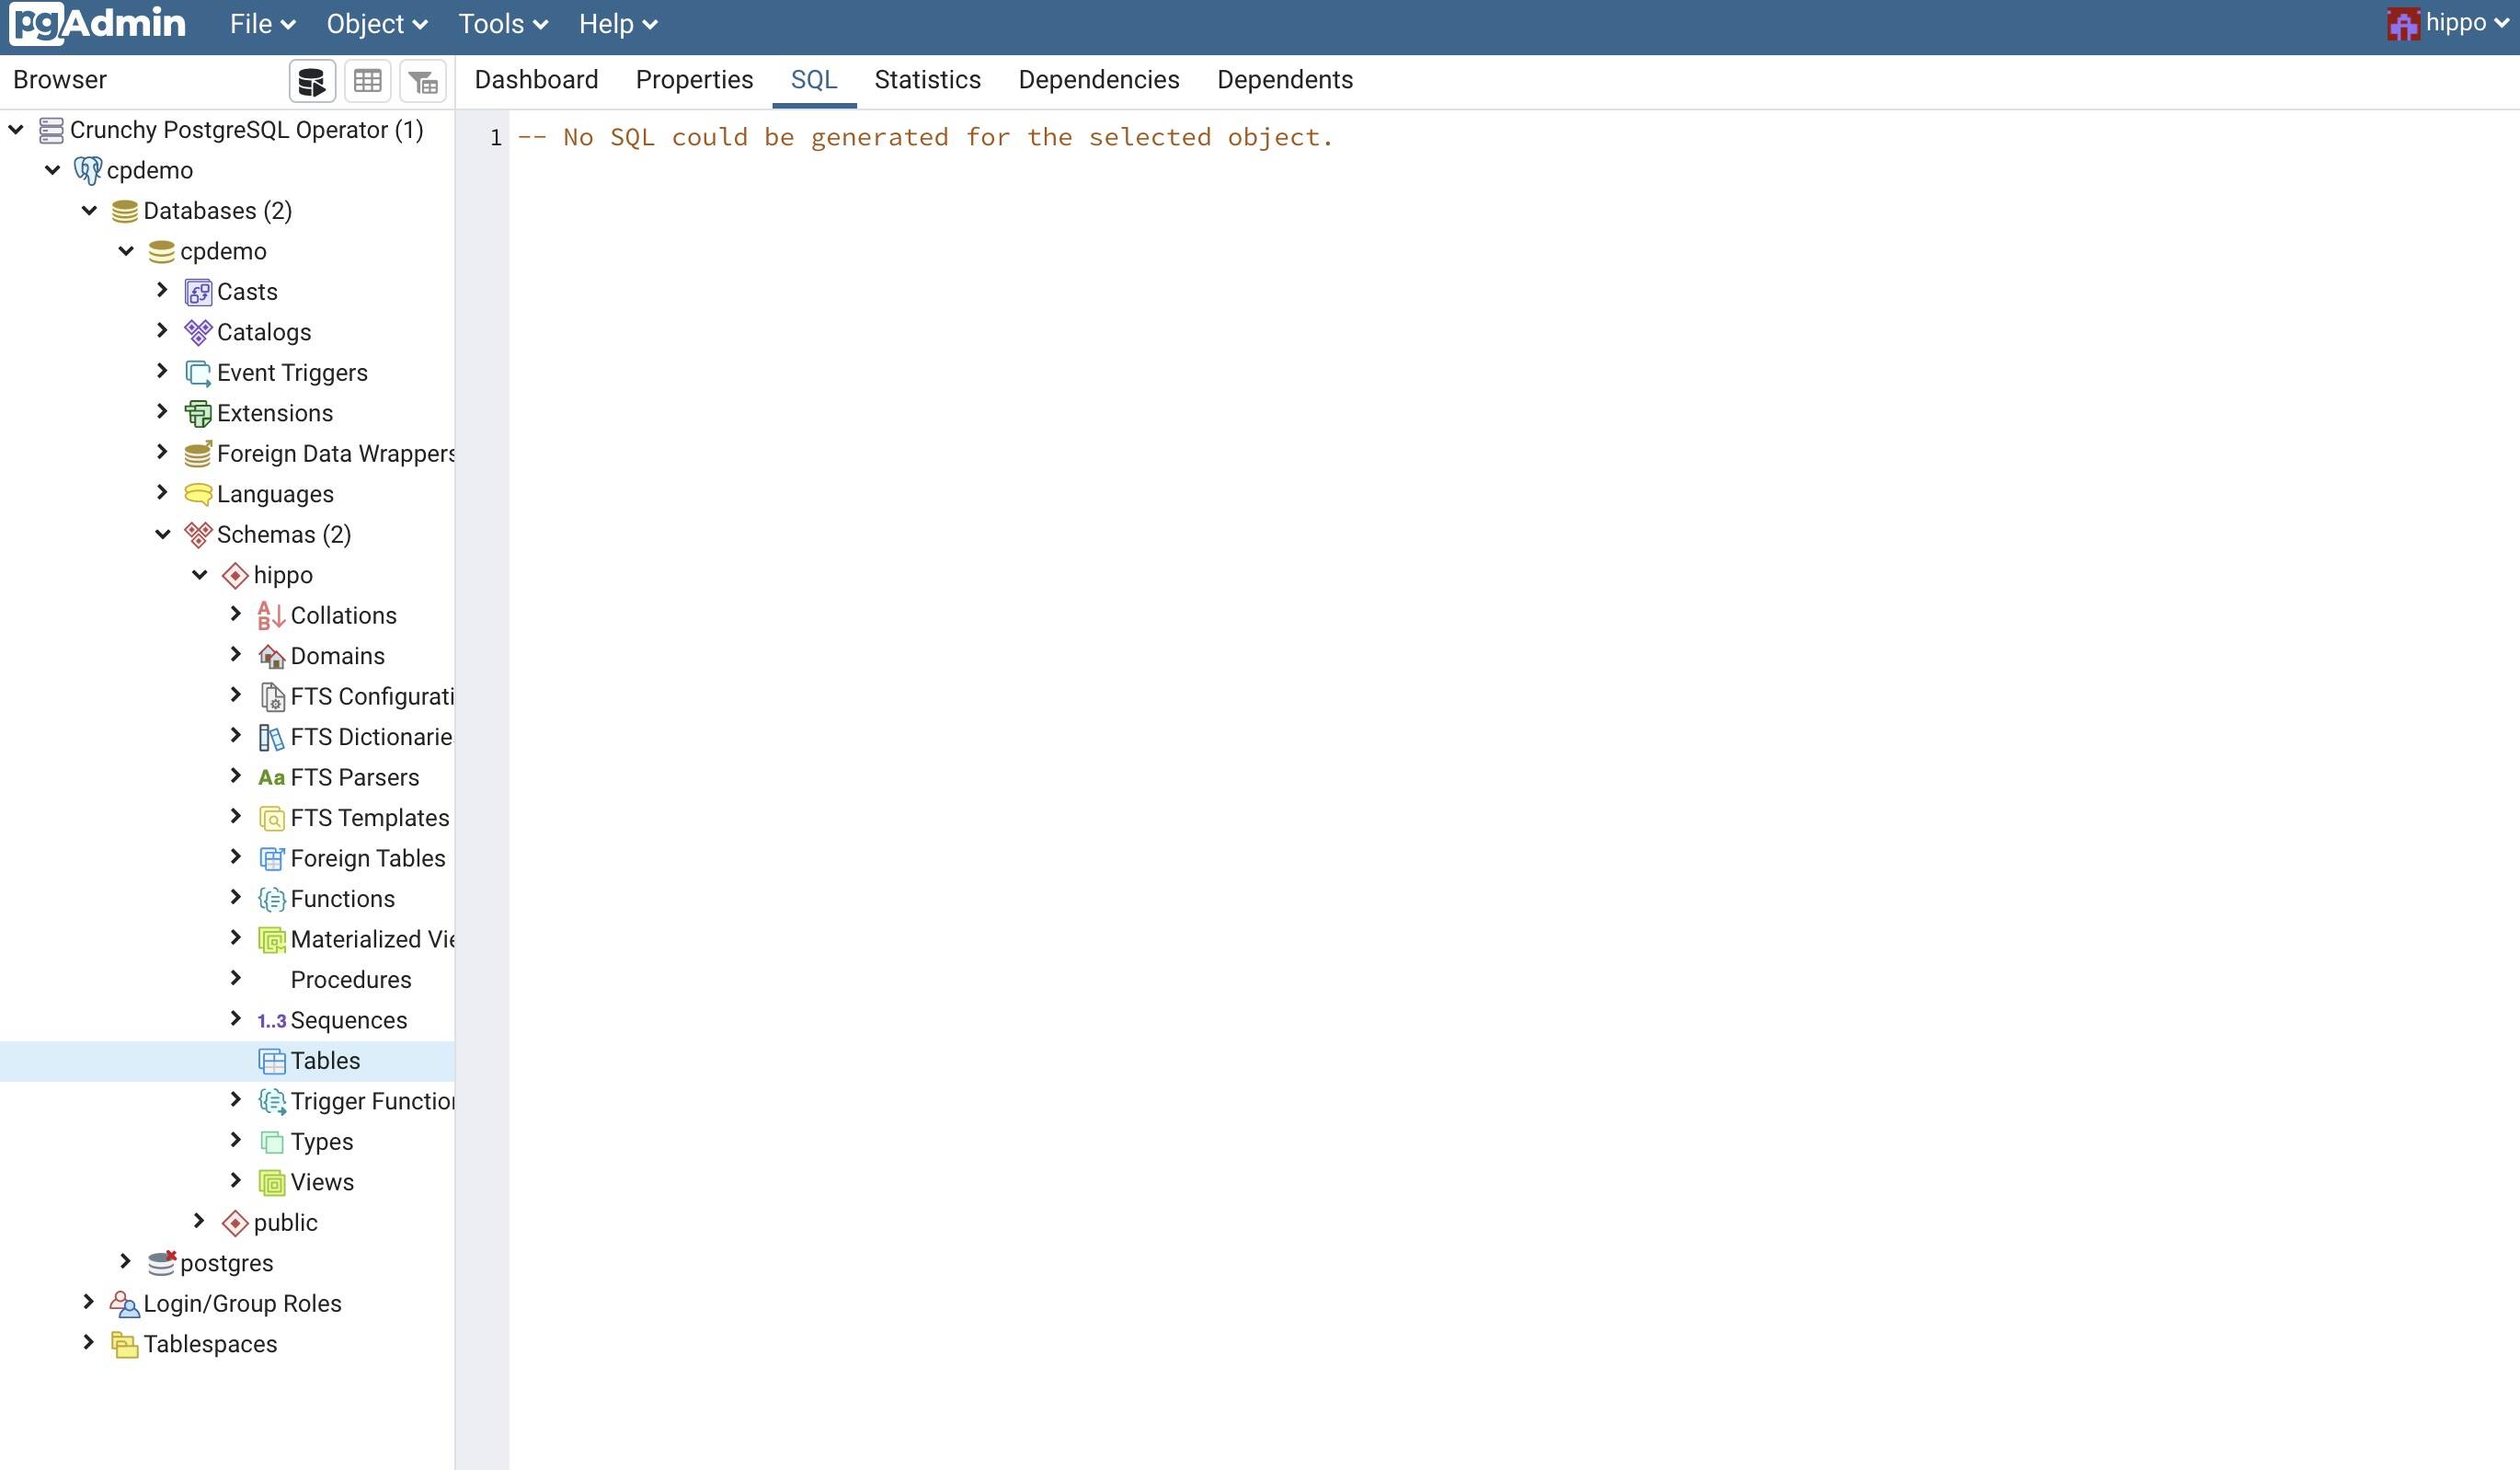
Once logged in, you can see the pgAdmin 4 console as shown.
Summary
In this tutorial, you have learned how to configure a Red Hat OpenShift cluster on Red Hat Marketplace, install the Crunchy PostgreSQL for Kubernetes Operator, create and deploy a Crunchy PostgreSQL for Kubernetes Operator and create a database, and access the cluster on your localhost.