Tutorial
Secure Red Hat OpenShift routes with Let's Encrypt
Set up an operator that provides secure access to your OpenShift applicationArchive date: 2025-07-08
This content is no longer being updated or maintained. The content is provided “as is.” Given the rapid evolution of technology, some content, steps, or illustrations may have changed.This tutorial shows you how to set up an operator that updates your Red Hat OpenShift routes to automatically obtain, verify ownership of, and refresh your TLS certificates to provide secure access to your OpenShift application.
Securing an HTTP route in OpenShift allows clients to feel good that their data can't be snooped in transit and they are not being subjected to man-in-the-middle attacks.
In the steps that follow, you will learn how to add automatic certificate renewals to an instance of an Example Bank microservices sample application.
Prerequisites
To complete the steps in this tutorial, you need:
- Access to an OpenShift 4.x cluster. The steps here are carried out with a cluster on IBM Cloud.
- Your own domain name.
Estimated time
You should be able to complete this tutorial in less than 30 minutes.
Steps
- Create a route with the default certificate
- Install the operator
- Create a role binding
- Annotate your route
Step 1. Create a route with the default certificate
If you follow the example in Example Bank and deploy the application, you should have a front-end service called mobile-simulator-service that listens on port 8080. Switch to the example-bank project/namespace, in the Administrator mode, select Networking then Routes from the left-hand navigation pane, and then select Create Route. In this step, you create a route that's secured with the default set of certificates. Use the following values, as shown in the screenshot:
- Name: "staging"
- Service: "mobile-simulator-service"
- Target Port: "80 --> 8080 (TCP)"
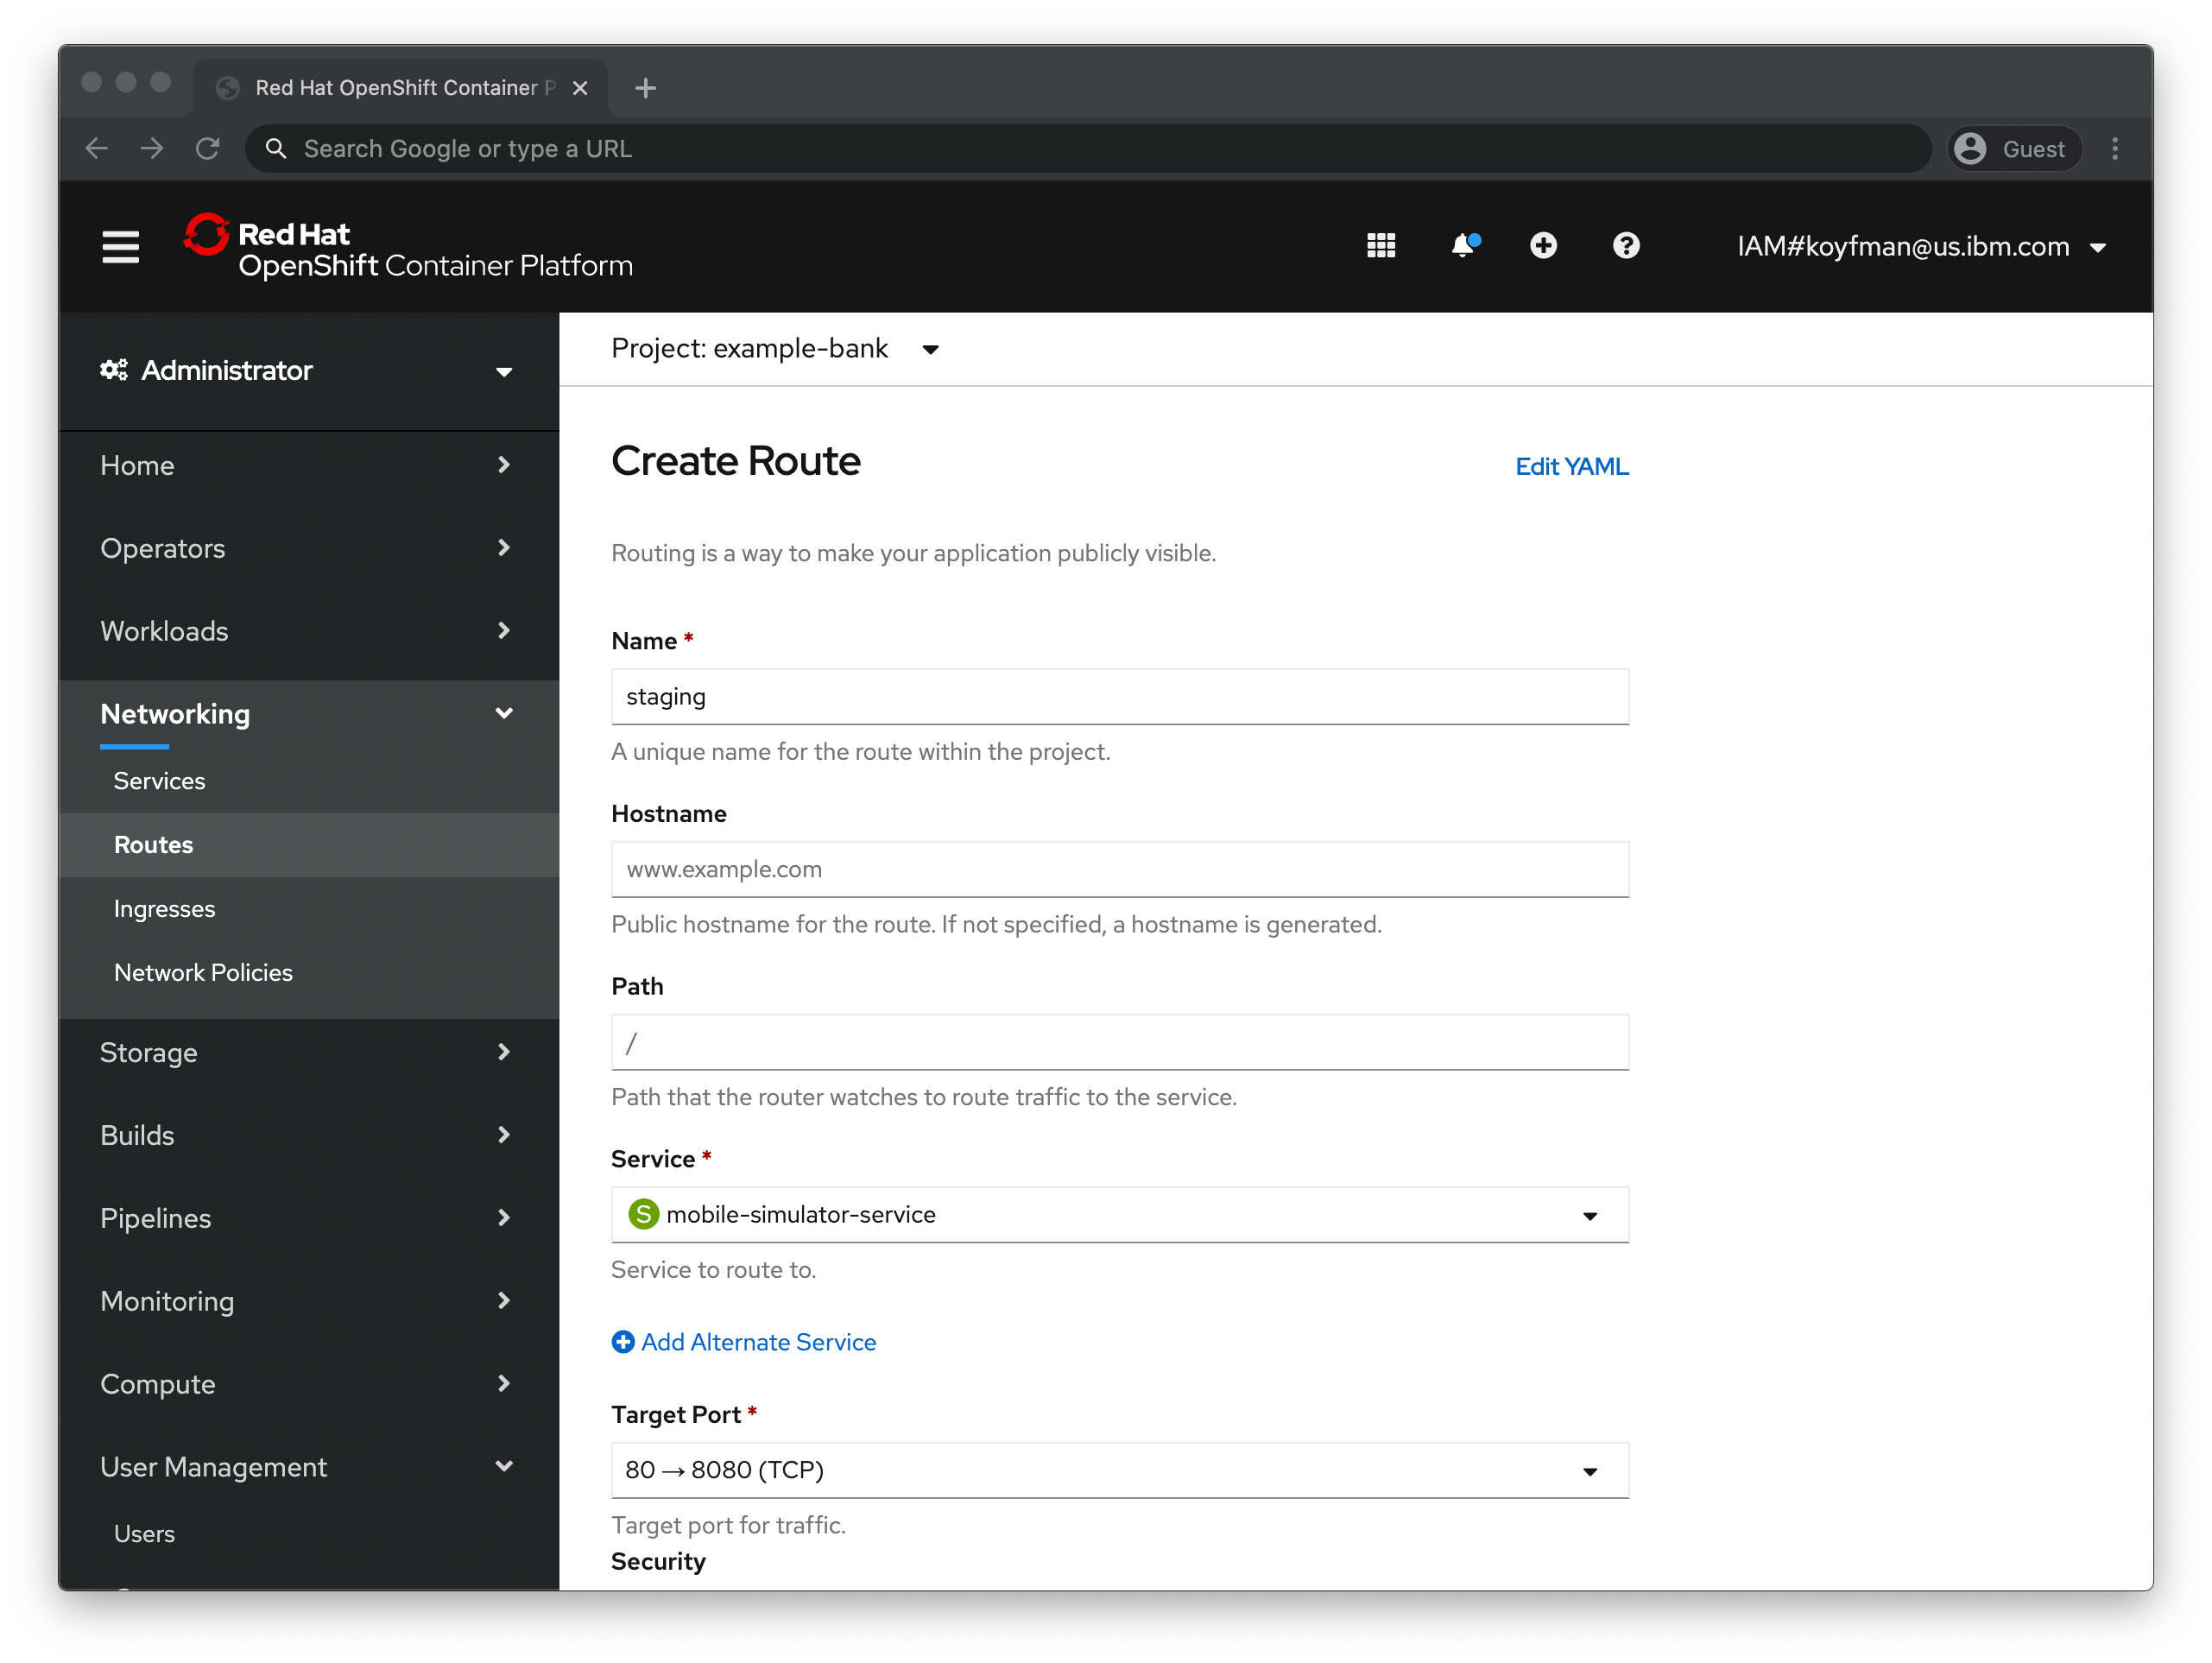
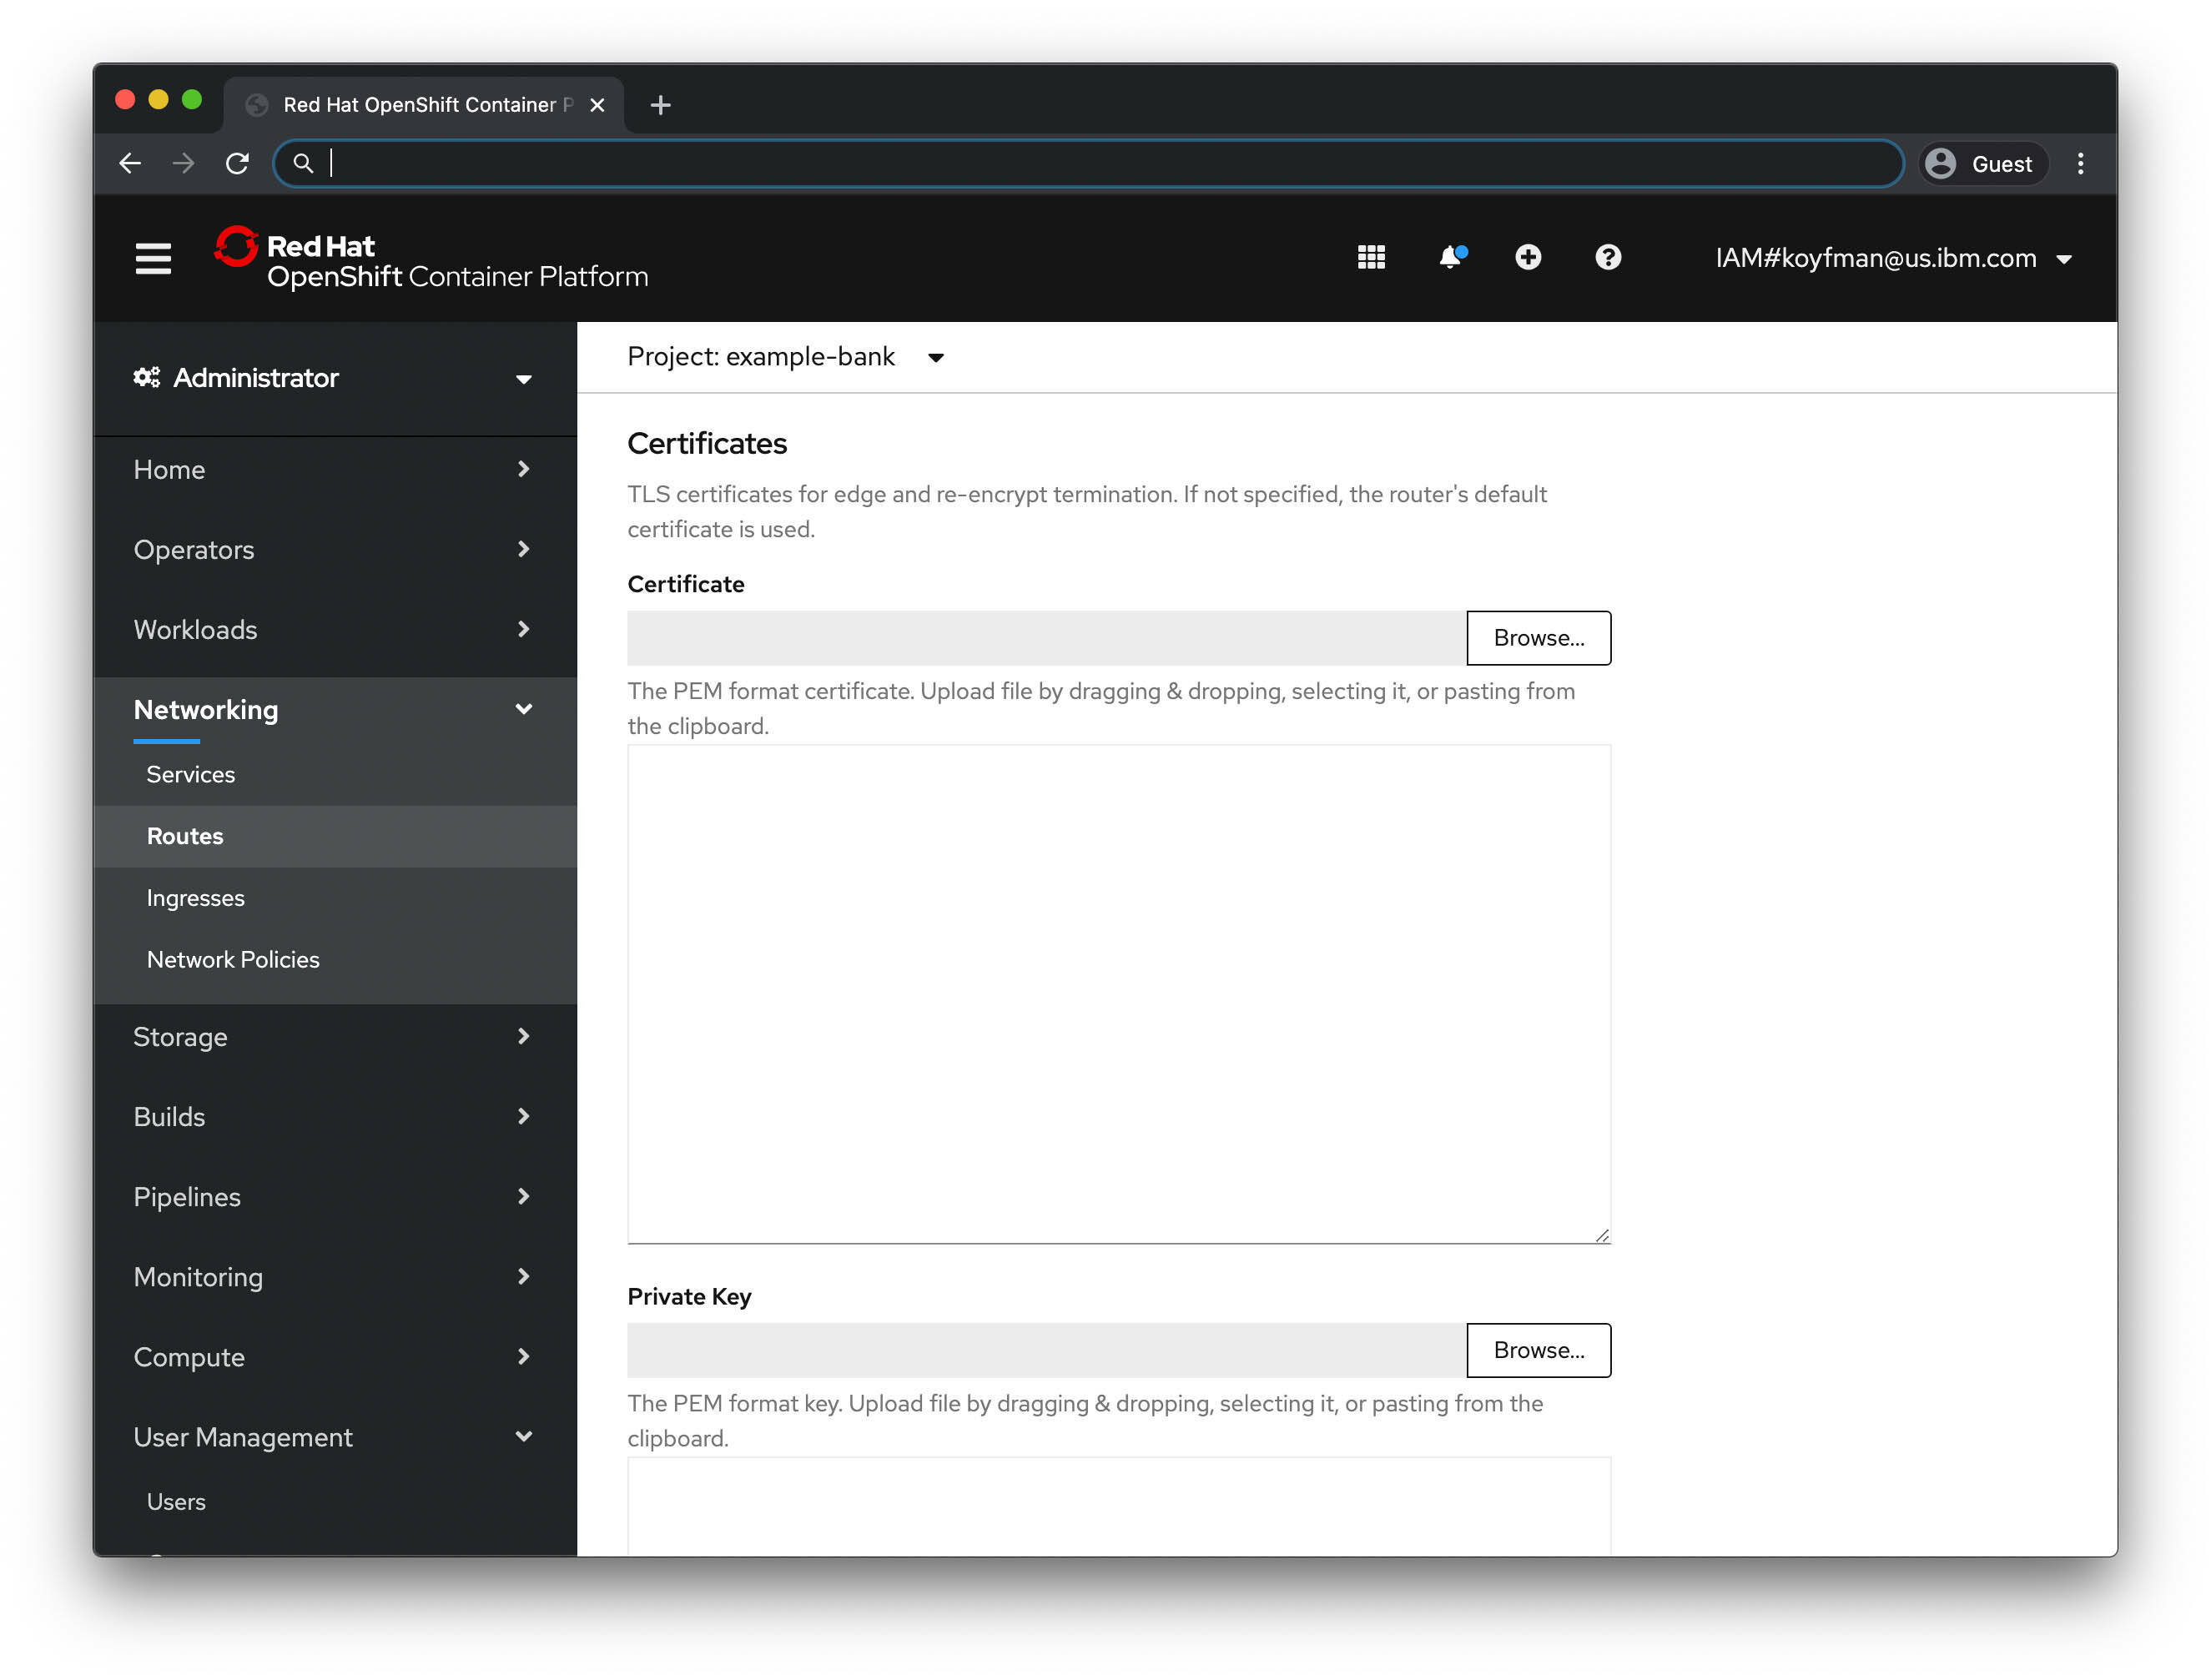
This creates a route that uses the OpenShift default certificates, which generally results in errors from web browsers because its certificates do not match the hostname -- in this case, staging.bank.ibmdeveloper.net:
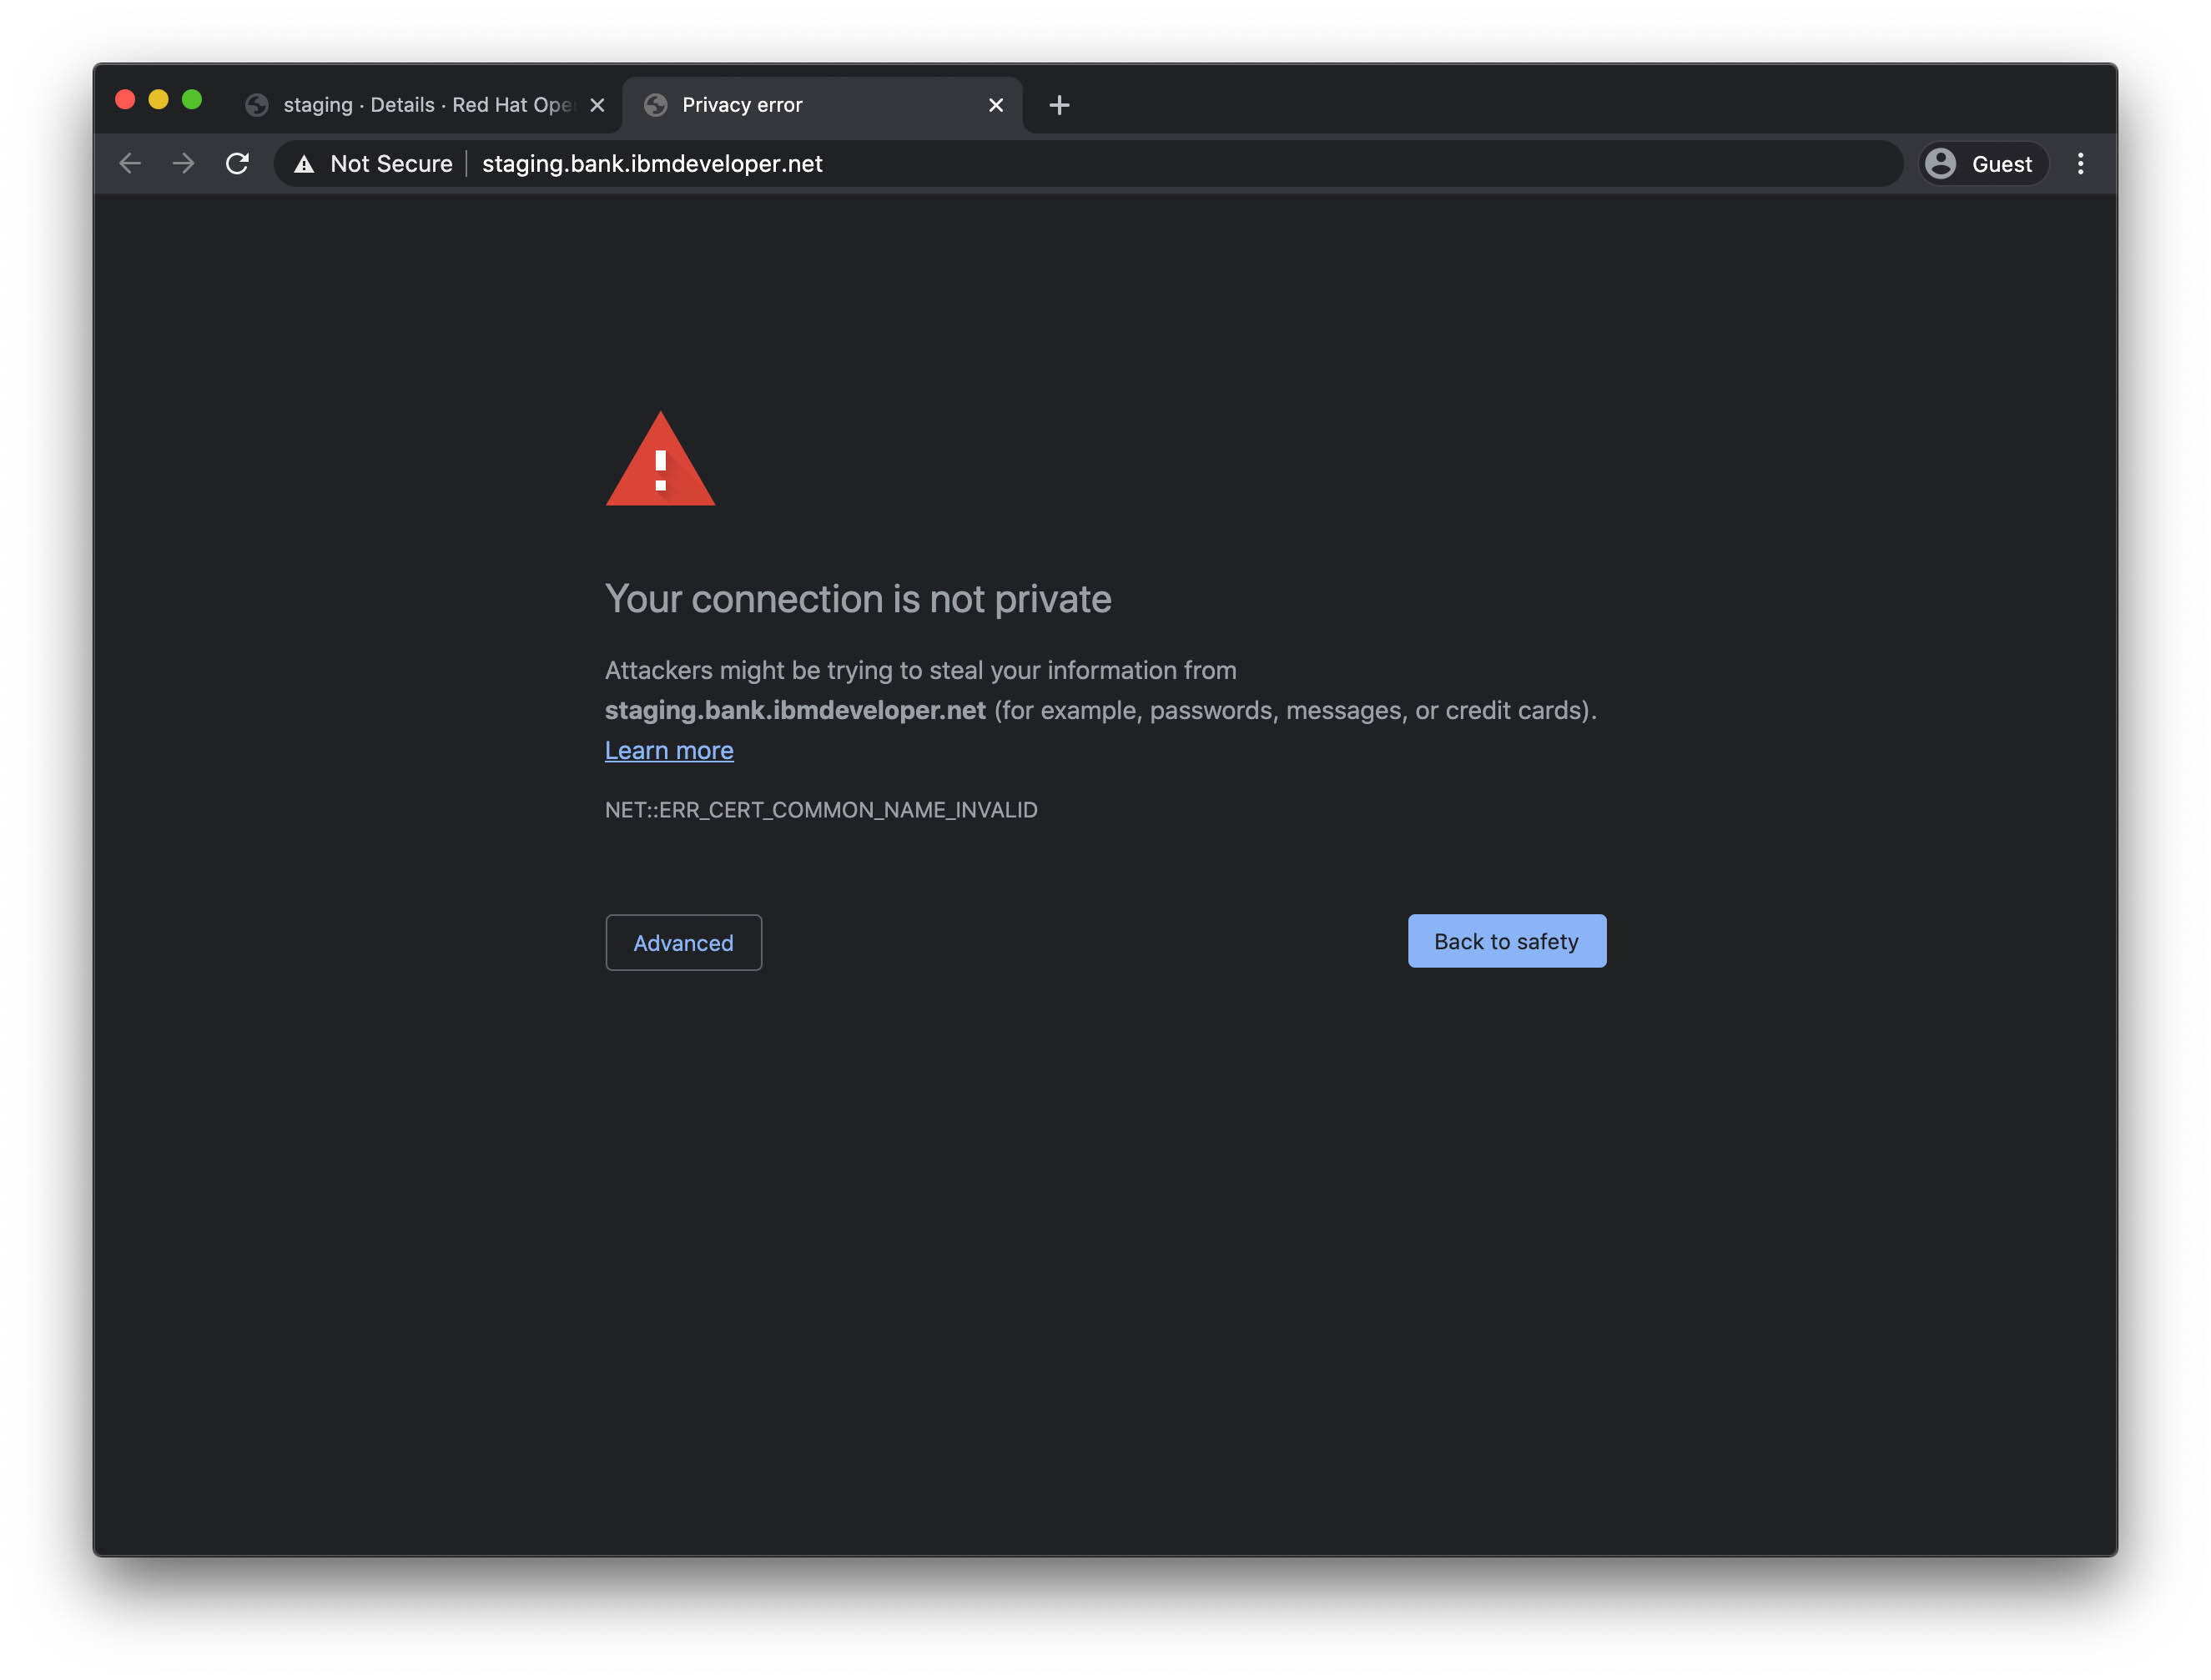
Also note the "Not Secure" warning next to the address bar:

You can resolve this issue by using a certificate from a well-known certificate authority like Let's Encrypt.
Step 2. Install the operator
Now it's time to deploy the acme-openshift operator, which automatically handles creating Let's Encrypt certificates, renewing them, and injecting them into Route objects.
Because you're using an account with cluster-admin rights, you can install the cluster-wide option so that the certificate renewals can be used on routes in any namespace.
oc new-project acme-operator

oc create -fhttps://raw.githubusercontent.com/tnozicka/openshift-acme/master/deploy/cluster-wide/{clusterrole,serviceaccount,issuer-letsencrypt-live,deployment}.yaml
After a few moments, you should see the pods:
$  oc get pods
NAME                              READY   STATUS    RESTARTS   AGE
openshift-acme-59bf8765dd-9pxgw   1/1     Running   0          16s
openshift-acme-59bf8765dd-xwngl   1/1     Running   0          16s
Verify that the operator is running.
Step 3. Create a role binding
Next, you need to create a role binding for the openshift-acme service account:
oc create clusterrolebinding openshift-acme --clusterrole=openshift-acme --serviceaccount="$( oc project -q ):openshift-acme" --dry-run -o yaml | oc create -f -
Step 4. Annotate your route
Now you should annotate your route. You can do this in one of 2 ways:
You can edit it in the console by selecting Edit Annotations in the Actions drop-down menu, and using the following values:
- KEY: "kubernetes.io/tls-acme"
- VALUE: "true"
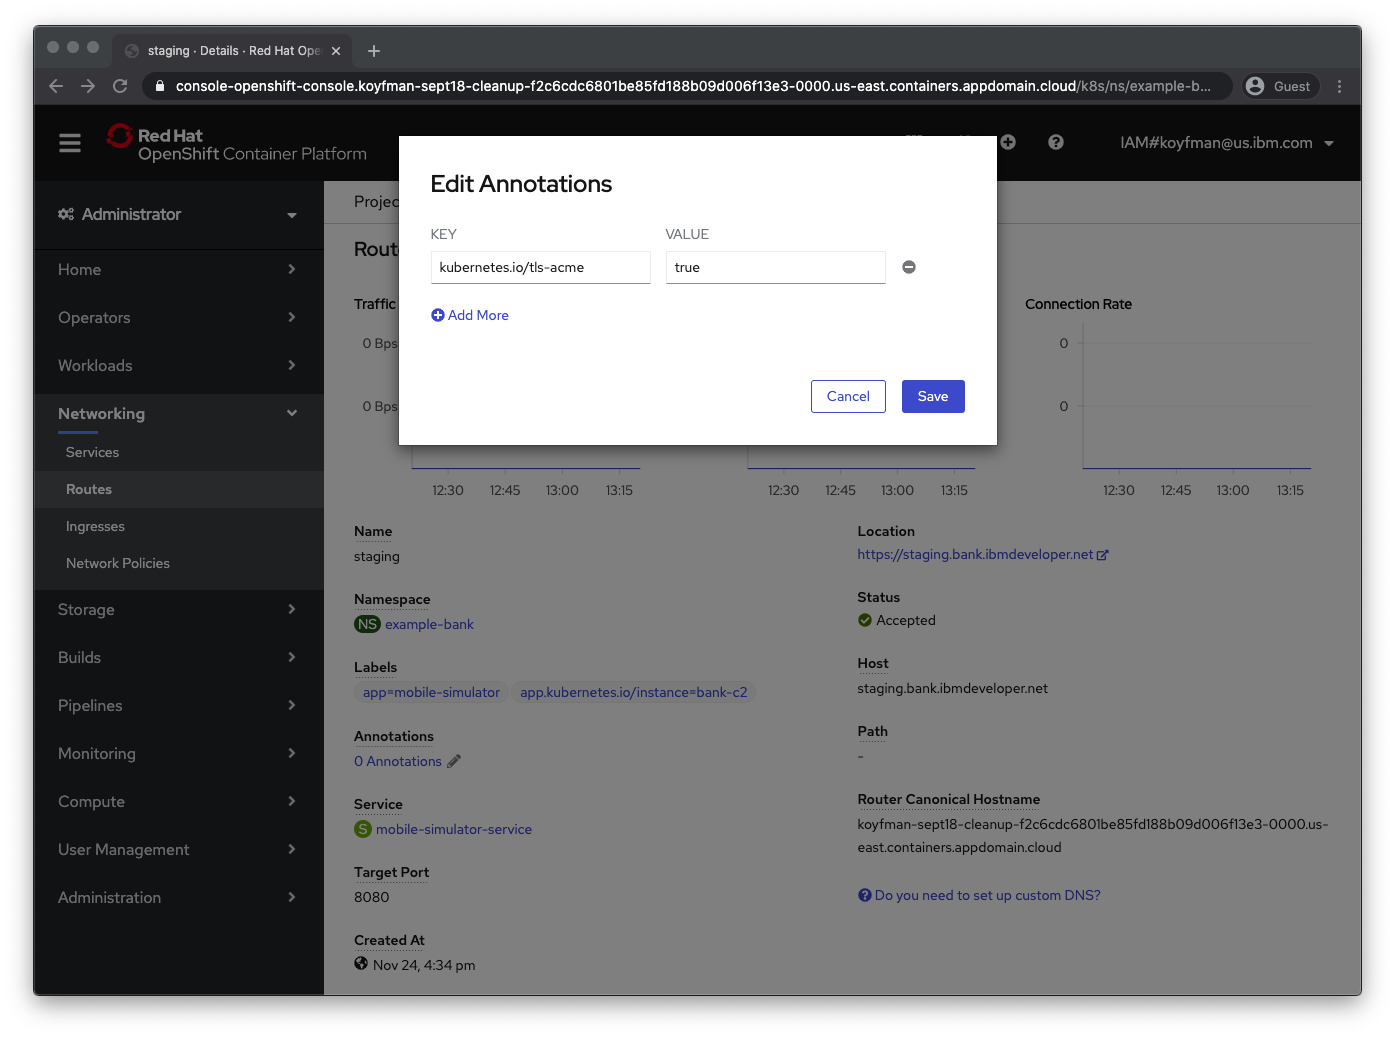
Or you can do it directly in the YAML, as follows:
metadata:
  annotations:
    kubernetes.io/tls-acme: "true"
At this point, the operator uses a mechanism called HTTP-01 challenge to prove ownership of your domain by creating a new temporary route that Let's Encrypt uses to verify domain ownership:
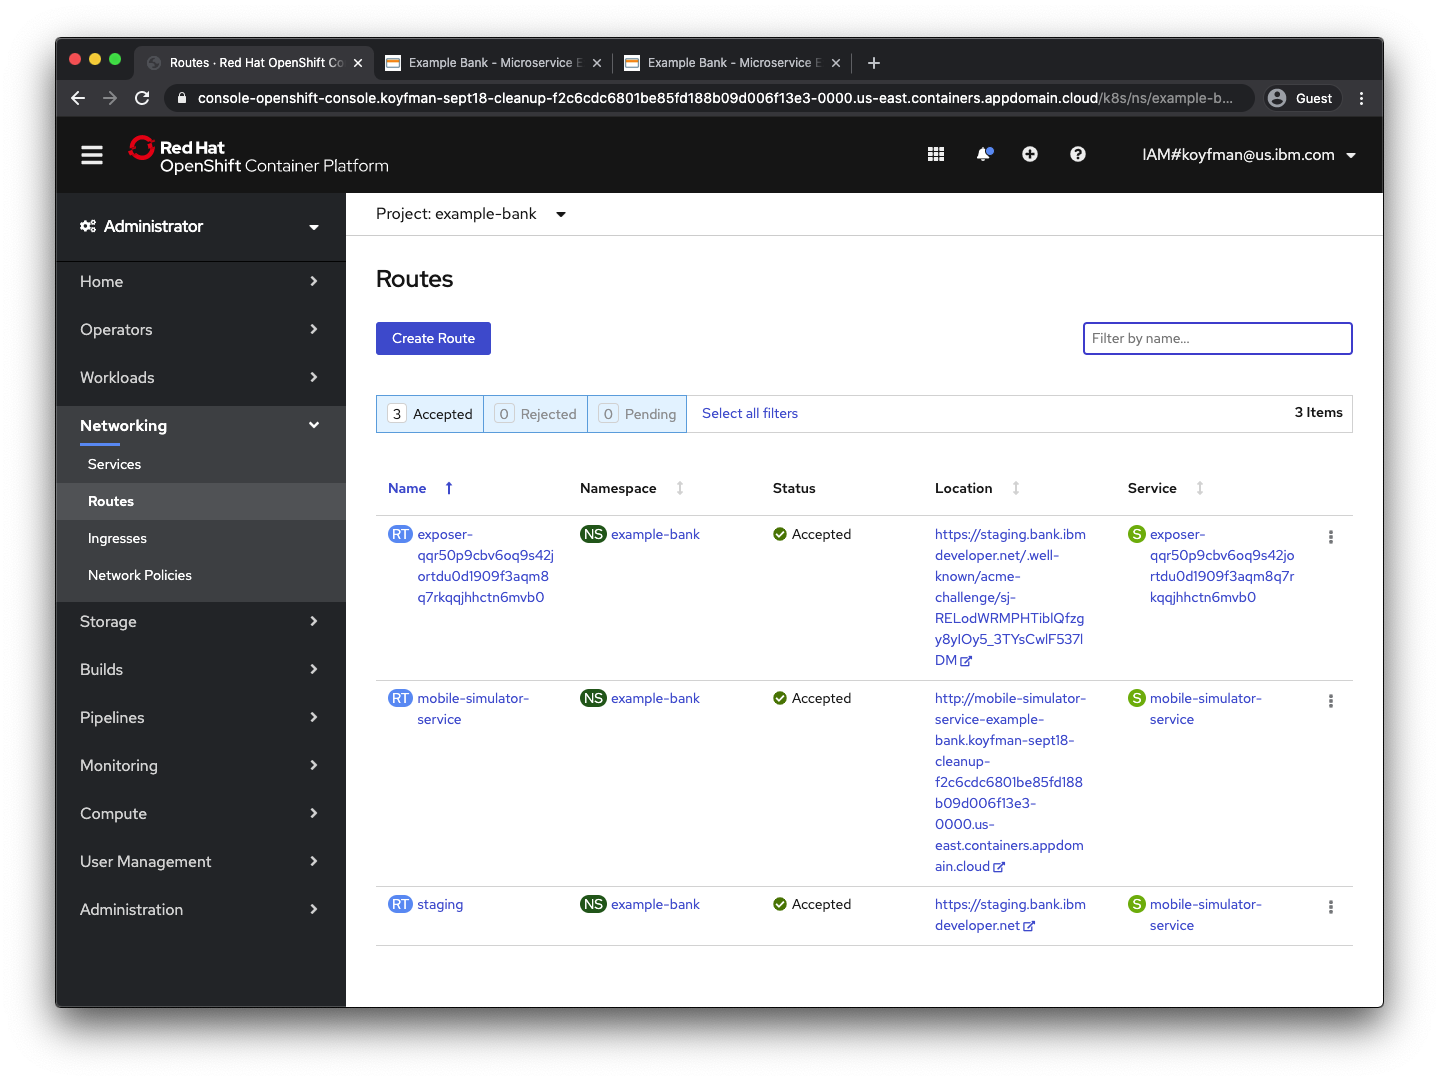
Now visitors to staging.bank.ibmdeveloper.net should see a padlock icon next to the address bar and no warnings about the site being insecure:
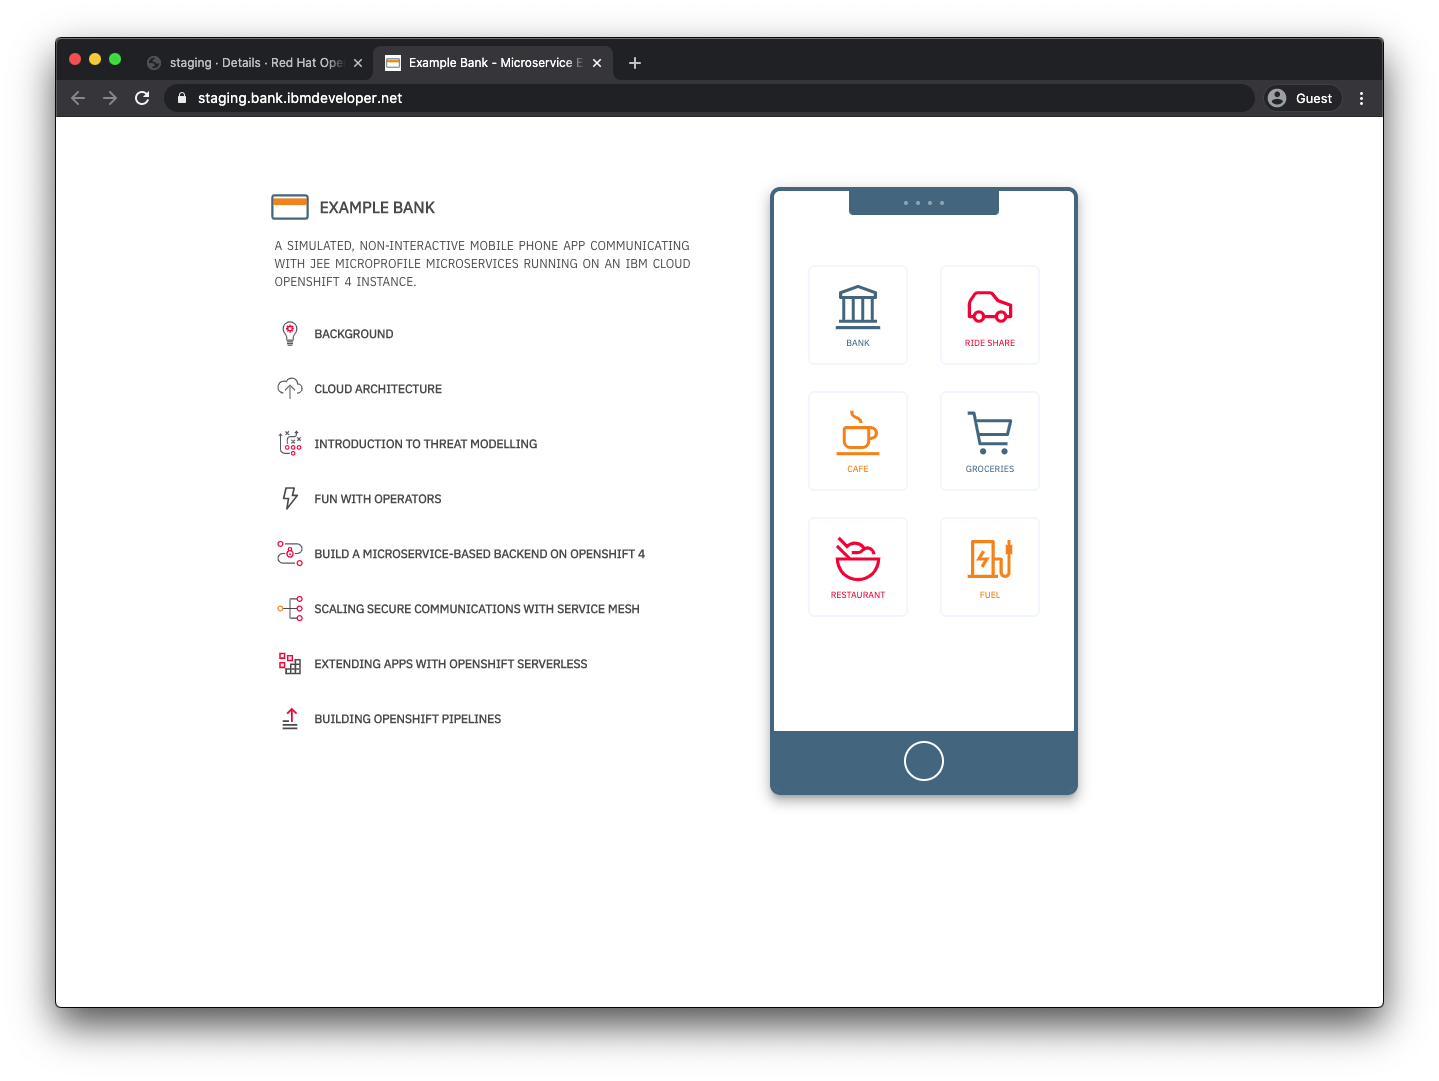
Note that the certificates have been created with the appropriate host name:

Summary
In this tutorial, you went through the steps to enable secure HTTP traffic to your OpenShift routes with the "HTTP-01 challenge," a temporary route that proves domain ownership.
Want to learn more? Visit the openshift-acme operator page and explore the Let's Encrypt documentation to understand how domain ownership is verified.