Tutorial
Deliver webhooks without worrying about firewalls
Achieve DevOps style automation for your application deployment even in restricted environmentsIntroduction
Red Hat OpenShift Source-to-Image (S2I) is a framework that makes it easy to write images by taking application source code as input and producing a new image and then running the assembled application as output. The main advantage of using S2I for building reproducible container images is the ease of use it provides for developers.
Developers mostly use GitHub to maintain version control of their source code. Webhooks is a GitHub feature to notify an external server or an entity about the events that occur in the GitHub repository, so that the server or the entity can take further suitable action for the notified event. Refer to the Enable continuous deployment using Red Hat OpenShift S2I and GitHub webhooks tutorial to learn how GitHub webhooks can help in achieving continuous deployment in association with OpenShift S2I feature.
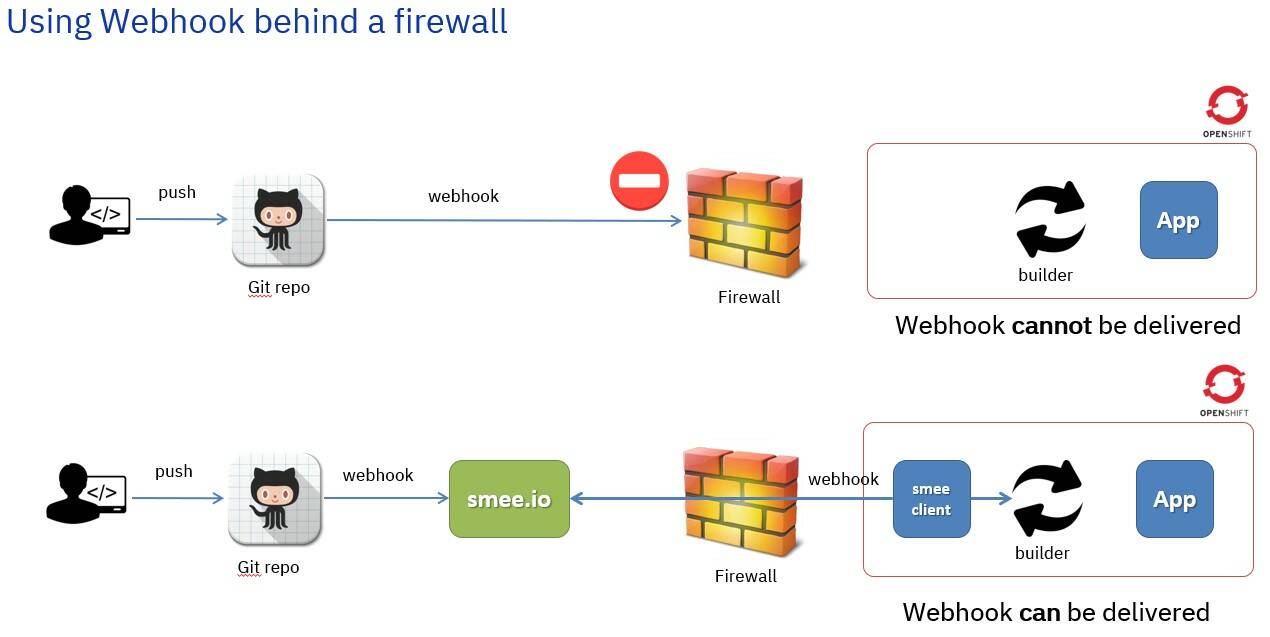
One of the persistent issues that Enterprise developers face is how to make GitHub webhooks work when an OpenShift cluster is behind a firewall (typically behind a company’s firewall), as GitHub webhooks cannot pass through the firewall, and thus, breaking the continuous deployment workflow.
In this tutorial, you’ll learn how to use the smee.io web-based webhook payload delivery service to make GitHub webhooks work through a firewall. This tutorial explains the procedure to install the smee client on the OpenShift cluster, connect the client to the smee.io web channel at one end and your OpenShift application webhook endpoint at the other end, and showcase an end-to-end scenario of an automated continuous deployment.
Figure 1. High-level view of the solution architecture
Prerequisites
To make GitHub webhooks work through a firewall using smee.io, you need to make sure that the following prerequisites are fulfilled:
- An OpenShift cluster (any platform or architecture and version, preferably behind firewall) In this tutorial, we are using OpenShift Container Platform v4.8.x, running behind the company’s firewall
- Familiarity with GitHub basic operations (for example, clone and create repo, create and update files in repo, and so on)
Estimated time
It would take around 45 minutes to use the smee.io web-based webhook payload delivery service to make GitHub webhooks work through a firewall.
Steps
- Set up a DevOps workflow using OpenShift S2I feature and GitHub
- Set up GitHub webhooks for continuous deployment – It fails!
- Set up smee.io as a proxy for GitHub webhooks
- Test continuous deployment workflow – It works!
1. Set up a DevOps workflow using OpenShift S2I feature and GitHub
Clone the required GitHub repository.
We have created the following GitHub repo and hosted a very simple pyflask app, which has three API endpoints (root, version, and test).
https://github.com/ocp-power-demos/s2i-pyflask-demo
Fork this repository because you will be making changes to the GitHub code as part of this tutorial which will need GitHub owner privileges.
The clone we created for the repository is at: https://github.com/dpkshetty/s2i-pyflask-demo
Note: Your GitHub URL would be different.
Create a project (namespace) to host pods for this use case.
You can skip this step if you don’t have permissions to create a new project or have been provided with a pre-created project/namespace.
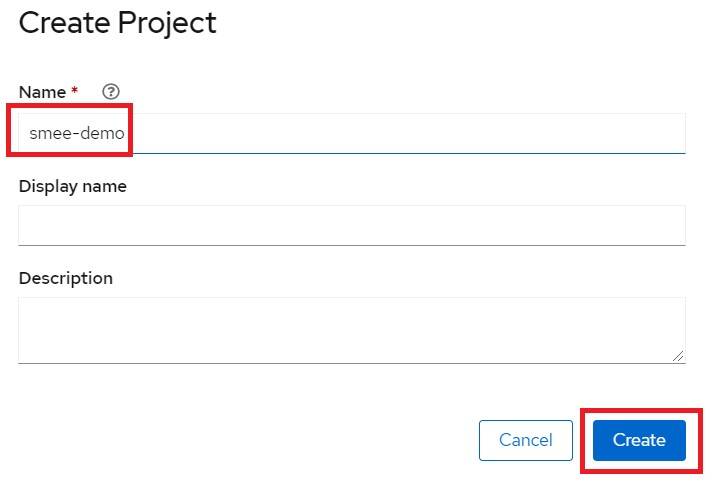
This is under the assumption that you have permission to create a new, project. In the Administrator persona, click Home > Projects. On the Projects page, click Create Project.

On the Create Project page, enter smee-demo as the name of the project and click Create.
Switch to the Developer persona and click Topology. Ensure that you are in the right project (the one you just created or pre-assigned to you).

Click +Add and then click From Git.

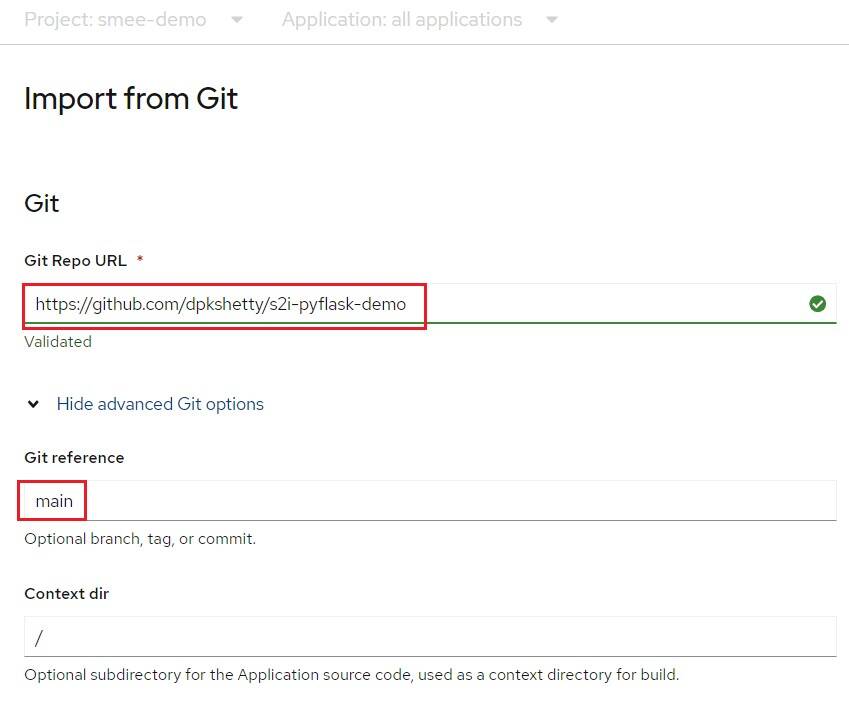
In the resulting form, enter
https://github.com/dpkshetty/s2i-pyflask-demoin the Git Repo URL field and then click to expand Show Advanced Git Options.Note: Use your cloned GitHub URL (see step 1).
Then, click Show Advanced Git Options and enter main in the Git reference field (as we are using the main Git branch of the repo in this example).
In the Builder section, click Python.

In the General section, enter the application name as smee-demo and the name as smee-demo. Then, in the Resources section, select Deployment.

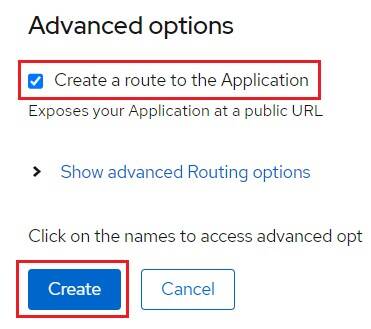
In the Advanced options section, select the Create a route to the Application checkbox and click Create.
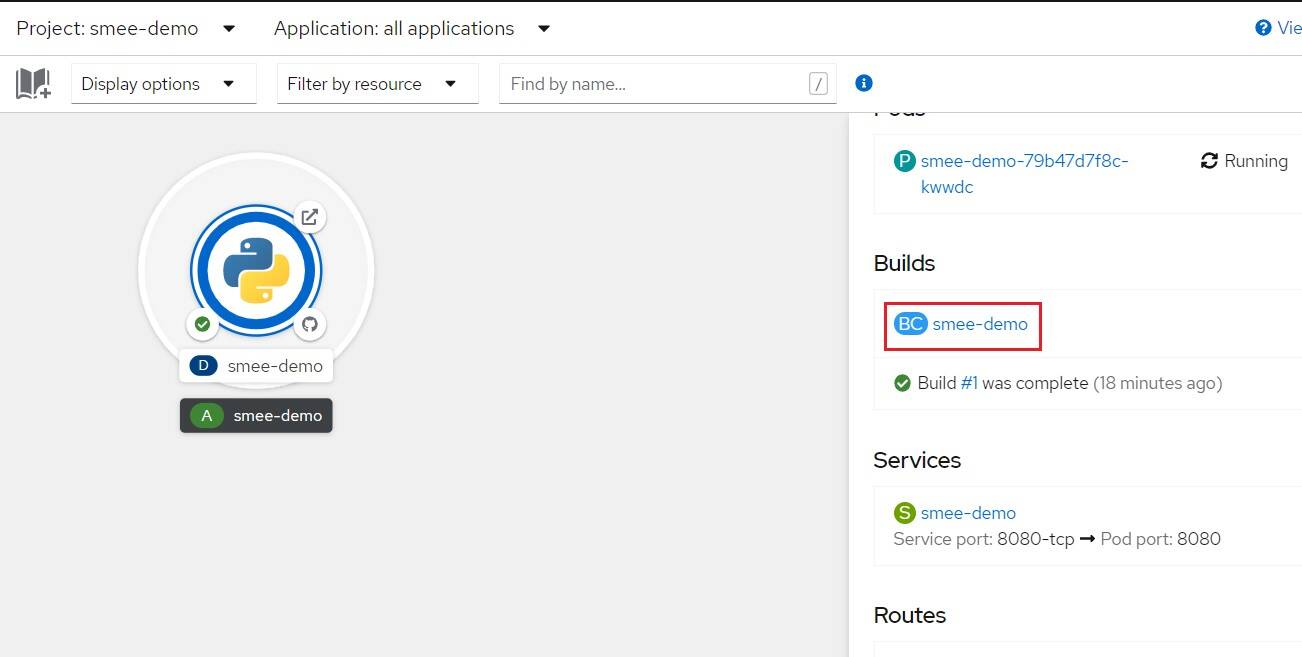
Notice that you are in the Topology view where you can see an icon for your application you just deployed. Click smee-demo and then click the Resources tab on the right side and wait for the build to complete and the pod to be in the Running state.

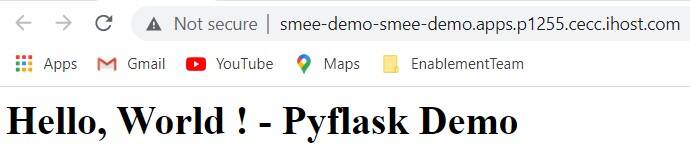
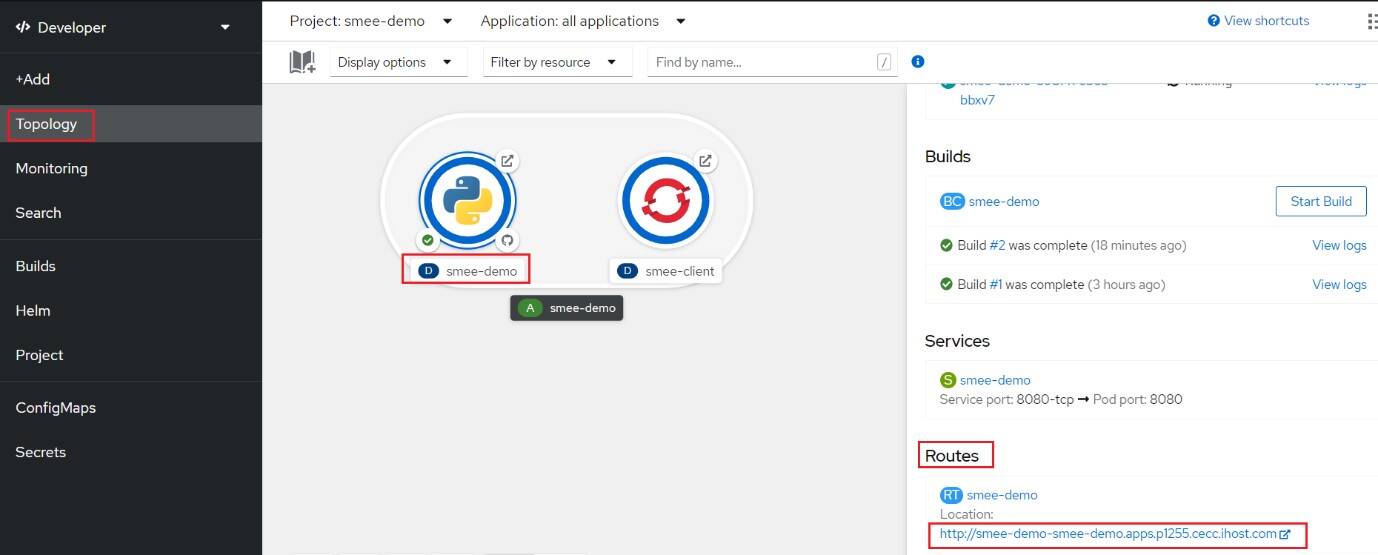
In the Routes section, click the URL. It opens in a new browser window, and you should be able to see the Hello, World ! - Pyflask Demo message from the application you just deployed.
Note: The exact URL in your case may vary as it is OpenShift cluster set up dependent.

In the browser, append /version at the end of the existing URL to access the version API endpoint and ensure you are seeing the message, App version : 1.0.
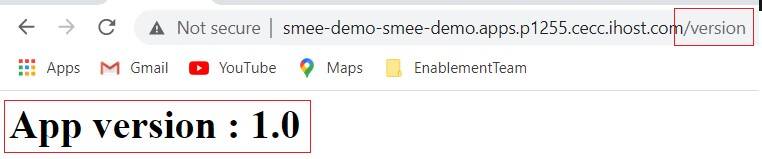
You have successfully used OpenShift S2I and the GitHub repository to deploy your application.
Now, let’s set up GitHub webhooks to automate application deployment.
2. Set up GitHub webhooks for continuous deployment – It fails!
GitHub webhooks allow external services to be notified when certain GitHub events happen.
Continuous deployment means that updates to the GitHub source code must automatically deploy new pods. For this to work, we need to configure our GitHub repo with the webhook that OpenShift provides as part of the BuildConfig attribute.
On the Resources tab, click BuildConfig (BC) entry smee-demo.
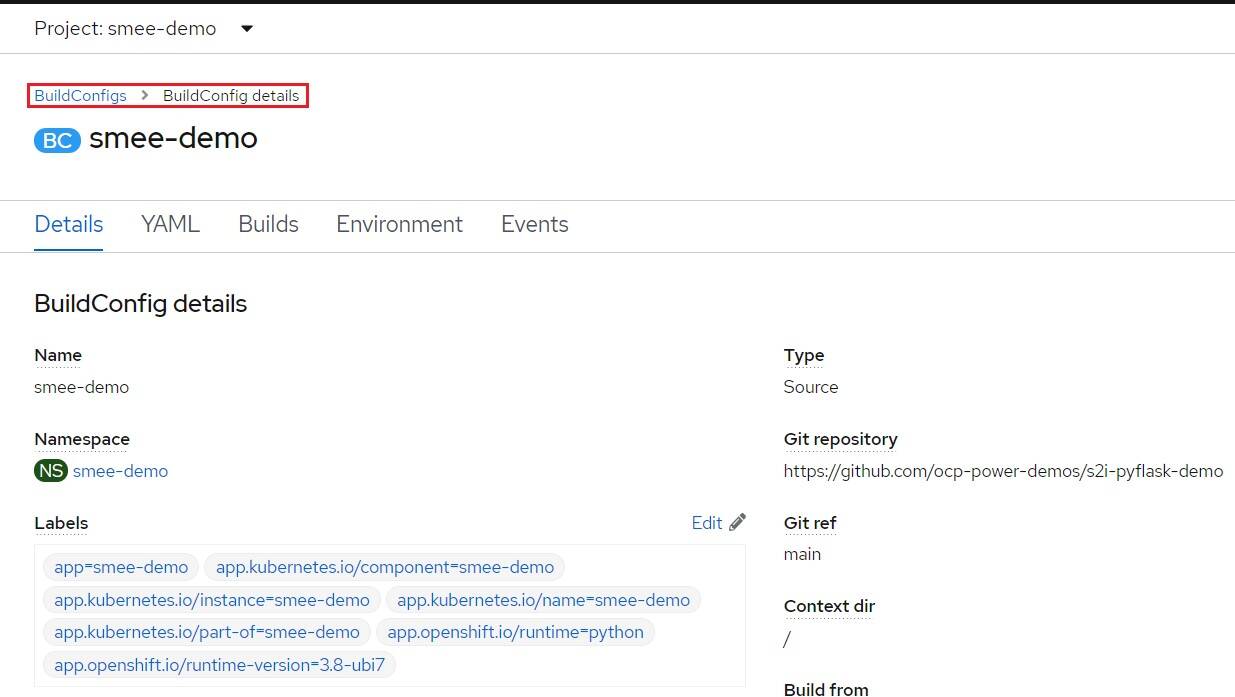
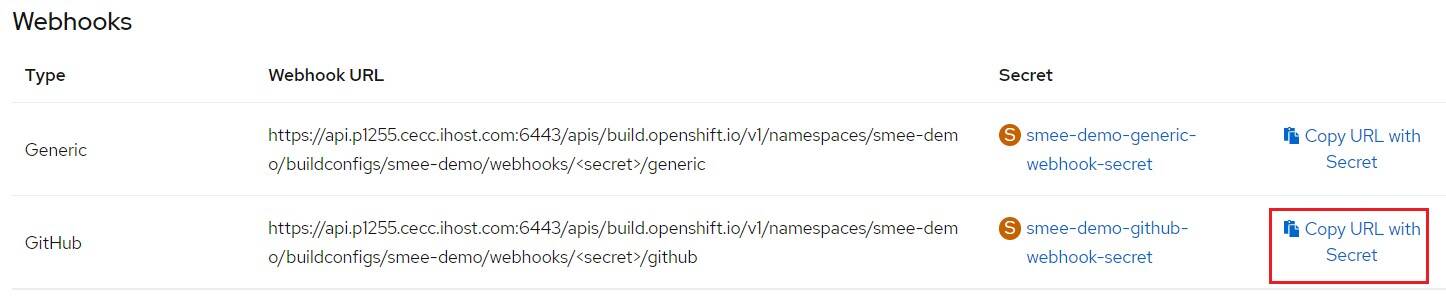
On the BuildConfig details page, scroll down and in the Webhooks section, and in the row corresponding to the GitHub entry, click Copy URL with Secret. Save this URL as you need to refer to this in a later step.
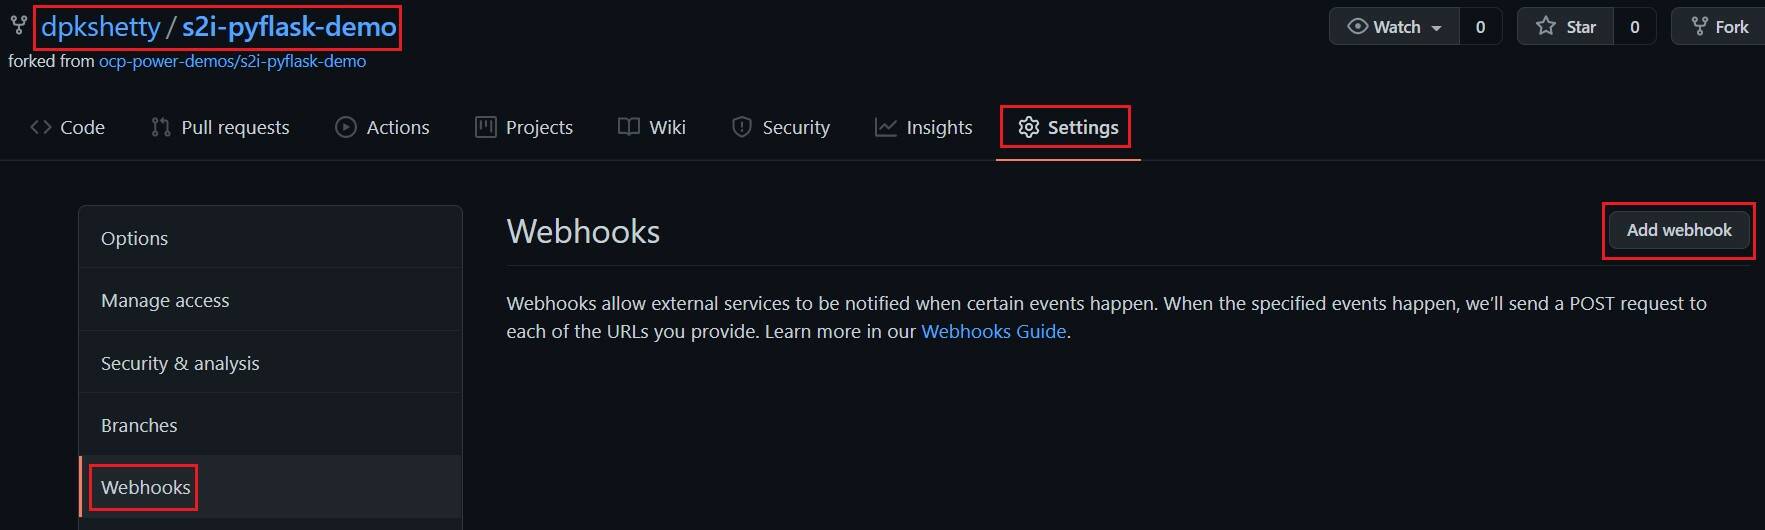
Switch to your browser and navigate to your GitHub repo. Click Settings and then click the Webhooks tab. On the Webhooks page, click Add webhook.
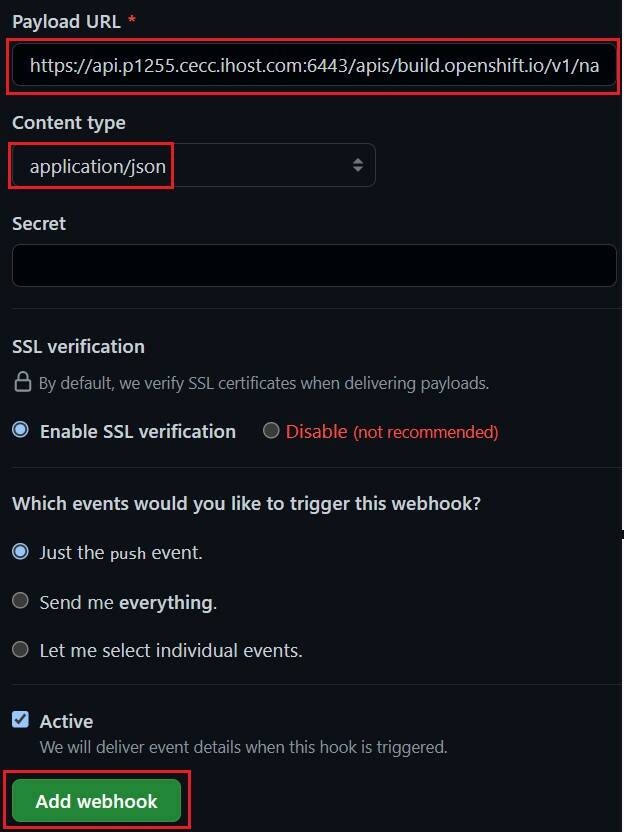
In the resulting form, enter the following details:
- Payload URL:
<Github webhook URL as copied from step 2> - Content type: application/json
- Retain the default values for the remaining fields and click Add webhook.
- Payload URL:
If successful, notice that your newly added webhook is displayed on the Webhooks page. Click the newly created webhook to view the webhook details page.

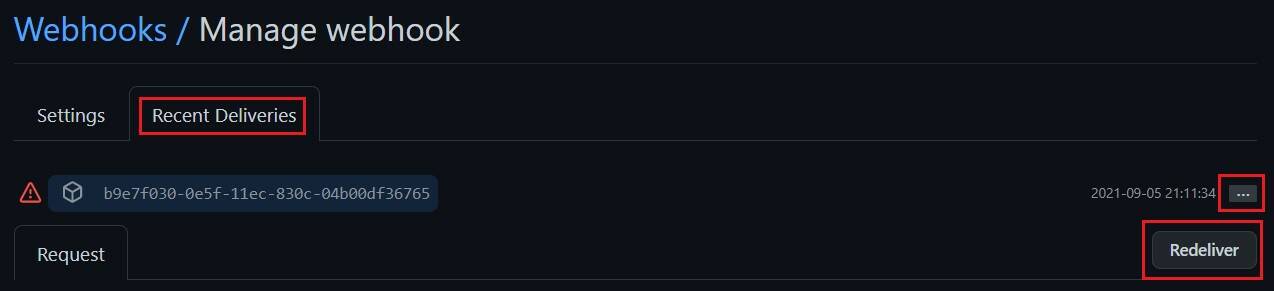
GitHub generally does a simple ping test as part of adding a new webhook. On the webhook details page, click the Recent Deliveries tab and notice that an entry prefixed with an exclamation mark (indicating that the ping test has failed) is displayed. Click the entry to find more details about the REST API call and the associated response for the ping test and you can see the failure reason as timed out.
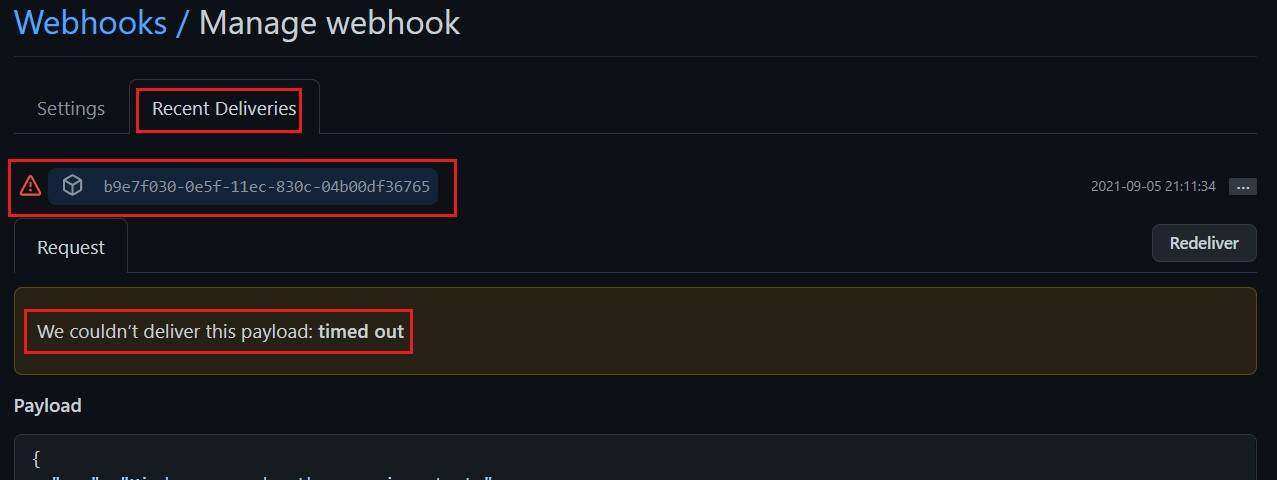
This is expected because the OpenShift cluster used in this example is behind company firewall, and therefore, the OpenShift API server hosting the webhook URL endpoint is not reachable by github.com.
Next, let’s see how we can use the smee.io web-based webhook payload service to get past this constraint.
3. Set up smee.io as a proxy for GitHub webhooks
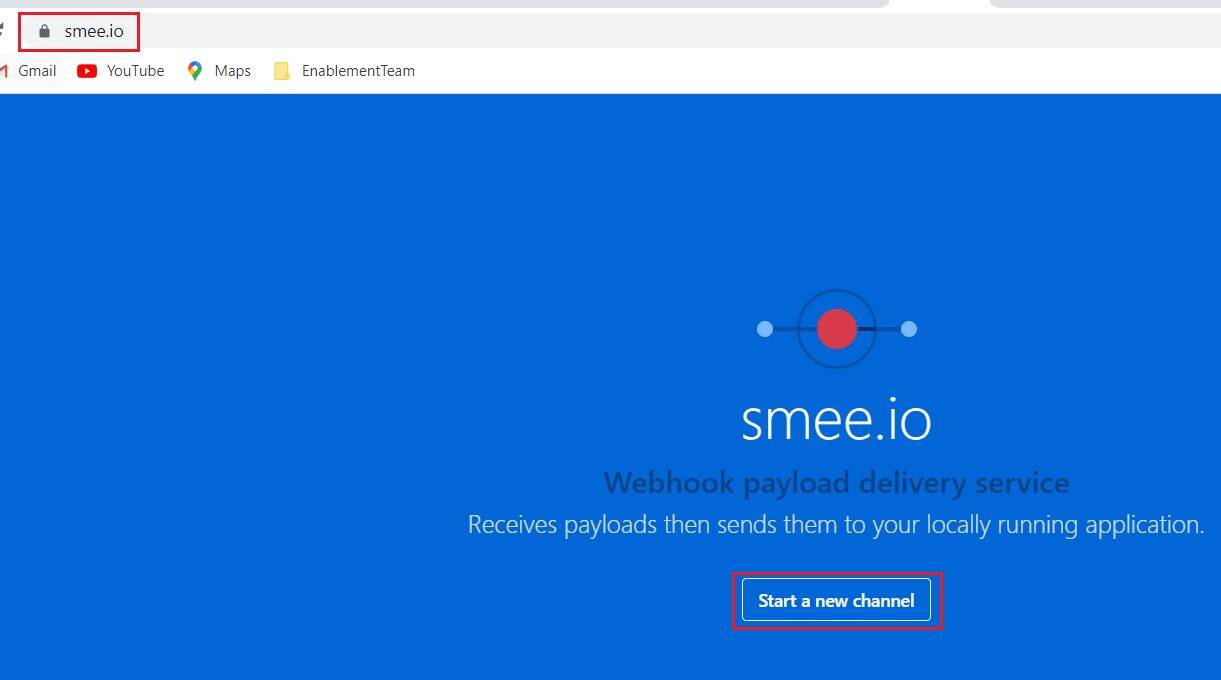
In your browser, navigate to https://smee.io/ and click Start a new channel.
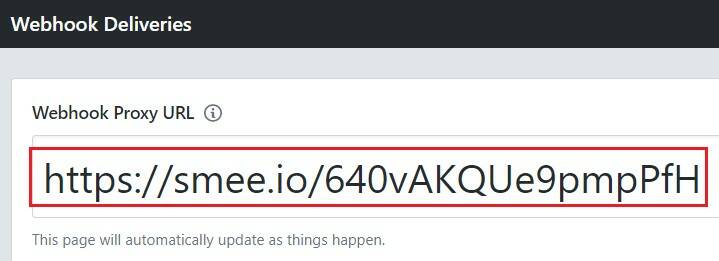
On the resulting page, copy the URL in the Webhook Proxy URL field and save it somewhere safe so that you can recover it, if required and in case this page gets lost.
Note: Your URL will be unique and different.
Go back to GitHub Webhooks page, click your webhook and update the URL in the Payload URL field with the proxy URL you copied in the previous step. Retain the existing values in the remaining options and click Update webhook.
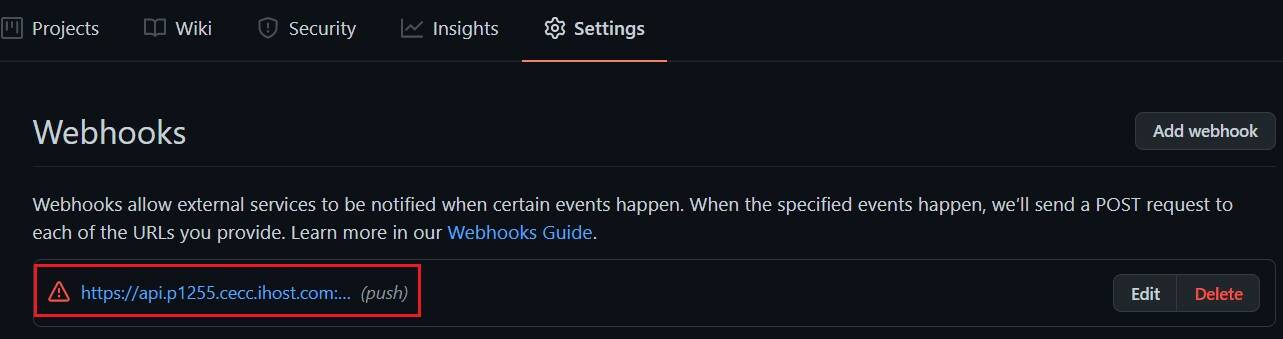
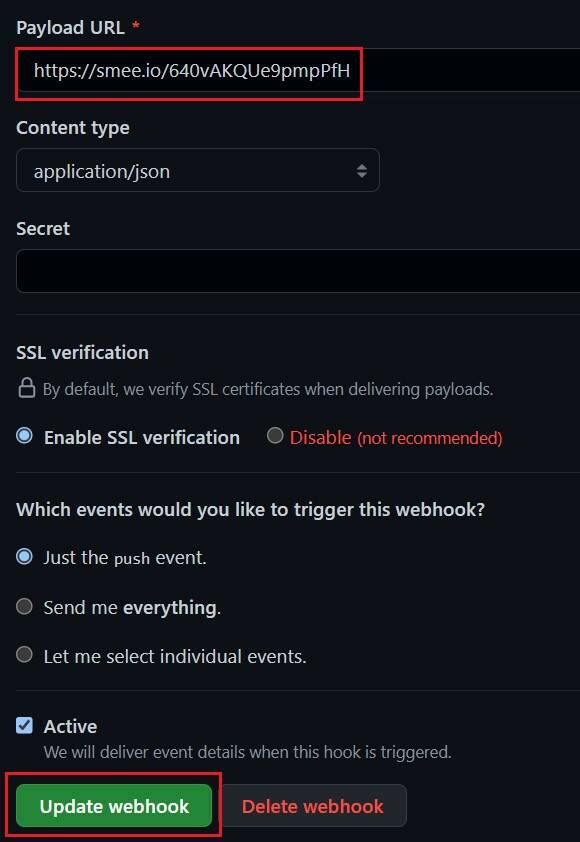
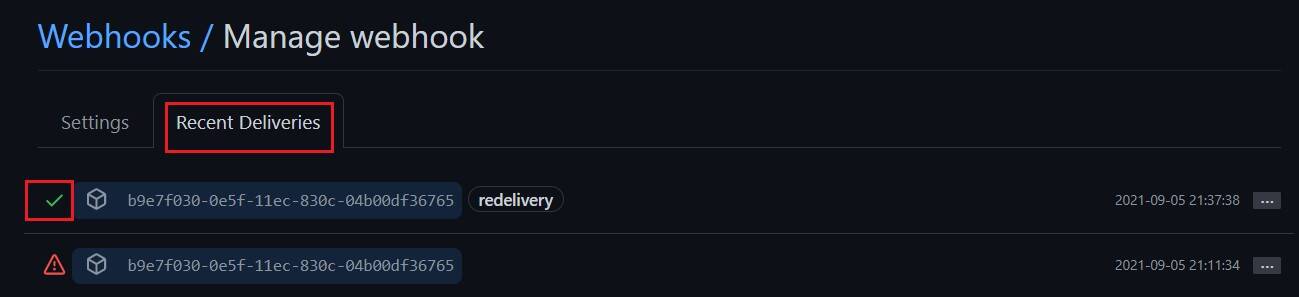
We have now updated GitHub asking it to deliver the webhook to the smee.io webhook proxy URL. Click on Recent Deliveries, then click the ellipsis button (with three dots) and click Redeliver.
Notice a second entry under Recent Deliveries with a tick mark associated (indicating that it is successful).
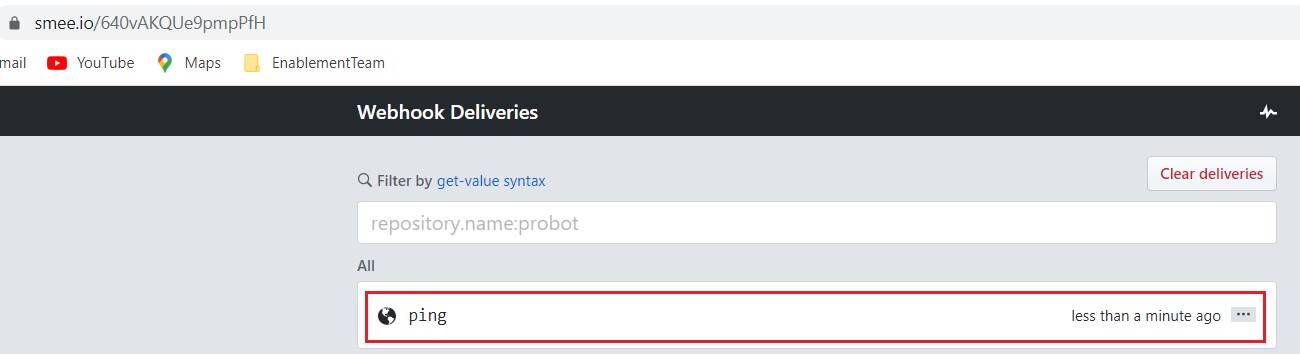
In your browser window, navigate to the smee.io page and observe that it indeed has received the ping from GitHub. With this, we have reached half-way with the webhook reaching smee.io.
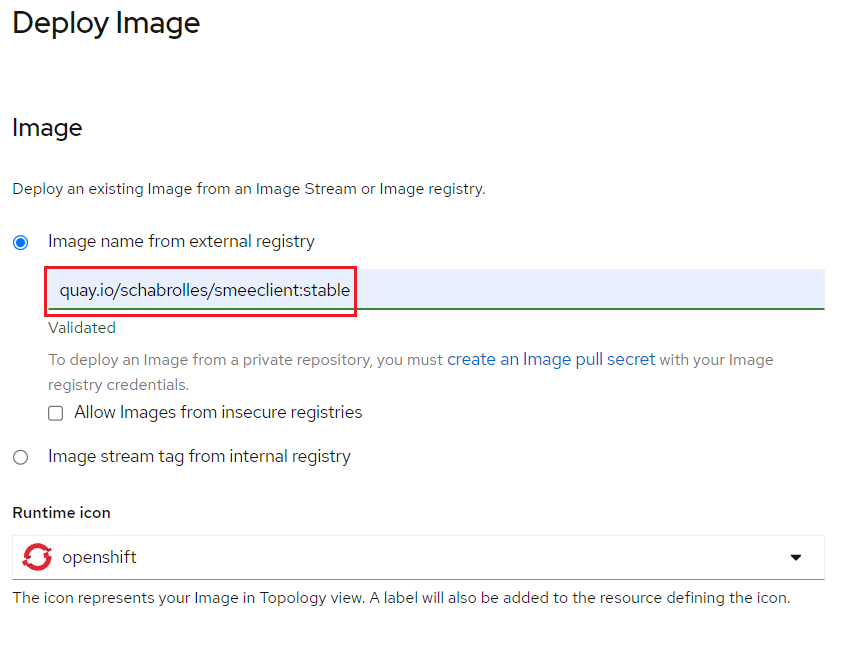
The next task is to deploy the smee-client application on our OpenShift cluster using a pre-existing container image. In your browser, navigate to your OpenShift cluster console page and ensure that you are in the Developer persona. Select the required project and, click +Add. Then, click Container images.

In the resulting form, enter the following values for the corresponding fields:
Image name from external registry: quay.io/schabrolles/smeeclient:stable
Name: smee-client
Retain the default values for the remaining fields or options and click Create.
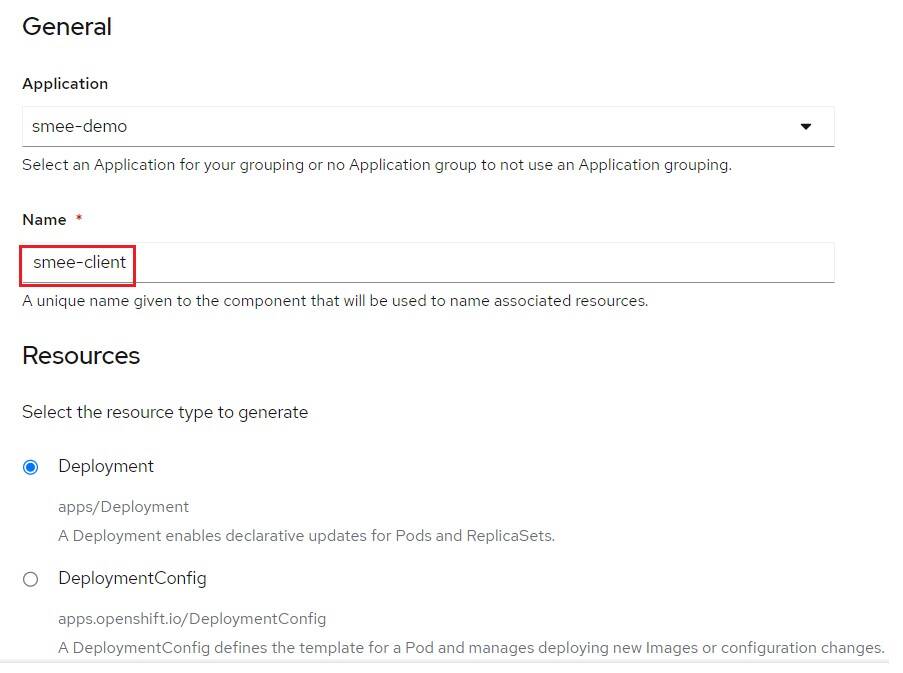
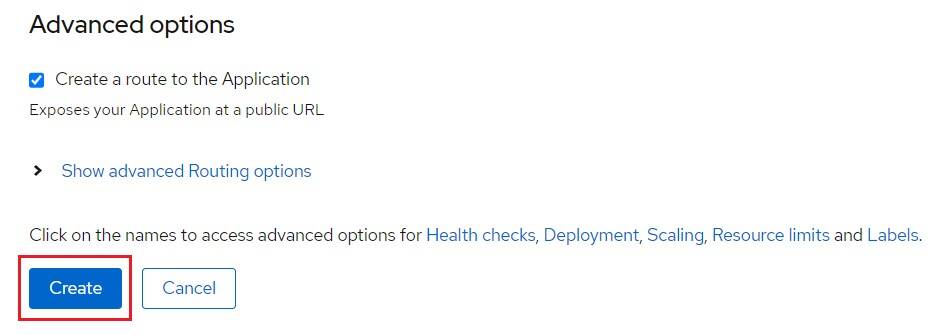
In the Topology view, click the smee-client application icon and on the Resources tab (after some time) notice the message CrashLoop BackOff indicating that the pod fails to start. This is expected as we still haven’t configured the smee-client application.
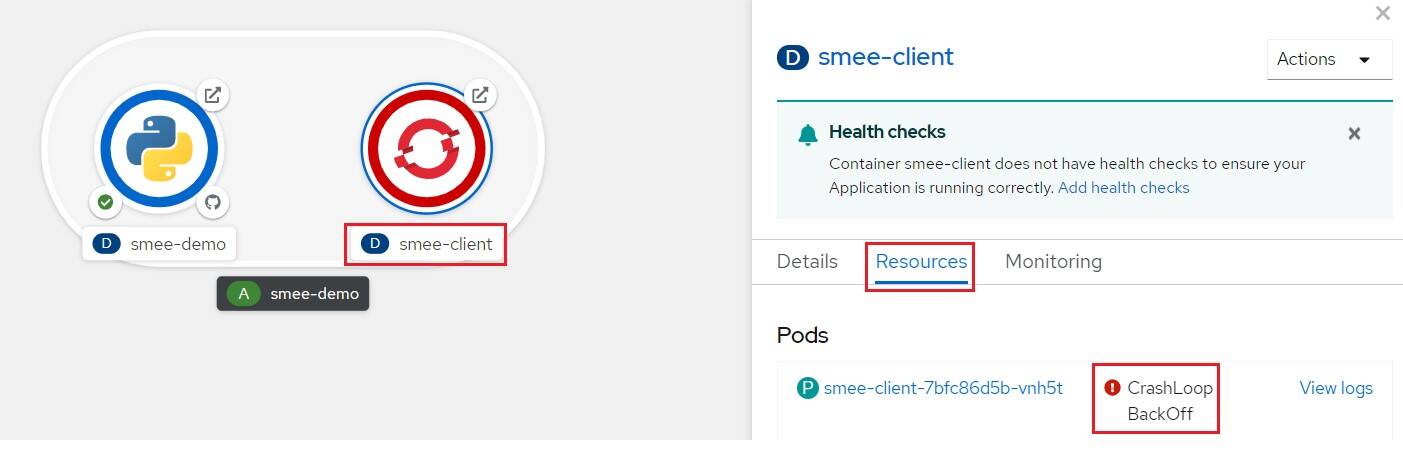
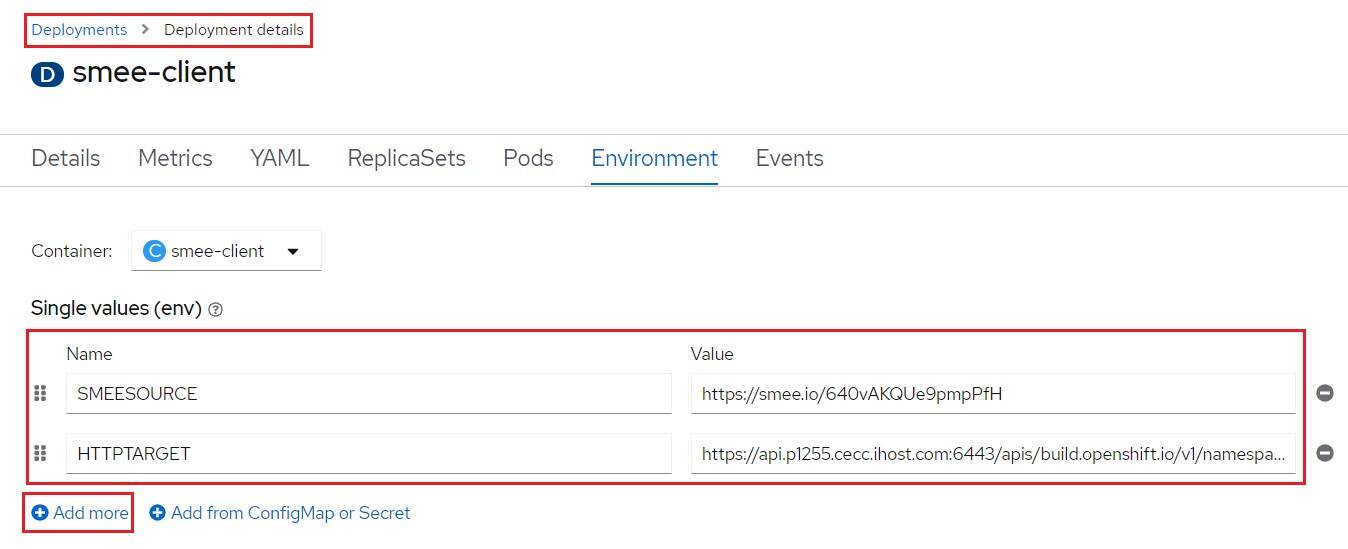
Let’s configure the smee-client with the right environment variables. smee-client requires two environment variables (SMEESOURCE and HTTPTARGET) to be set up. You can find more details about smee-client on the GitHub page. Click smee-client on the right pane.
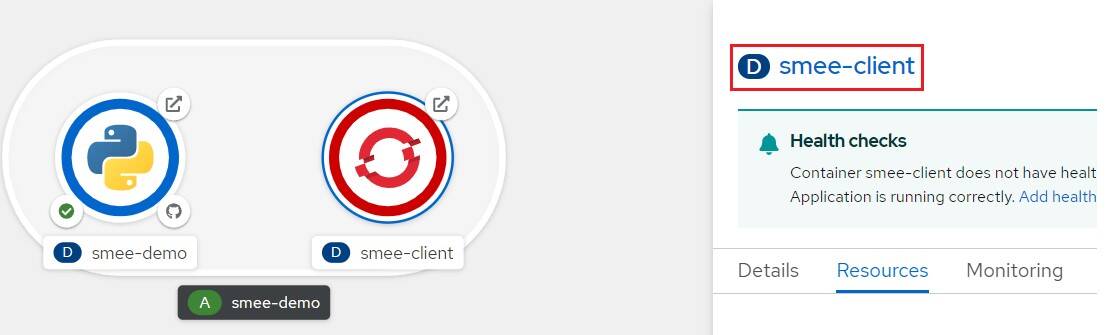
On the smee-client deployment page, enter values for the following two environment variables:
SMEESOURCE: https://smee.io/640vAKQUe9pmpPfH
Note: Your URL will be different. See step 3.
Note: Your URL will be different. See step 2.
If required, click Add more to add a new environment variable and click Save.

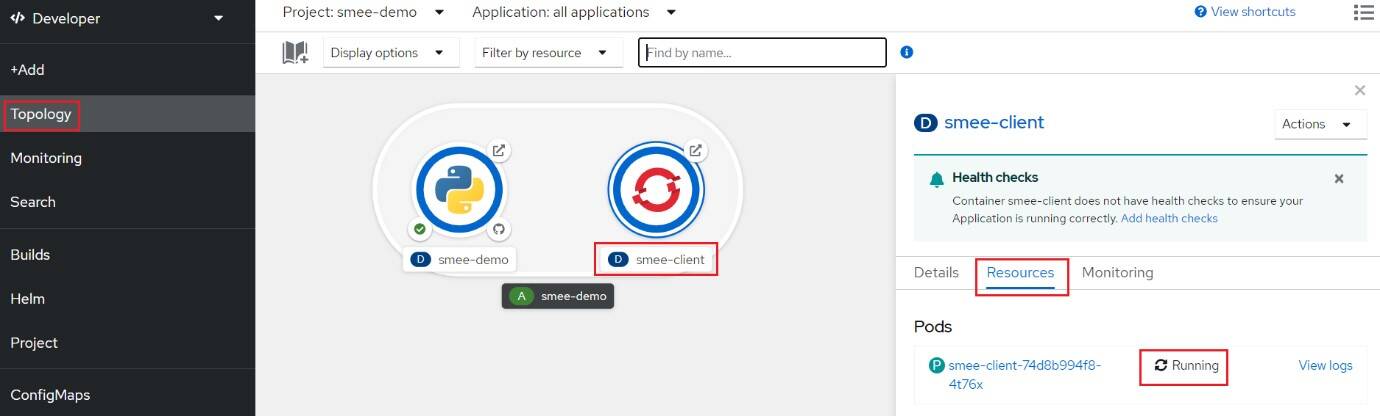
The smee-client application will get redeployed as its configuration was changed. In the Topology view, click the Resources tab, and wait for the smee-client pod to show the status as Running.
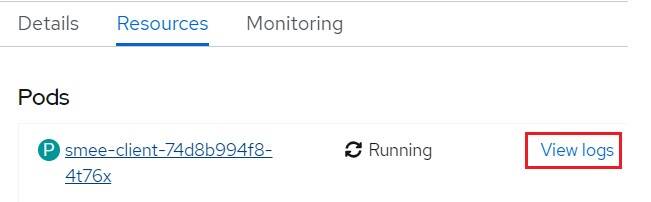
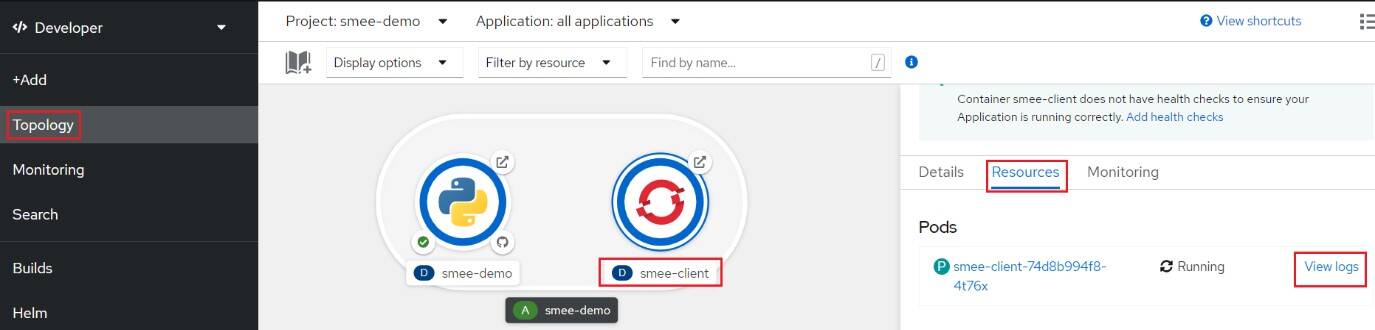
Click View logs to see the logs for the smee-client application. It should state that its now forwarding all the smee.io channel’s payload to the GitHub webhook endpoint URL.
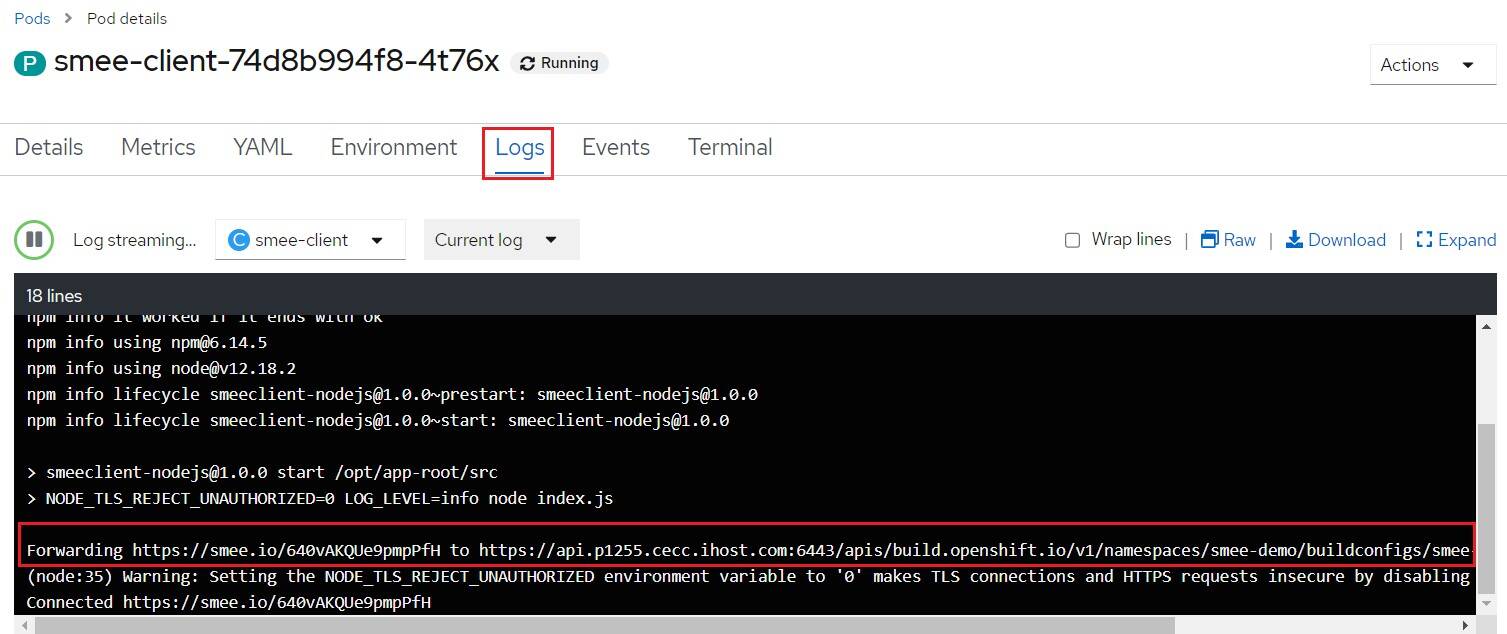
You have now successfully set up the smee-client application to pull the webhook payload from the smee.io channel and deliver it to your OpenShift application’s webhook endpoint URL. Now, let’s test the continuous deployment workflow!
4. Test continuous deployment workflow – It works!
As part of this step, we will make minor updates to the code in our GitHub repository and check if smee.io and smee-client are collectively able to deliver the webhook to OpenShift and if our application is auto-built and auto-deployed.
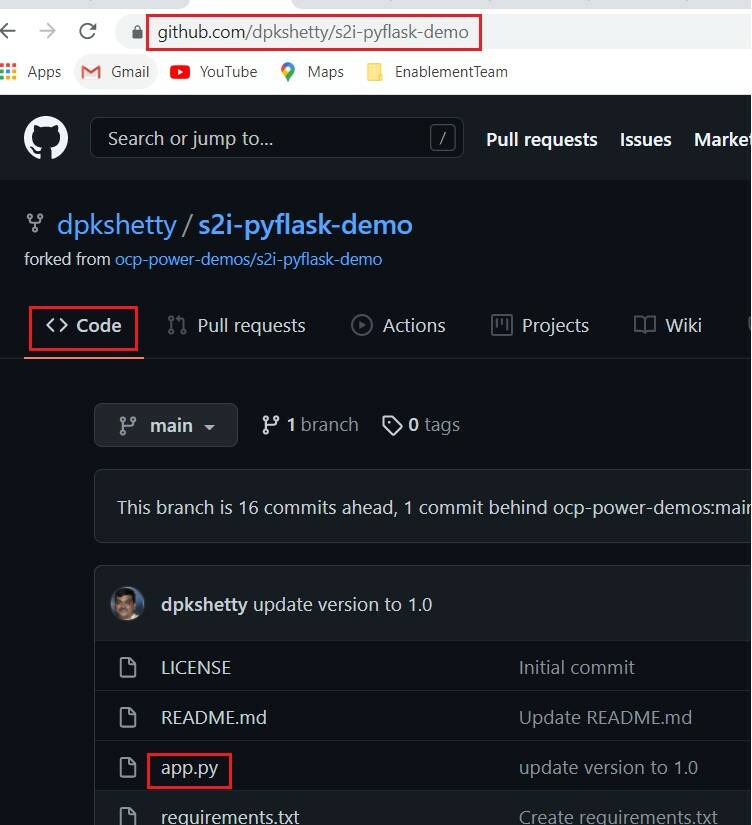
In your browser, navigate to your GitHub repository page and click the app.py file.
Note: Your GitHub URL will be different
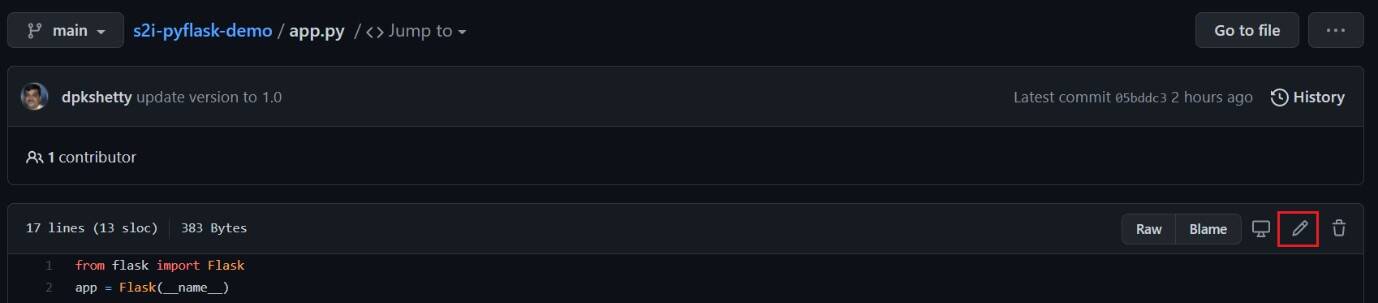
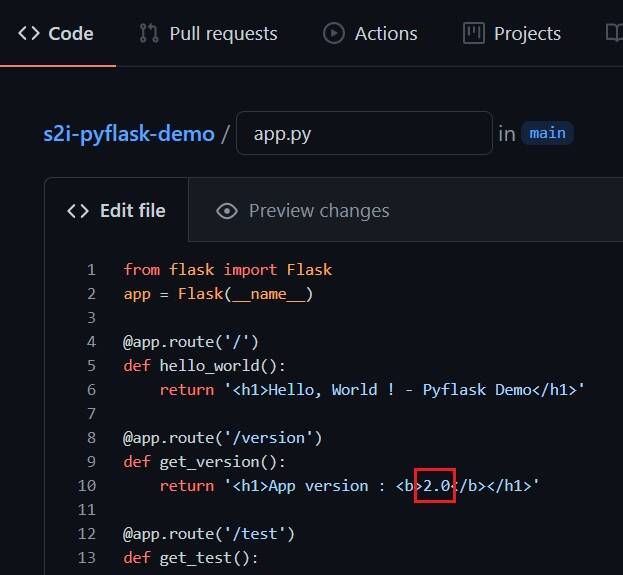
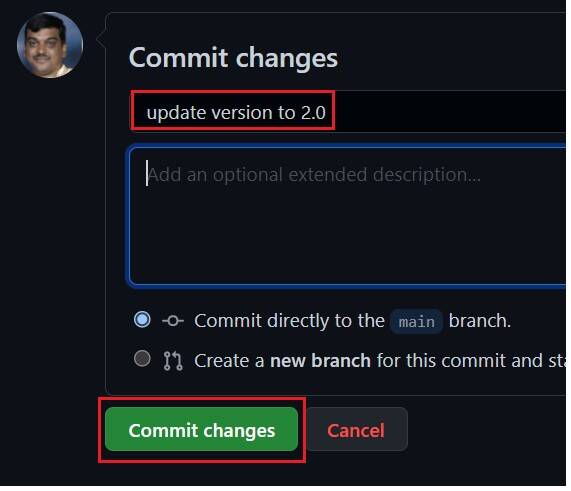
Click the pencil icon, change the version from 1.0 to 2.0, add a commit message, and click Commit changes.
In your browser, navigate to the OpenShift console. On the Topology page, on the Resources tab, notice that the new build for smee-demo has automatically started.
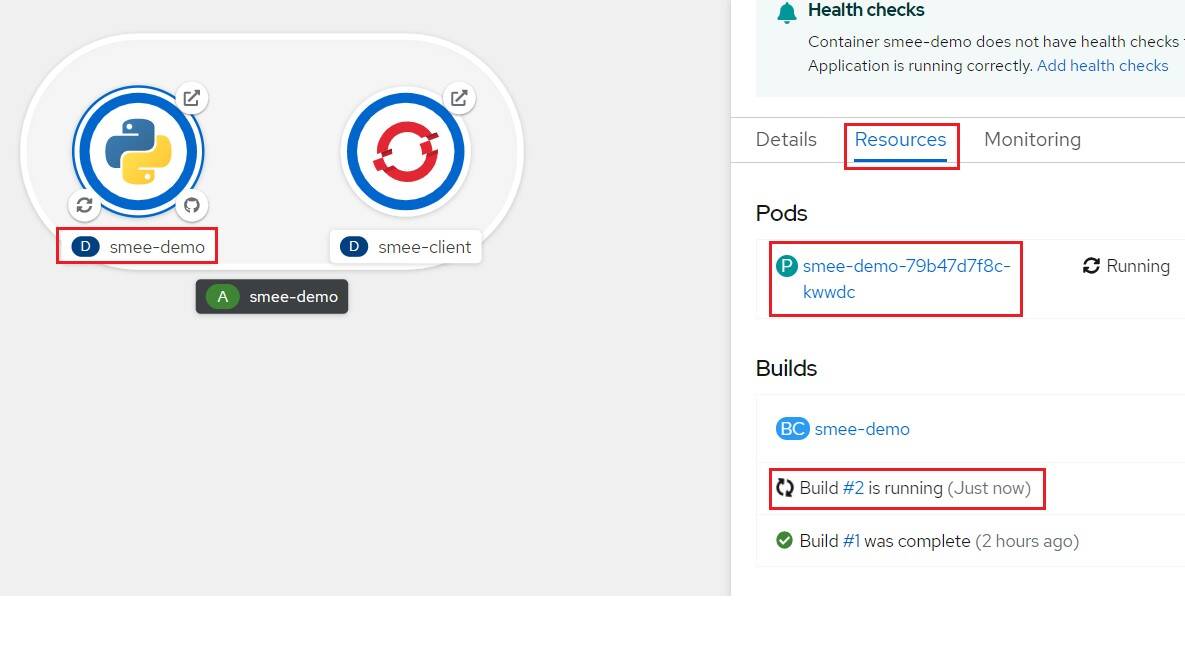
A new version of our application will be auto-deployed after the build completes. Wait for the build to complete and ensure that the new pod/container shows the status as Running.
Note: The name of the new pod/container is now different (compare with step 4).

(Optional) In your browser, navigate to Github webhooks page and verify that a successful notification is sent for the code change event.

(Optional) Go to the smee.io page and verify that it shows a new push event for the recent code change and commit operations we did in the GitHub repository.

(Optional) Go to OpenShift console, and in the Topology view, for the smee-client application, open the Resources tab and click View Logs. You can see that smee-client indeed sent a POST https message to our GitHub webhook endpoint URL, due to which OpenShift rebuilt and redeployed our application automatically!

Let’s verify that the application running is indeed the newer version. In the OpenShift console click Topology. For the smee-demo application, on the Resources tab, click the URL in the Routes section.
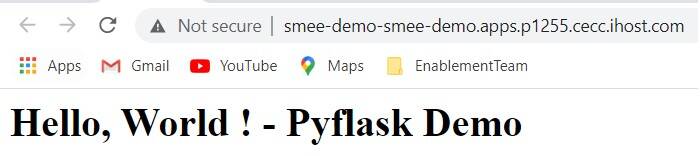
The resulting page in the browser should show the message, Hello, World ! - Pyflask Demo indicating that the new version of our application is running successfully.
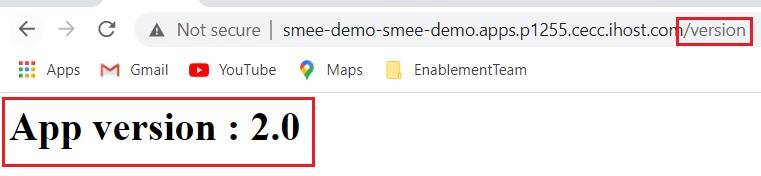
Access the /version endpoint of our application and it should show App version : 2.0 which proves that our recent code change in GitHub indeed resulted in a new application being auto-built and auto-deployed!
Summary
Congratulations! You have successfully demonstrated continuous deployment using OpenShift S2I and GitHub webhooks, in spite of the OpenShift cluster being located behind the company’s firewall. This tutorial shows how to use the smee.io web service to act as a proxy for the GitHub webhook and use the smee-client application in our OpenShift cluster to forward the webhook to an OpenShift API server running behind a firewall. smee.io is intended for use in development, and not for production. You can find more details in the GitHub repository.
Nevertheless, it is a great tool for developers to stop worrying about firewall issues and focus on application development.