About cookies on this site Our websites require some cookies to function properly (required). In addition, other cookies may be used with your consent to analyze site usage, improve the user experience and for advertising. For more information, please review your options. By visiting our website, you agree to our processing of information as described in IBM’sprivacy statement. To provide a smooth navigation, your cookie preferences will be shared across the IBM web domains listed here.
Tutorial
Orchestrating end-to-end machine learning workflows with Watson Pipelines
Create an automated pipeline that can use your existing data to train multiple models with hyperparameter optimization using AutoAI
On this page
Archived content
Archive date: 2024-12-10
This content is no longer being updated or maintained. The content is provided “as is.” Given the rapid evolution of technology, some content, steps, or illustrations may have changed.Automating day-to-day data and machine learning tasks on the cloud can be difficult for data scientists because they must set up the equivalent cloud environment for their machine learning development and be able to automate all of the machine learning tasks with programmatic logics such as sequential, parallel, conditional, and looping. However, a new beta service in Watson Studio, Watson Pipelines, can help with orchestrating an end-to-end flow of assets from creation through deployment. With Watson Pipelines, you can build your machine learning pipelines with different Watson Services such as AutoAI and DataStage by using a simple drag-and-drop graphical interface. You can also schedule these pipelines as cron or repeated jobs to automate your day-to-day machine learning lifecycle. And, you can try it out for free on your new and existing Watson Studio projects.
In this tutorial, learn how to create an automated pipeline that can take your existing data to train multiple models with hyperparameter optimization by using AutoAI, then deploy the best-selected model into production on a web service by using the Watson Machine Learning Service. You create a gallery sample pipeline "orchestrate an AutoAI experiment" for this tutorial that uses a bank marketing data set that is related to direct marketing campaigns of a Portuguese banking institution. This sample pipeline builds a binary classification model to predict whether the client will subscribe to a banking term deposit.
Learning objectives
In this tutorial, learn how to:
- Create a Watson Studio project
- Associate IBM Cloud services to Watson Studio projects
- Create and run Watson Studio Pipeline assets with AutoAI
- Deploy production models with the Watson Machine Learning Service
Prerequisites
To complete the tutorial, you need an IBM Cloud account.
Estimated time
It should take you approximately 30 minutes to complete this tutorial.
Steps
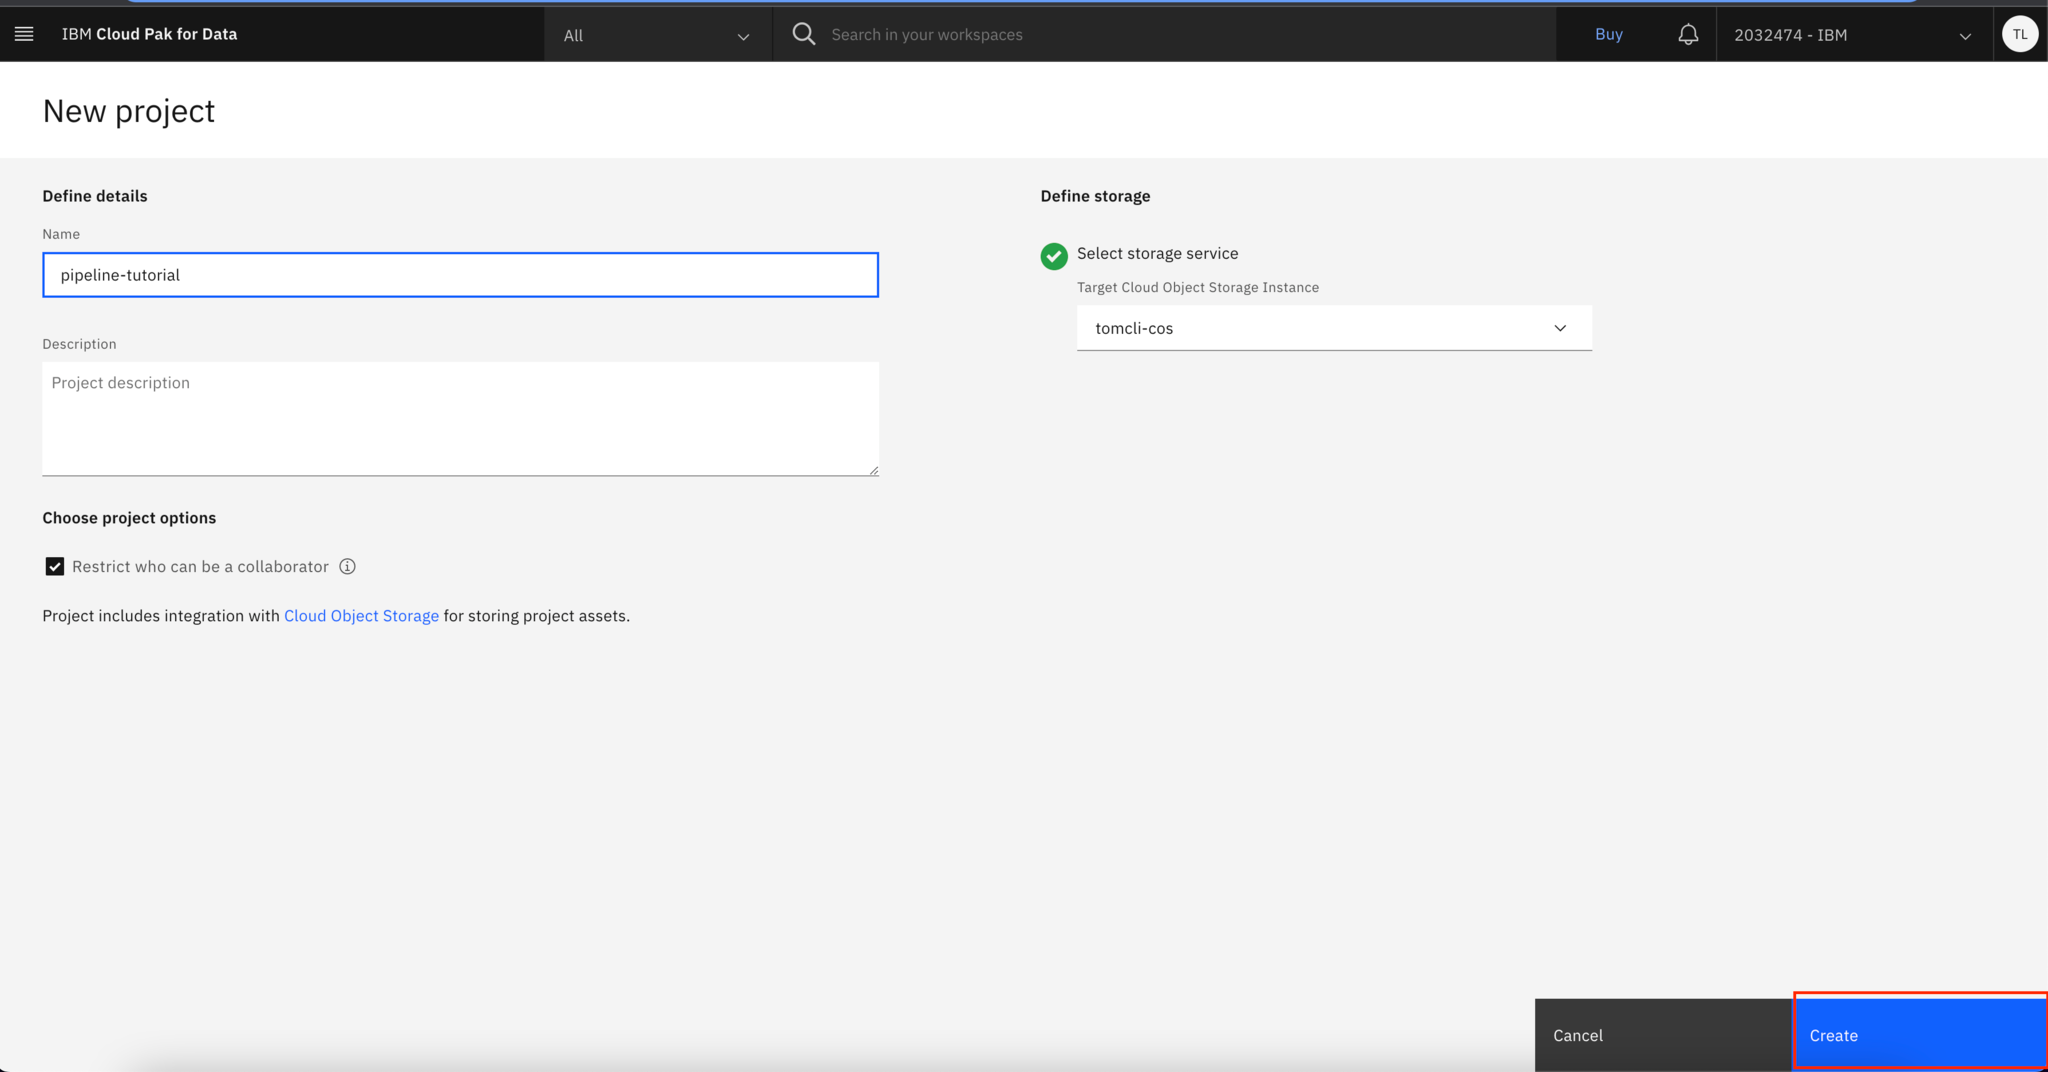
Step 1. Create a new project on Watson Studio
Go to https://dataplatform.cloud.ibm.com/, and log in.
Click Create a project, then Create an empty project to create a new empty project.
Step 2. Associate the Watson Machine Learning Service for AutoAI
Associate the Watson Machine Learning Service for this project to run the AutoAI example pipeline.
Click the Manage tab, then click Services & Integration. Click Associate service, then New service +.

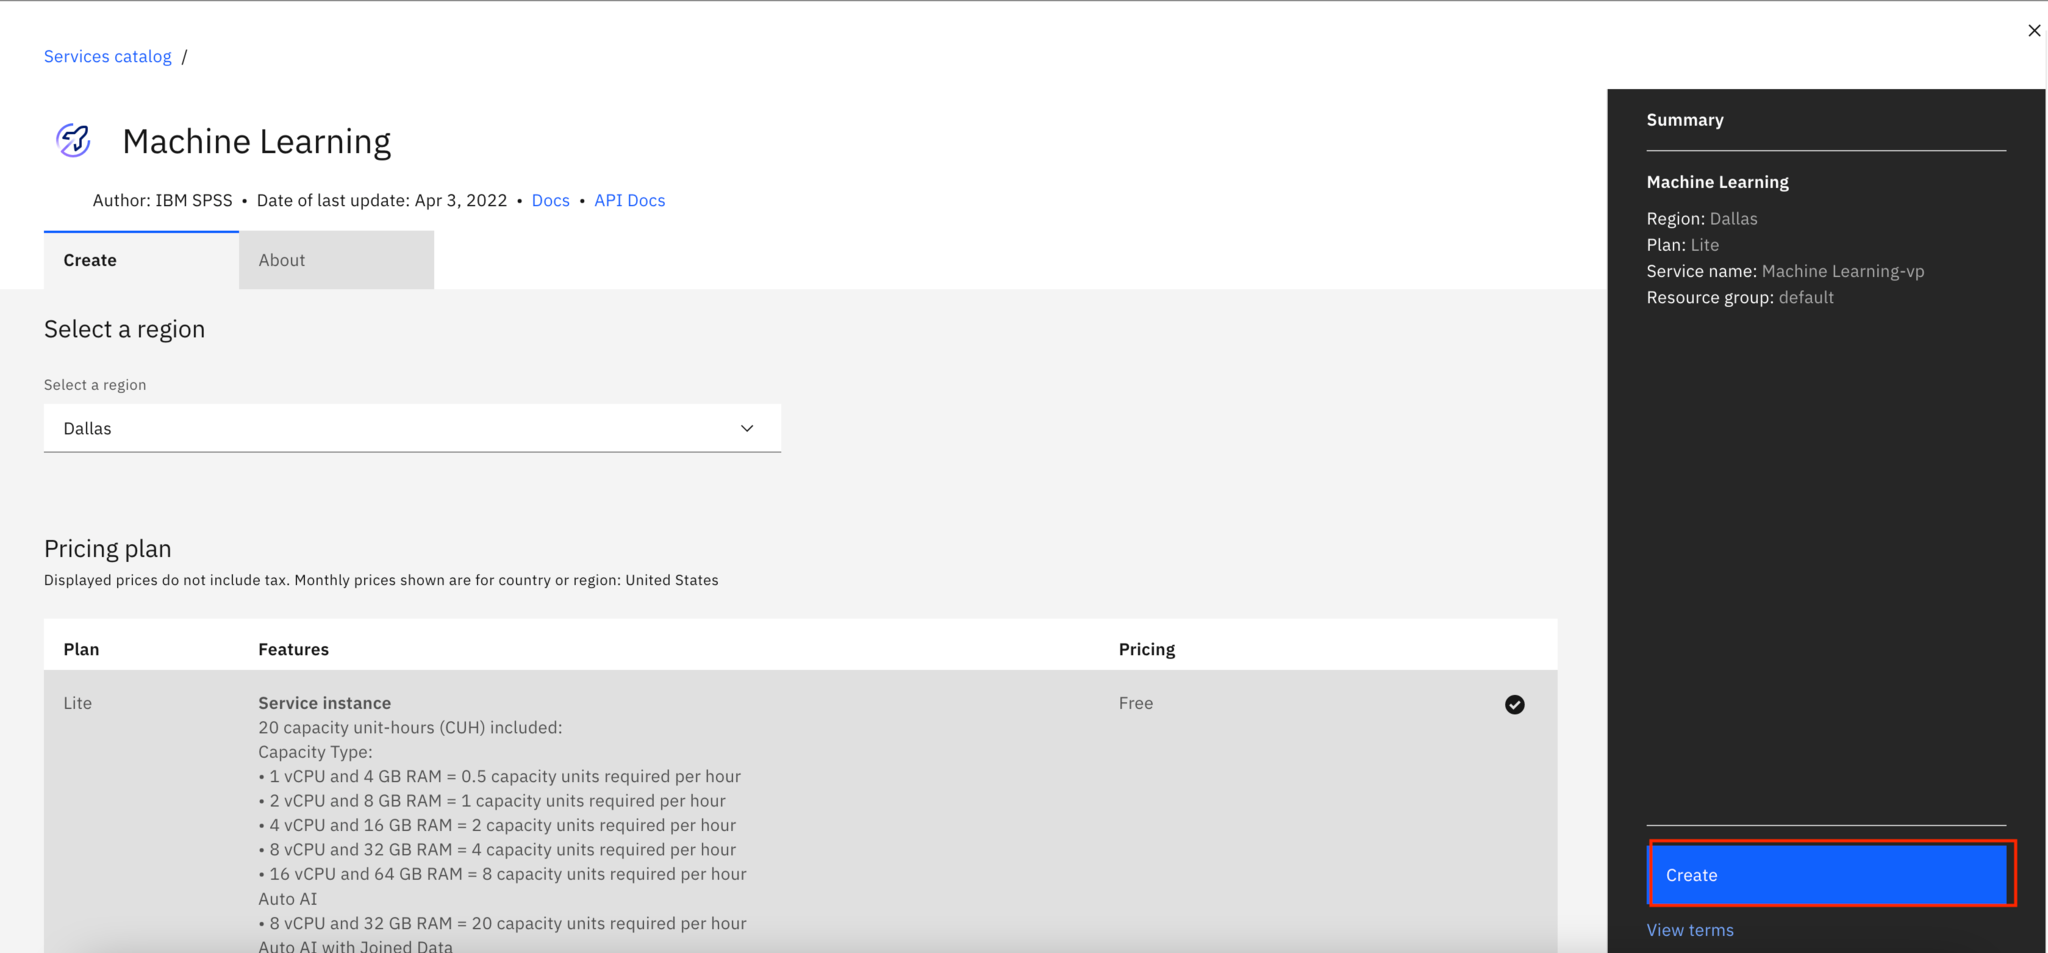
Choose the Machine Learning service.
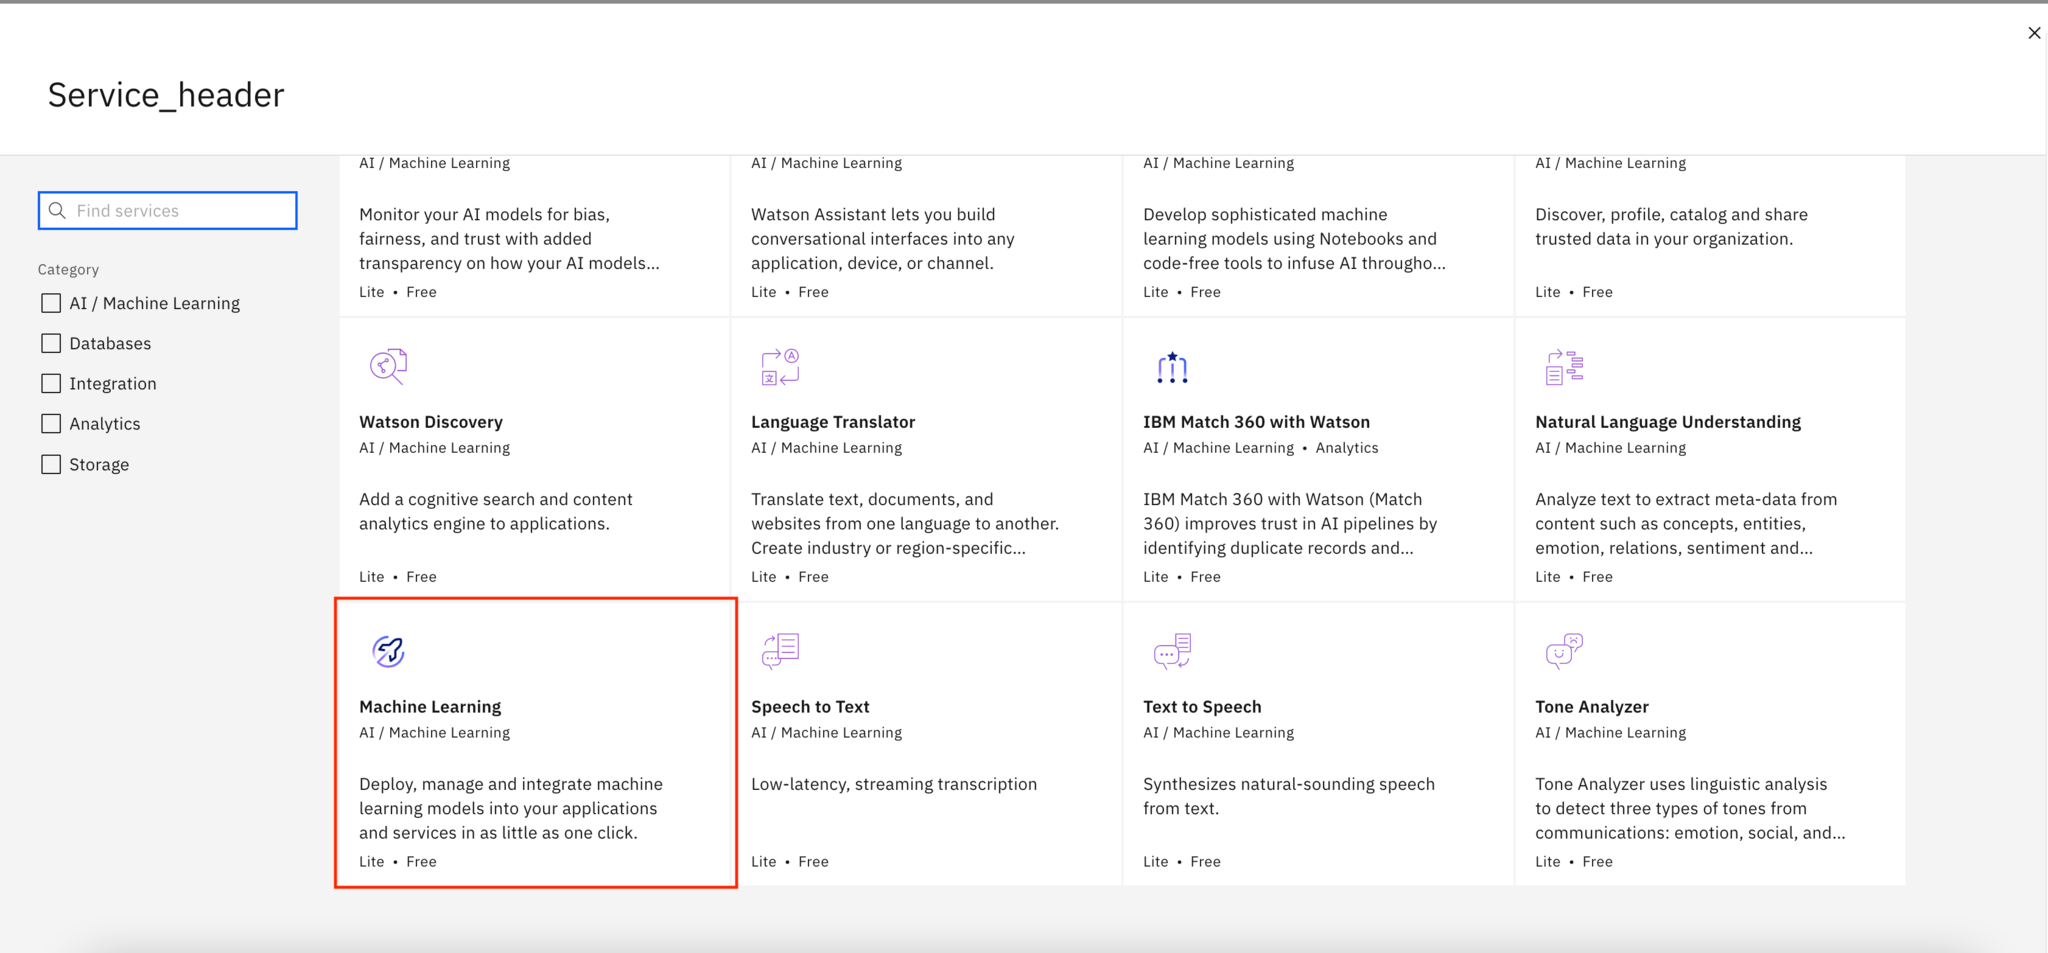
If you don't have an existing machine learning service, you can create a lite machine learning service for free to run this tutorial.
Step 3. Create and run Pipeline assets
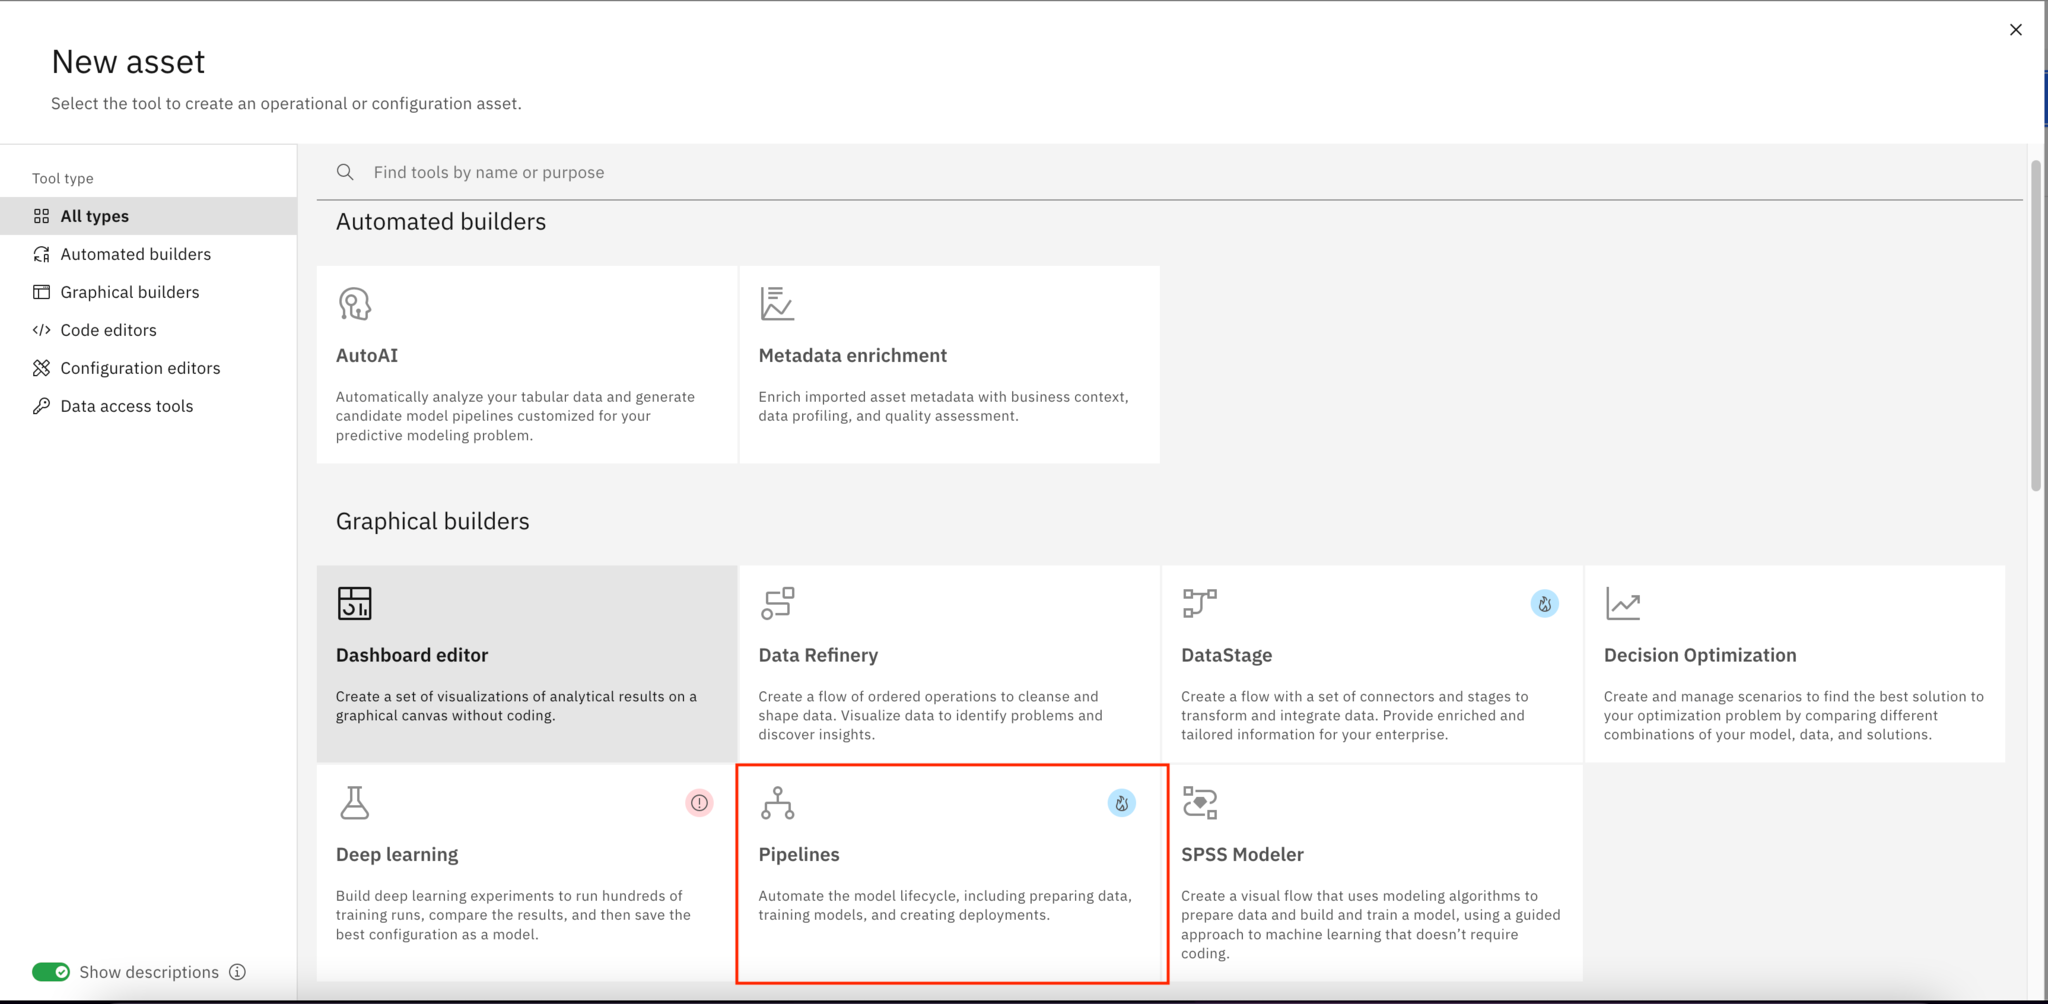
After the machine learning service is created, click the Assets tab. Then, create a New asset.
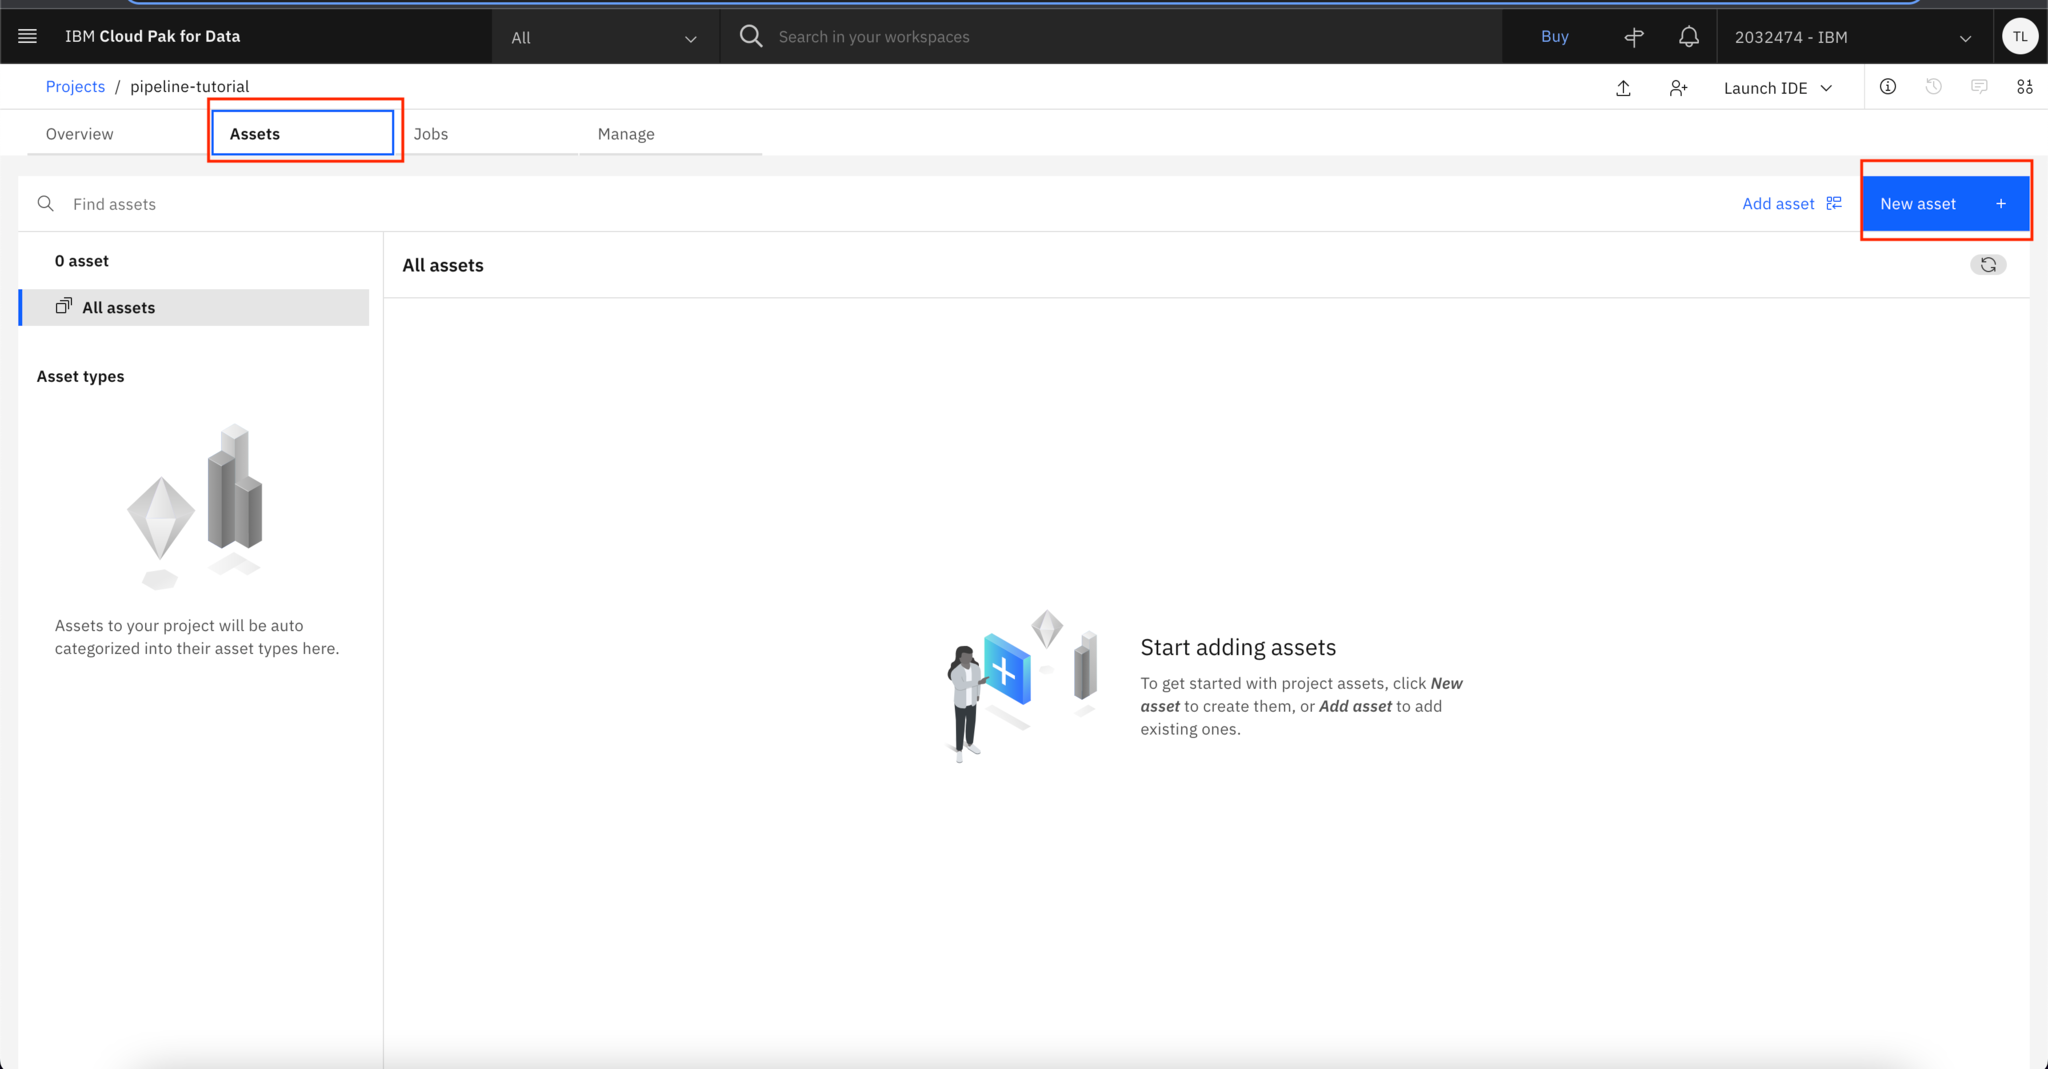
Under New asset, select Pipelines.
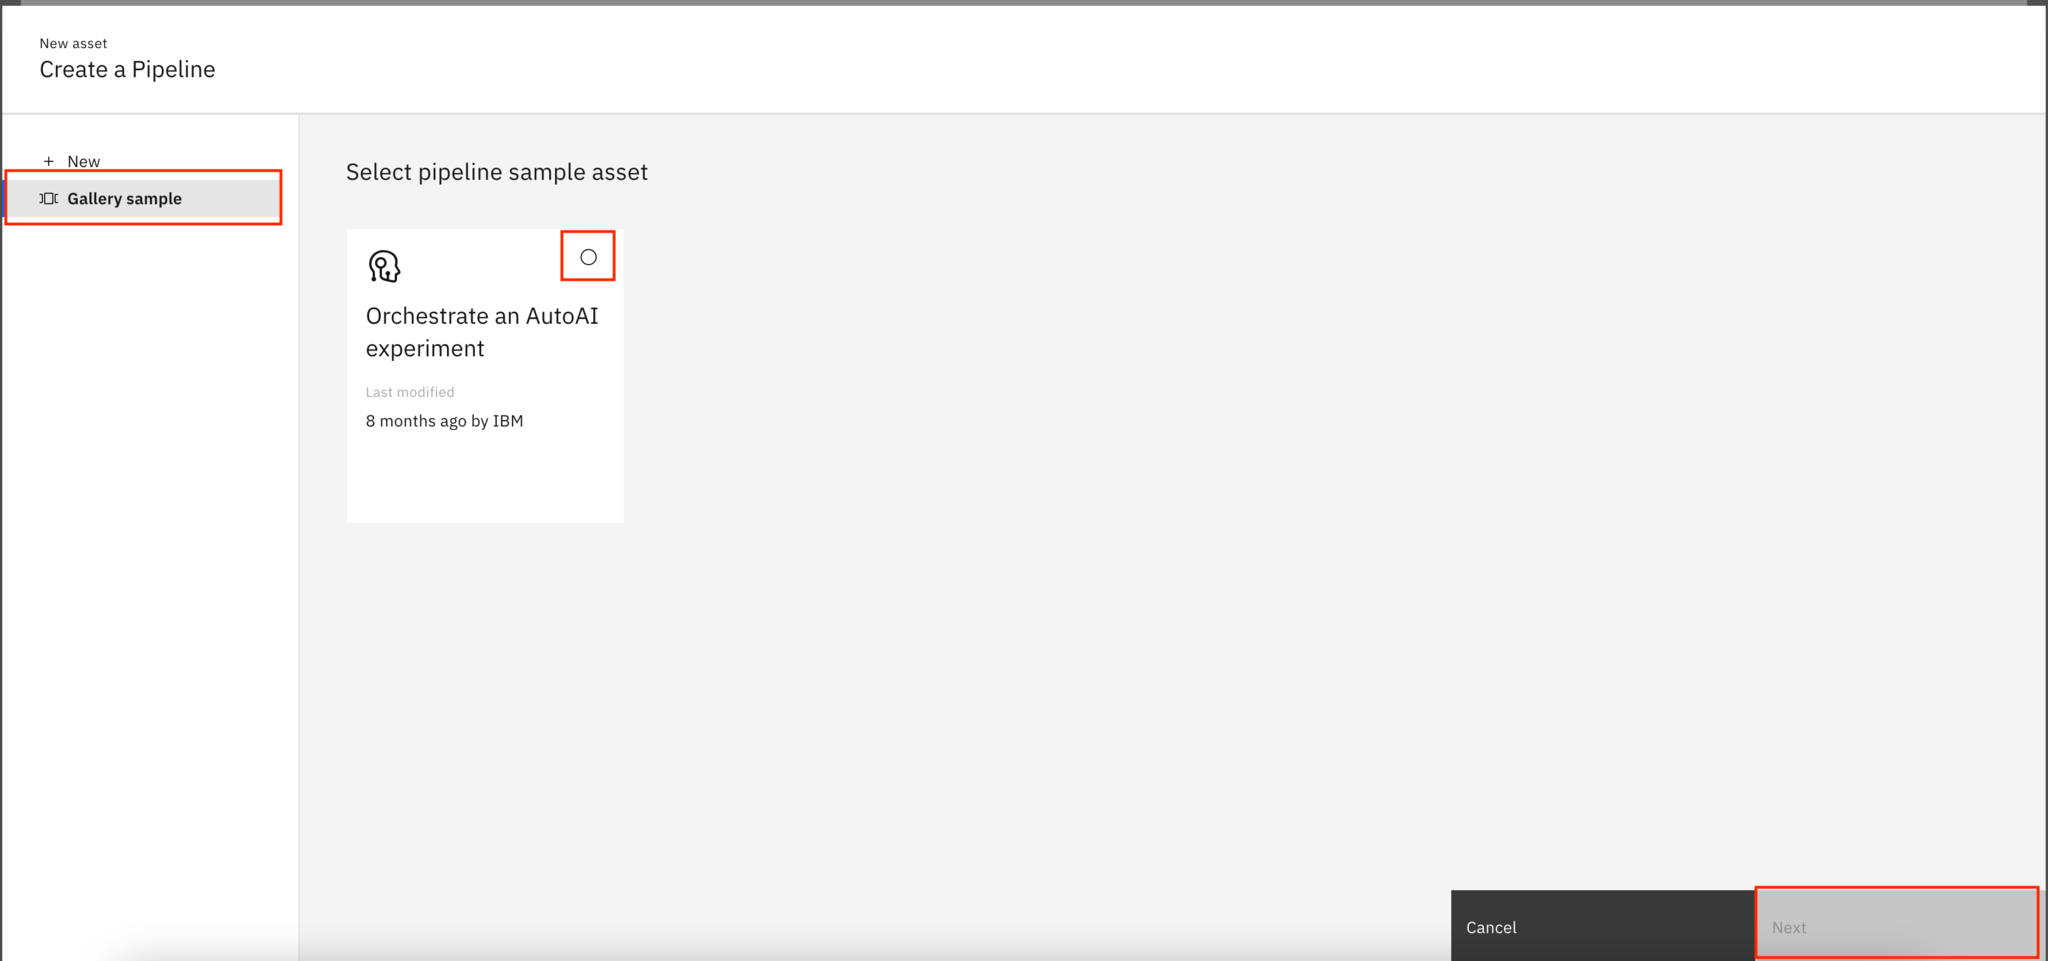
After selecting the Pipeline asset, choose the gallery sample Orchestrate an AutoAI experiment, then click Next. This sample uses a bank marketing data set from UCI to train multiple models with hyperparameter optimization by using AutoAI. It then deploys the best-selected model into production on a web service by using the Watson Machine Learning Service.
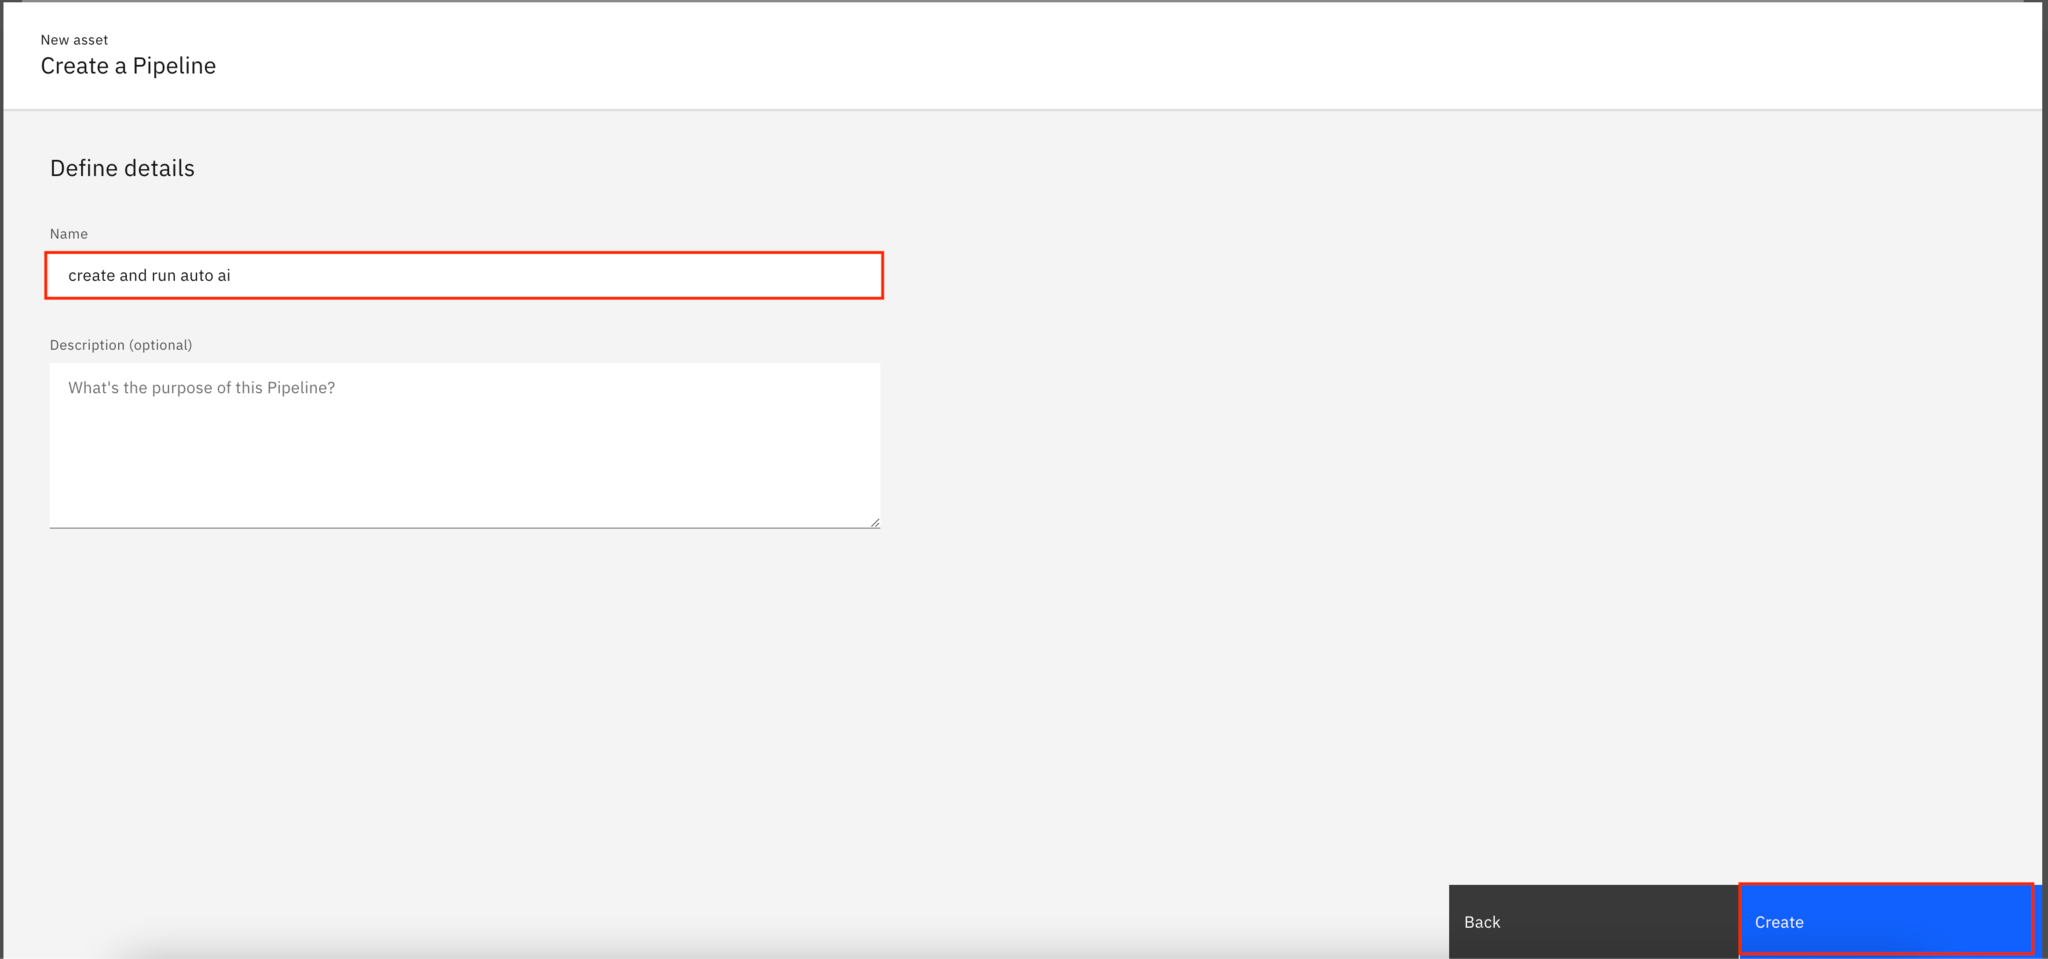
Enter any name for the new pipeline, and click Create.
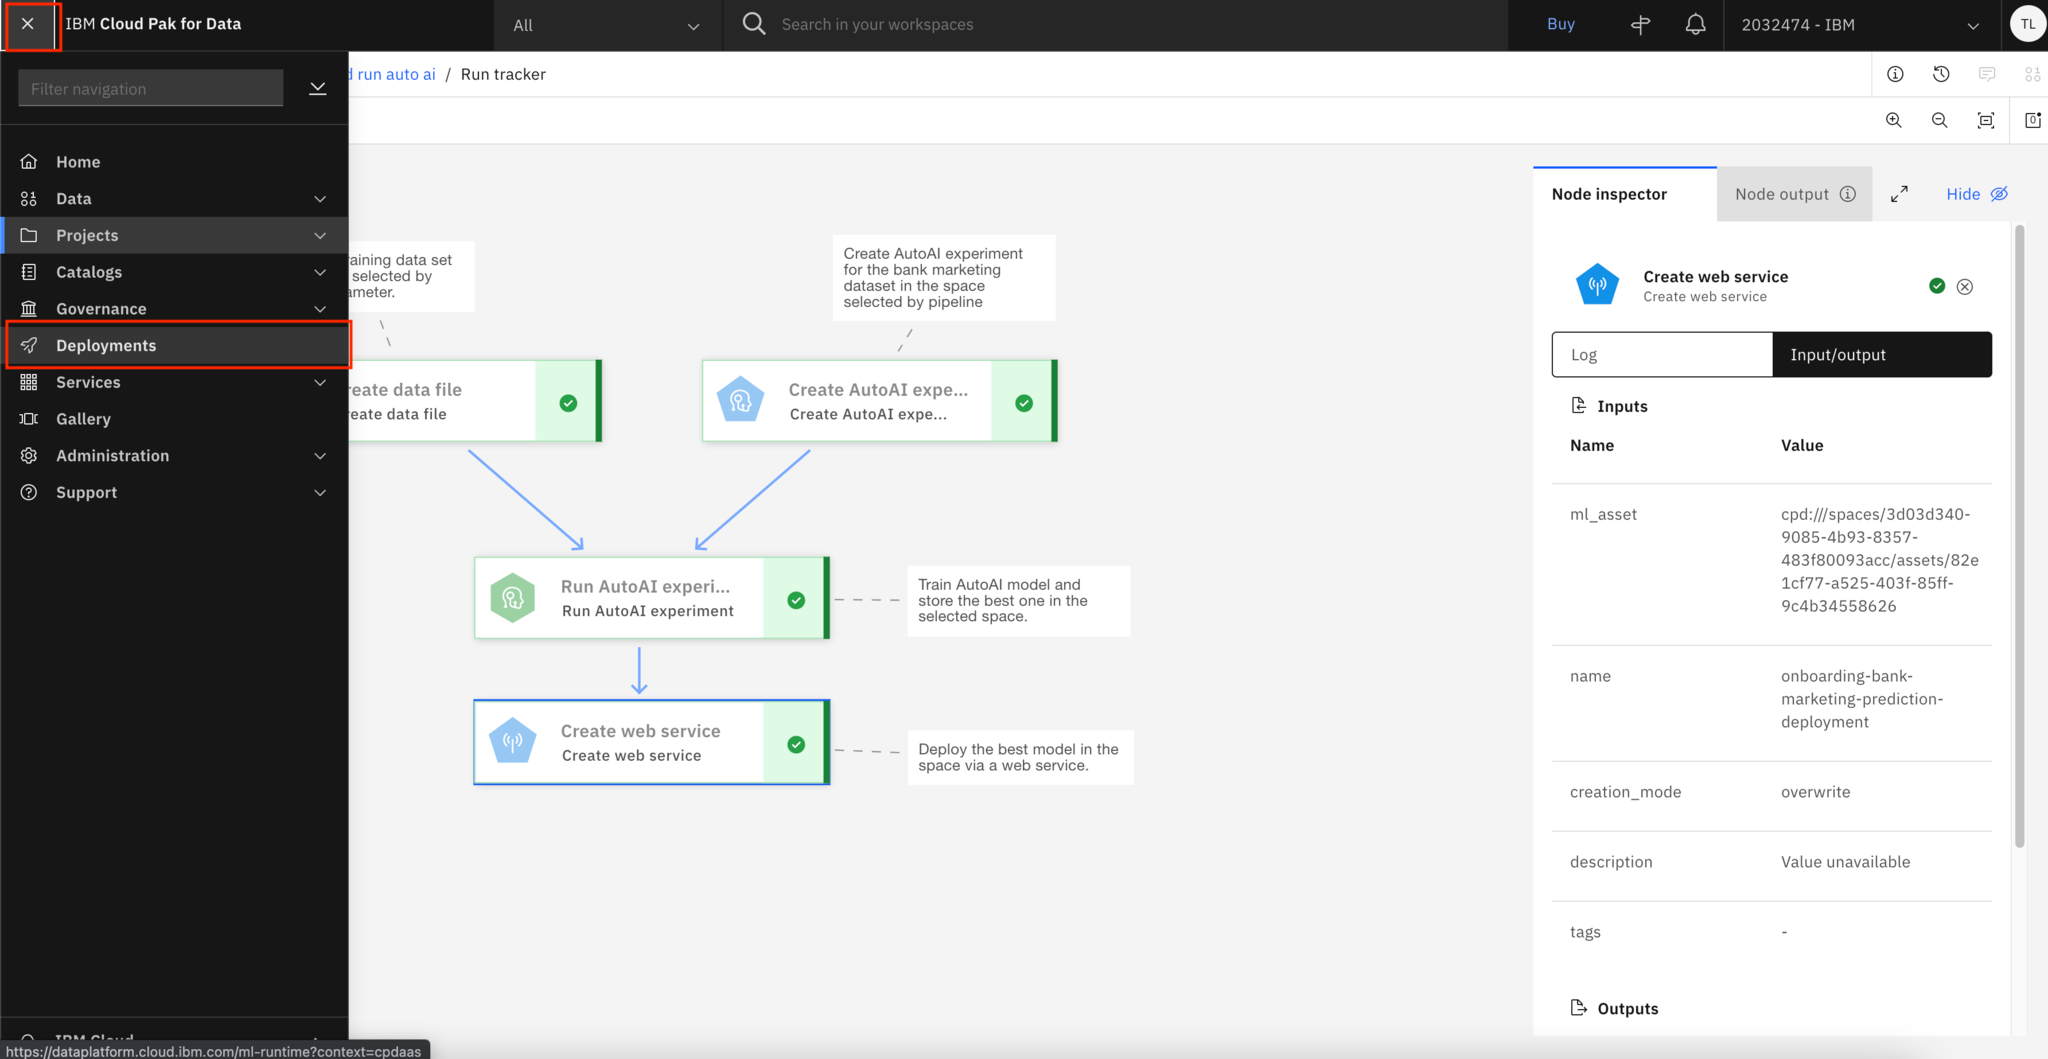
You should see the AutoAI pipeline example. Inside Watson Studio Pipeline, you can drag and drop any node, connect them, and modify them in the UI. You can also add comments to any node so that others can understand what each node is doing inside the pipeline.
To run the pipeline, click Run, and select Trial run. Then, select the desired deployment space to serve the best machine learning model. If you don't have a deployment space, follow the next step by clicking the upper left, and select Deployments. Then, you can create a new deployment space.
This pipeline downloads the data set from the shared object storage and creates an AutoAI experiment to train multiple machine learning models. It then finds the best machine learning model based on the experiment result and deploys it as a web service using Watson Studio deployment.
Step 4. Test the deployed production model
After the pipeline is finished, you can go to the deployments page and look at the model deployment details. Click the upper left to open the side menus and select Deployments.
Click the Spaces tab, and select the space where your model is deployed to.
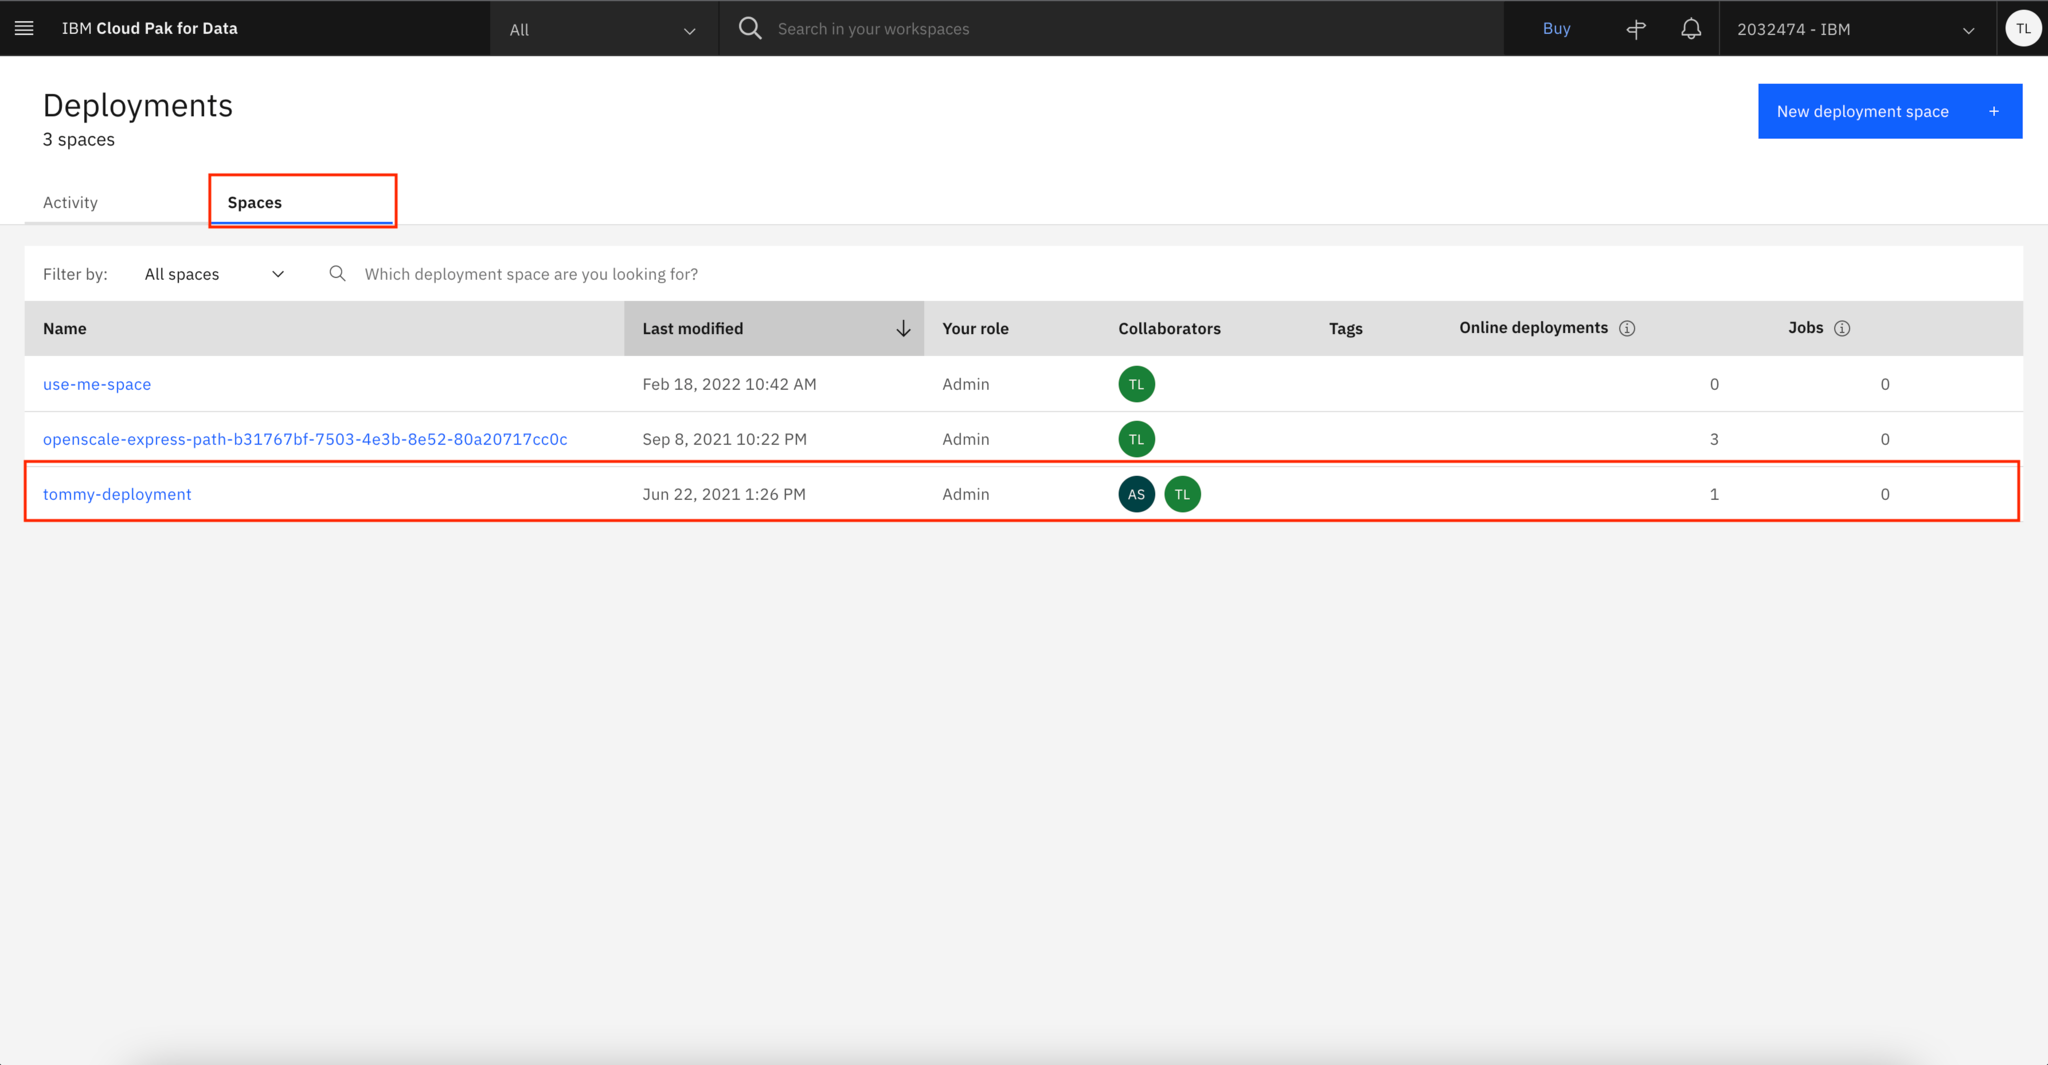
Click Deployments, and you can see all of the active models in this space. Then, select the most recent model that you just deployed.

Click the Test tab, and use the following example payload to test the deployed model. You see that this model can be interacted with as a web service and returns the prediction result along with the confident rate details.
As you can see, the model predicts that the client most likely will not subscribe to a term deposit.

Summary
You have now created an end-to-end pipeline that can load the data, train it, and optimize it with AutoAI. The pipeline then can deploy the best model to production using the Watson Machine Learning Service. Now, you can start modifying the pipeline with your own data and training method, or start automating this pipeline as a cron or periodic job to save you time on your day-to-day machine learning workflows.
