Tutorial
Set up a quantum-safe SSH connection
Help secure sensitive data against threats from quantum attacksIn this tutorial, we'll help you get started on your journey to quantum-safe by showing you how to set up an SSH connection to an IBM Cloud VM using quantum-safe cryptography. After completing this tutorial, you should know why quantum-safe is so important, how to set up a quantum-safe SSH connection on IBM Cloud, and have a few action items for how to start making your projects quantum-safe.
Why quantum safe matters
The SSH protocol provides a secure way to log in to remote machines. Authenticating is usually done using SSH keys, a type of public-key cryptography based on the idea that factoring prime numbers was thought to be a hard problem. It's widely thought that it would take an absurdly large amount of time (on the order of centuries) to break these types of algorithms using even the largest supercomputer available today.
With quantum computers, that's no longer the case. In the 1990s, Peter Shor devised an algorithm for quantum computers that could factor prime numbers (and thus break classical encryption methods) in a matter of days or even hours. This has led scientists and researchers to develop new quantum-safe algorithms, with the U.S. National Institute of Standards and Technology announcing several quantum-safe cryptographic schemes for public key authentication. Though still in the early stages, these algorithms can help secure sensitive data against threats from quantum attacks.
A note about security
The quantum-safe SSH repo contains the following note on limitations and security, which is copied here with some slight edits:
This fork is currently based on OpenSSH version 8.9 [...]. IT IS AT AN EXPERIMENTAL
STAGE, and has not received the same level of auditing and analysis that OpenSSH
has received. [...]

WE DO NOT RECOMMEND RELYING ON THIS FORK TO PROTECT SENSITIVE DATA.

[...]

As research advances, the supported algorithms may see rapid changes in their security,
and may even prove insecure against both classical and quantum computers.

We believe that the NIST Post-Quantum Cryptography standardization project is currently
the best avenue to identifying potentially quantum-resistant algorithms, and strongly
recommend that applications and protocols rely on the outcomes of the NIST
standardization project when deploying quantum-safe cryptography.

While at the time of this writing there are no vulnerabilities known in any of the
quantum-safe algorithms used in this fork, it is advisable to wait on deploying
quantum-safe algorithms until further guidance is provided by the standards
community, especially from the NIST standardization project.

We realize some parties may want to deploy quantum-safe cryptography prior to the
conclusion of the standardization project. We strongly recommend such attempts
make use of so-called hybrid cryptography, in which quantum-safe public-key
algorithms are combined with traditional public key algorithms (like RSA or
elliptic curves) such that the solution is at least no less secure than existing
traditional cryptography. This fork provides the ability to use hybrid cryptography.
Prerequisites
- A remote system, such as an IBM Cloud virtual server
- A POSIX environment on your local machine, such as GNU/Linux, MacOS, or Windows Subsystem for Linux (WSL)
- Access to the quantum-safe fork of OpenSSH
Step 1. Set up the remote server
The first thing you'll need to do is set up your remote machine to use quantum-safe algorithms for authentication.
For this tutorial, we're using a small Virtual Server for Classic instance running Ubuntu v20.04. However, it should work for any POSIX operating system (though the names of the dependencies you'll need can vary across different operating systems; for example, on Mac the proper dependencies might be named differently in Homebrew than the ones for Ubuntu).

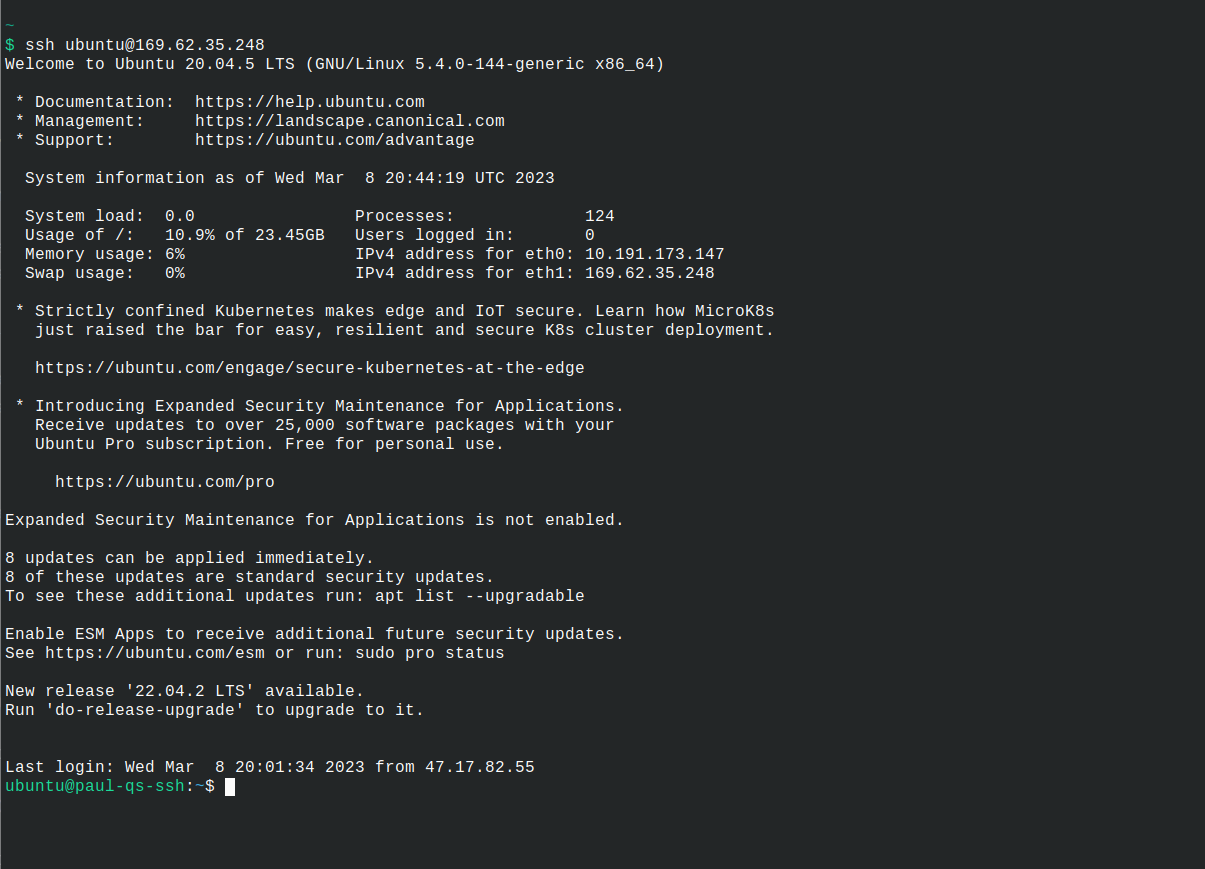
After your server is ready, we want to connect to it (note that you need to use the public IP of your own VSI in place of 169.62.35.248 and change the username if your system doesn't have an ubuntu user). Open a terminal window and run the following command:
ssh ubuntu@169.62.35.248
You should see something like the following in your terminal.
Next, we want to update our system to make sure we're patched and running the latest software:
sudo apt update
sudo apt -y upgrade
Once we make sure we're up to date, the next step is to install the dependencies we need to build our quantum-safe SSH:
sudo apt -y install autoconf \
                    automake \
                    cmake \
                    gcc \
                    git \
                    libtool \
                    libssl-dev \
                    make \
                    ninja-build \
                    zlib1g-dev
Now we're ready to start the build. We need to get the source from the Open Quantum Safe repository:
git clone --depth 1 --branch OQS-v8 https://github.com/open-quantum-safe/openssh.git
The quantum-safe algorithms are implemented in a library called liboqs. We need to build liboqs in order for SSH to make use of the quantum-safe algorithms. Luckily, the fork of OpenSSH has a set of scripts that will take care of this for us.
cd openssh
./oqs-scripts/clone_liboqs.sh
./oqs-scripts/build_liboqs.sh
Now that we've built liboqs, we can build our custom OpenSSH that makes use of quantum cryptography:
sudo ./oqs-scripts/build_openssh.sh
The final step is testing that everything was built correctly, as well as generating the various keys needed to set up our quantum-safe connection. We can do both of these in a single step by running the following command:
./oqs-test/run_tests.sh
This one can take a while, so go grab a cup of coffee and check out some of the links at the bottom of the tutorial while you wait.
Once the tests have finished, there's one final piece of configuration that needs to be done. The default sshd_config file created in the previous step assumes that the SSH connection will be made from the same machine. To get it working on an IBM Cloud VM, we need to comment out the ListenAddress lines in the config file.
sed -i 's/ListenAddress/#ListenAddress/g' regress/sshd_config
Now that our server has been configured, let's turn to setting up our local machine.
Step 2. Set up our local machine
Setting up our local machine is similar to how we set up the remote machine. In this tutorial, the local machine is also running Ubuntu V20.04, and my username is paul.
Open a new terminal window and run the following commands:
# updates
sudo apt update
sudo apt -y upgrade

# install dependencies
sudo apt -y install autoconf \
                    automake \
                    cmake \
                    gcc \
                    git \
                    libtool \
                    libssl-dev \
                    make \
                    ninja-build \
                    zlib1g-dev

# clone the repo
git clone --depth 1 https://github.com/open-quantum-safe/openssh.git
cd openssh

# build/install liboqs
./oqs-scripts/clone_liboqs.sh
./oqs-scripts/build_liboqs.sh

# build openssh
sudo ./oqs-scripts/build_openssh.sh
At this point, we've now built a quantum-safe version of OpenSSH on our local system.
The next step is to create a set of quantum-safe SSH keys to use to connect to the VM. There are a number of different supported algorithms that can be used, and we can generate keys for each supported algorithm using the following command:
make tests -e LTESTS=""
For this tutorial, we'll use ssh-ecdsa-nistp384-dilithium3, a hybrid algorithm that combines the dilithium3 quantum-safe algorithm with the traditional ECDSA using the NIST P-384 curve. Let's upload our public key to the VM:
cat regress/ssh-ecdsa-nistp384-dilithium3.pub \
  | ssh ubuntu@169.62.138.44 \
  "cat >> /home/ubuntu/openssh/regress/authorized_keys_ubuntu"
Note: Substitute your own values for the username, host, and quantum-safe algorithm as needed.
At this point, we've done all the setup we need. Now let's open a quantum-safe SSH connection.
Step 3. Make a quantum-safe SSH connection
In order to make an SSH connection using the quantum-safe tools we just built, we need to run a separate instance of the quantum-safe SSH daemon.
In the terminal connected to the remote machine, run the following command:
/home/ubuntu/openssh/sshd -D -e \
    -f /home/ubuntu/openssh/regress/sshd_config \
    -o KexAlgorithms=ecdh-nistp384-kyber-768-sha384 \
    -o HostKeyAlgorithms=ssh-ecdsa-nistp384-dilithium3 \
    -o PubkeyAcceptedKeyTypes=ssh-ecdsa-nistp384-dilithium3 \
    -h /home/ubuntu/openssh/regress/ssh-dilithium3
This will run the sshd process while sending output to the screen so we can watch what's happening in real time.
Note that if you chose a different algorithm when setting up your local system in the previous step, you'll need to change the value of the PubkeyAcceptedKeyTypes value.
After starting the SSH daemon, you'll see a bunch of debug logs printed to the screen, which will look something like this.

Now let's switch back to our local terminal. We can check that port 4242 is open by using the nmap utility:
nmap -Pn -p 4242 169.62.35.248
You should see something like this.

If the state of the port isn't "open", you'll need to open it before proceeding (for example, by opening the port in the firewall or if you're using a VPC updating the security group rules).
Now that we verified that the port is open, it's time to make our connection. Enter the following command in your local terminal window (remembering to change the value of PubkeyAcceptedKeyTypes if you picked a different algorithm):
/home/paul/openssh/ssh -o KexAlgorithms=ecdh-nistp384-kyber-768-sha384 \
    -o HostKeyAlgorithms=ssh-ecdsa-nistp384-dilithium3 \
    -o PubkeyAcceptedKeyTypes=ssh-ecdsa-nistp384-dilithium3 \
    -o PasswordAuthentication=no \
    -o LogLevel=DEBUG3 \
    -i regress/ssh-ecdsa-nistp384-dilithium3 \
    -p 4242 \
    ubuntu@169.62.35.248
This will run the SSH client in debug mode, so we'll get verbose logs on the screen when making the connection (drop the LogLevel option if you don't want to clutter your screen), which should look something like this.

You'll notice that you're now the ubuntu user on the remote machine. Congratulations! You've made a quantum-safe SSH connection to an IBM Cloud VM.

Next steps
Now that you've completed this tutorial, here are a few things you can do to learn more about quantum-safe cryptography and IBM Quantum Safe:
- Get a better understanding of quantum computing with the Qiskit Understanding Quantum Information and Computation video series.
- Hear from Peter Shor about his eponymous algorithm and its implications for factoring prime numbers on quantum computers.
- Explore post-quantum cryptography at the Open Quantum Safe project.
- Learn more about how IBM is making the world Quantum Safe.
- Experiment with making other software quantum-safe using the Open Quantum Safe Demos.