Tutorial
Extract structured data from messy documents with Docling for IBM watsonx and IBM Bob
Build a purchase order processing application using spec-driven development to convert unstructured documents into actionable insightsOrganizations struggle to extract structured data from documents like purchase orders that frequently exist in a variety of formats (for example, PDFs, images, emails, or scanned documents).
In this tutorial, you learn how to convert unstructured documents ("messy" documents) into structured data using Docling for IBM watsonx and IBM Bob through a spec-driven development approach.
Architecture overview
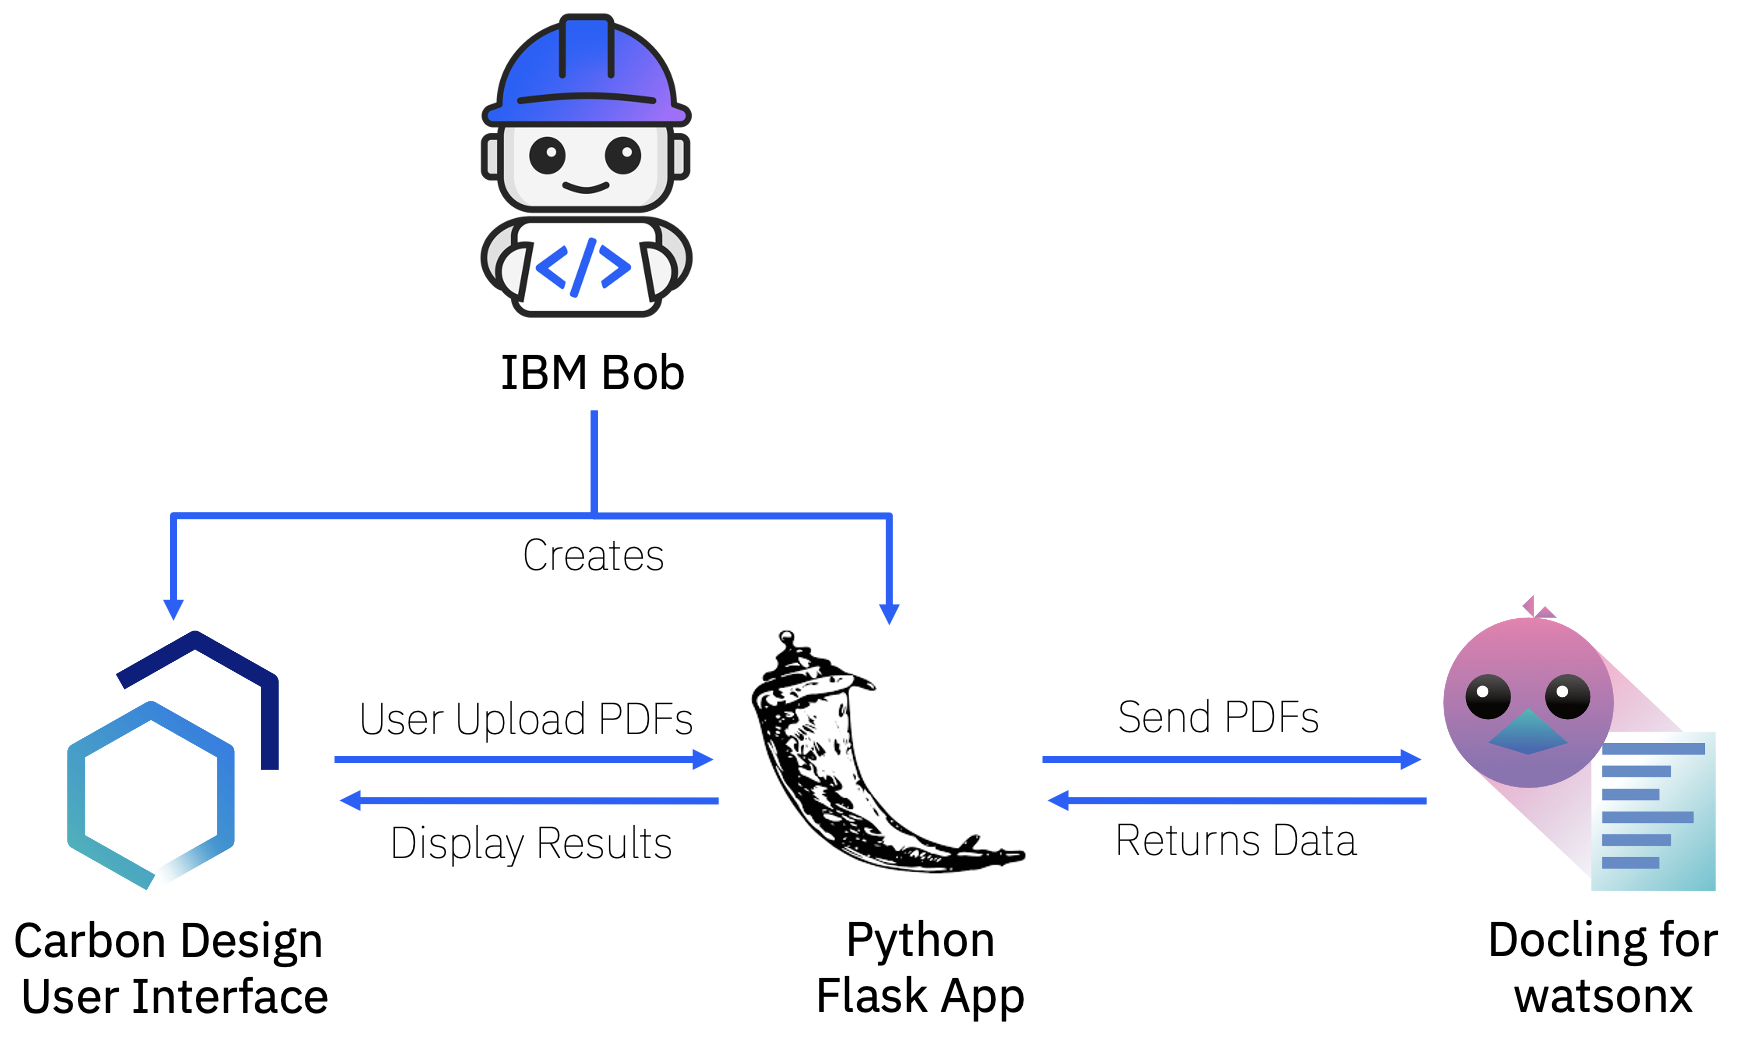
This tutorial shows how to implement a purchase order processing application that extracts multiple purchase order (PO) PDFs and consolidates them into actionable procurement insights using Docling for watsonx.
Users (procurement teams, inventory managers, finance teams, and supply chain coordinators) upload multiple PO PDFs. The system extracts PO details and generates three consolidated views: line items, vendor summaries, and product summaries, with CSV export capability.
Bob creates a Python Flask web application with a user interface built using the Carbon Design System.
- Users upload PDFs through the browser to the Flask application.
- The Flask app sends the PDFs to Docling for watsonx.
- Docling returns extracted data to the Flask app.
- The Flask app displays the results in the web interface.
Prerequisites
- IBM Bob installed. Sign up for the IBM Bob free trial.
- Docling for watsonx SaaS instance. Get a free Docling for watsonx trial.
Step 1. Get the API key for Docling for IBM watsonx
In this step, you get the credentials for Docling for IBM watsonx, which you need in the next steps to configure access from the application to Docling.
Log in to the IBM SaaS console. Open Docling for IBM watsonx.
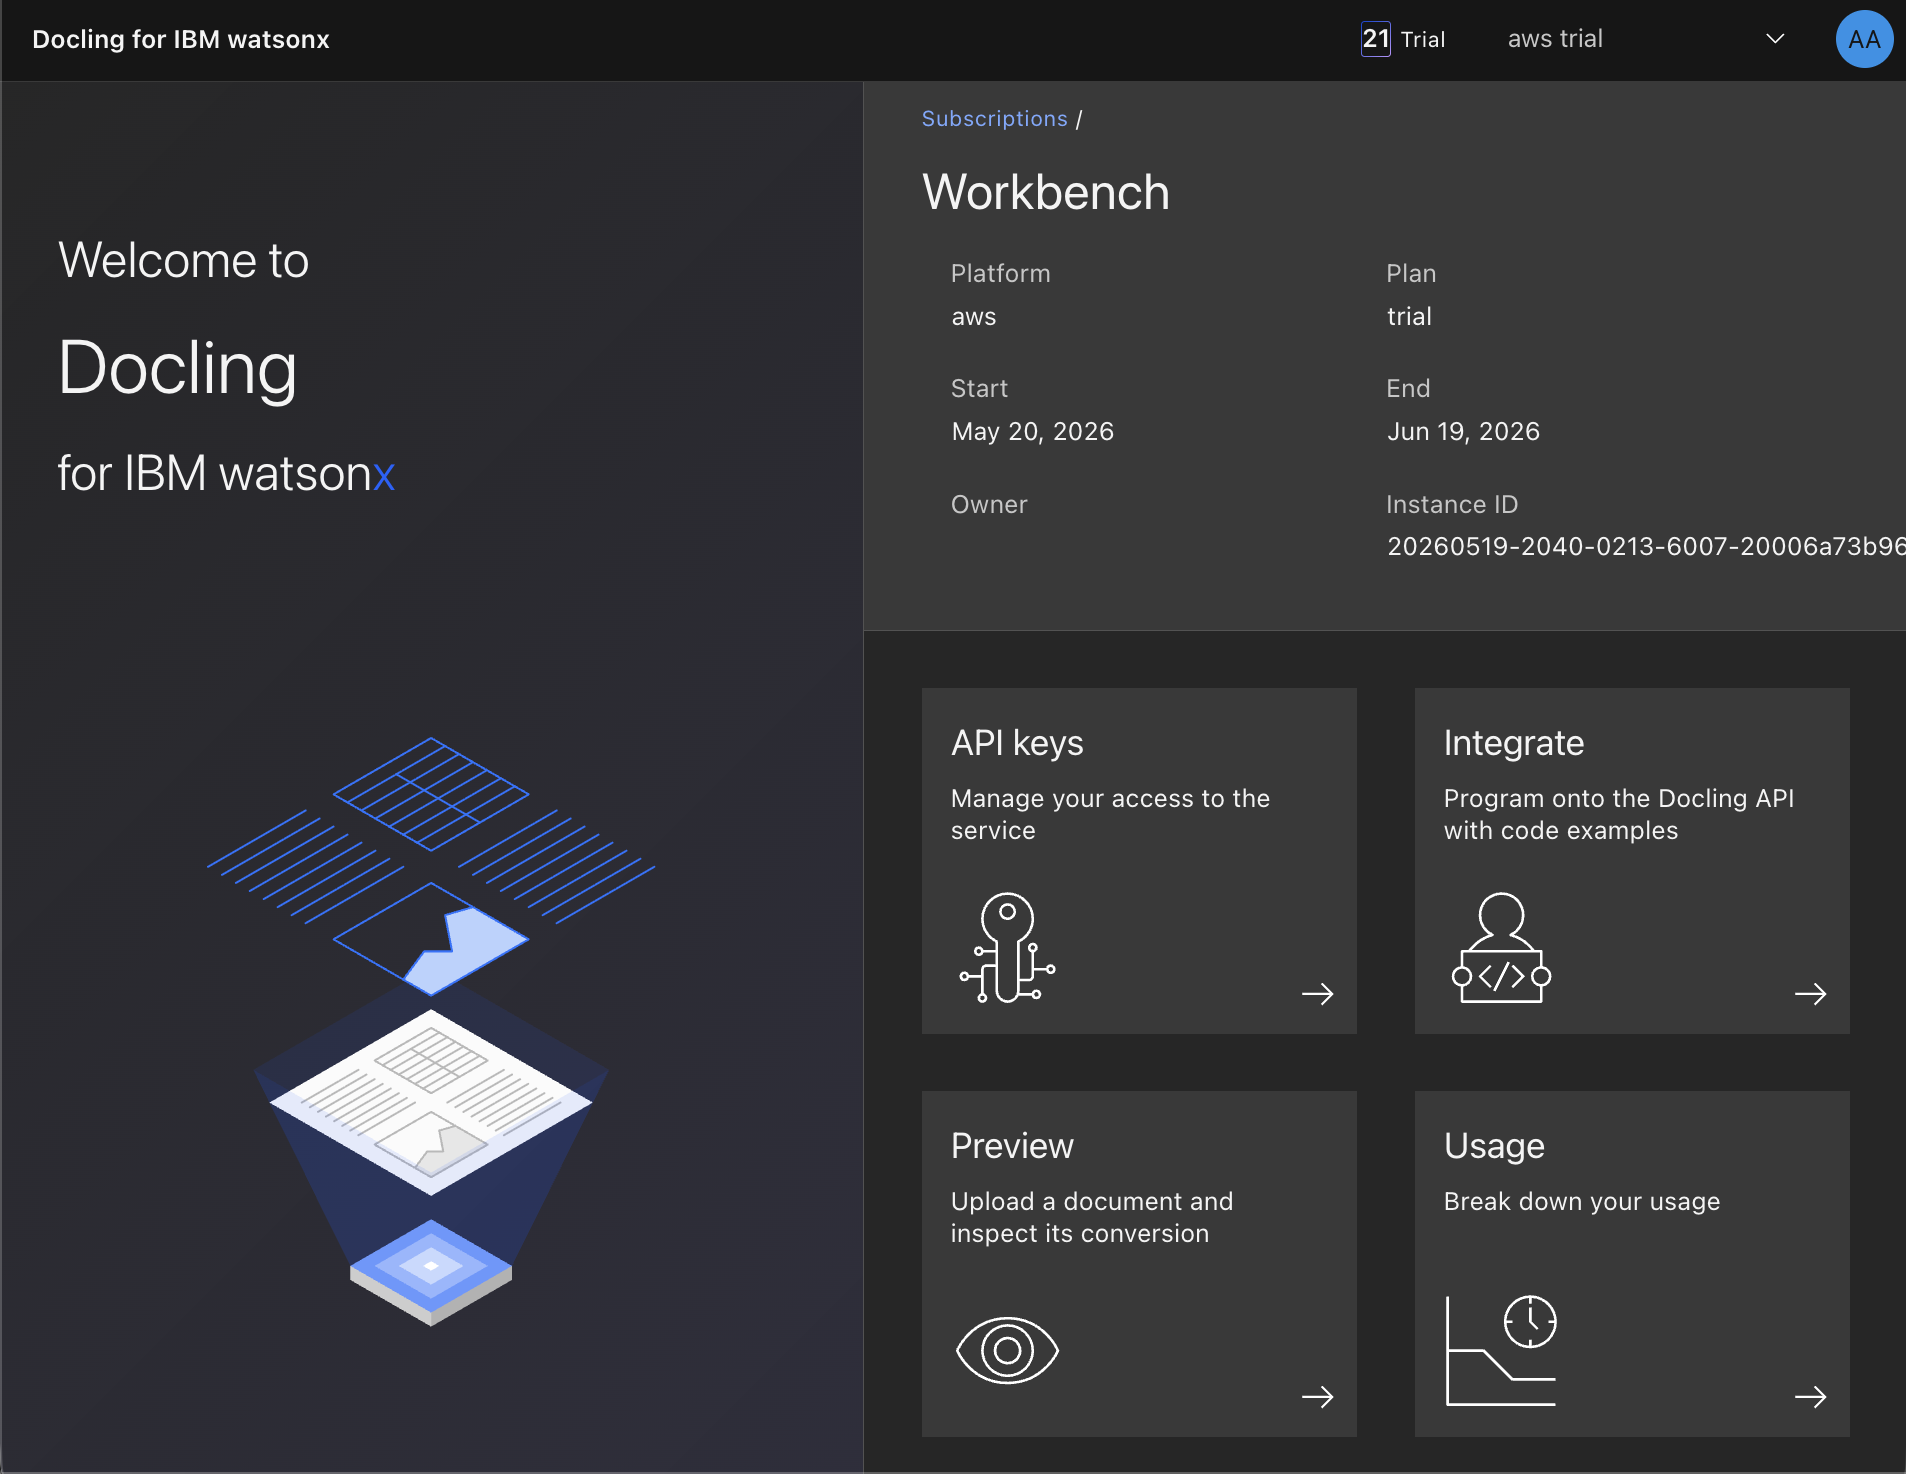
Click API keys, and then click Generate key. Give the key a name and click Generate key. Copy the key securely.
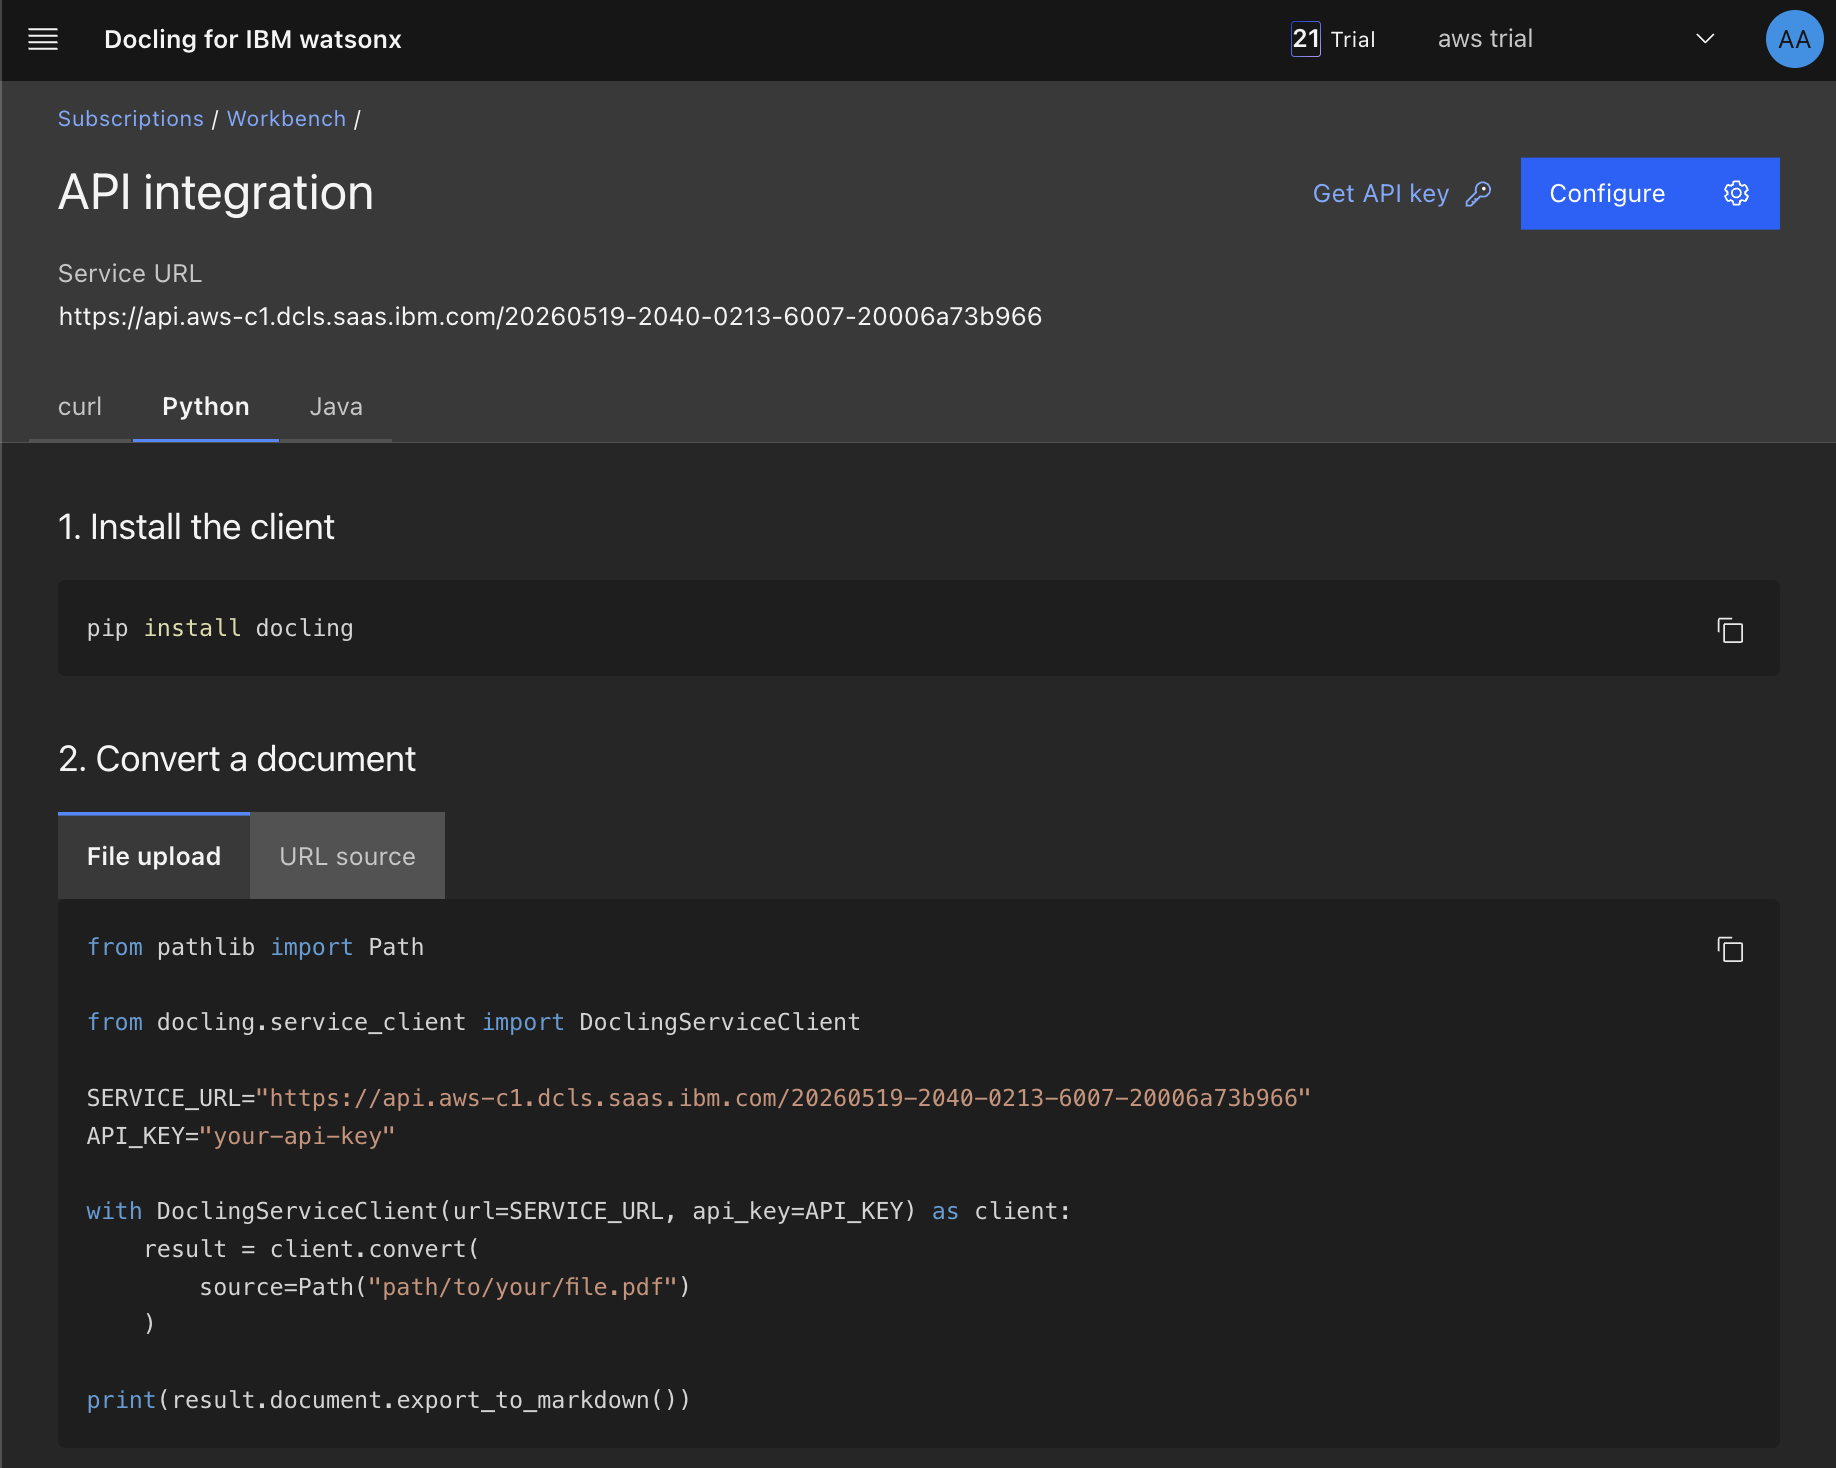
Click back to the Welcome screen, and then click Integrate. Copy the Service URL. The API Integration screen also includes sample code on how to integrate code with curl, Python, and Java.
Step 2. Set up the Bob workspace with requirements and sample PDFs
In this step, you create a new workspace in Bob and include the requirements intent specification and a sample PDF.
The requirements-intent.md file defines what the application should do (process PO PDFs and generate consolidated analytics), the intended users(procurement and finance teams), including the expected inputs (multiple PDF uploads), outputs (three consolidated table views and CSV export), and key technical constraints (Docling for IBM watsonx SaaS, Python Flask, and IBM Carbon Design). It also includes the sample integration code with Docling from the API integration step above.
The PO_10001_Acme.pdf serves as a test file to verify that Docling correctly extracts purchase order data and to validate the application's functionality before processing real documents.
Open Bob IDE.
Click File > Open Folder.
Click New Folder, name the folder docling-saas-purchase-order, and then click Open.
Download the
requirements-intent.mdfile to the workspace.Create a new folder named "sample."
Download the
PO_10001_Acme.pdffile to thesamplefolder.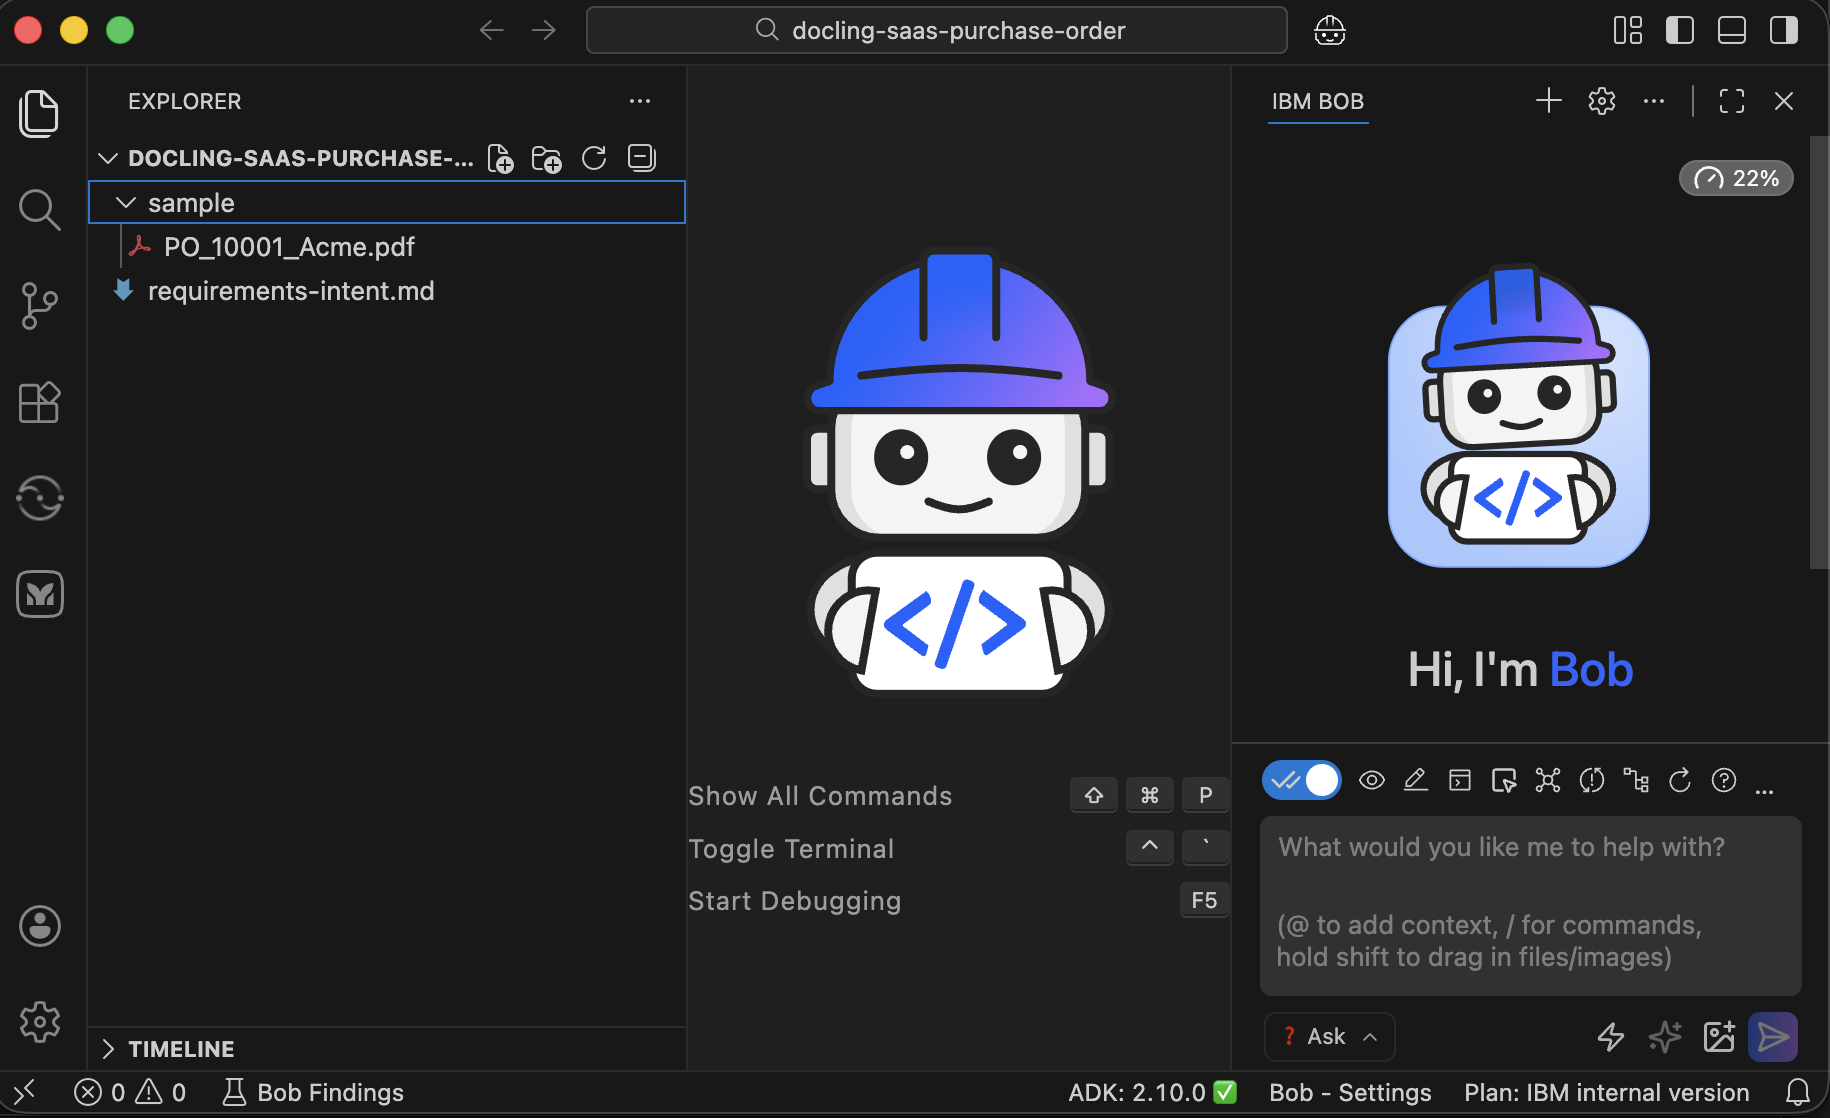
Step 3. Create a technical specification document
In this step, you use the Plan mode in Bob and ask Bob to create a technical specification document through spec-driven development. You provide Bob with the requirements-intent.md file. Bob translates that intent into a TECHNICAL_SPEC.md file that contains detailed technical specifications, including system architecture diagrams, tech stack versions, API endpoint definitions, data models, file structure, configuration requirements, and implementation guidelines. This technical specification helps Bob develop the code by providing a clear blueprint that aligns with the original intent, ensuring all components work together correctly to fulfill the requirements.
Review the
requirements-intent.mdfile to understand the intent.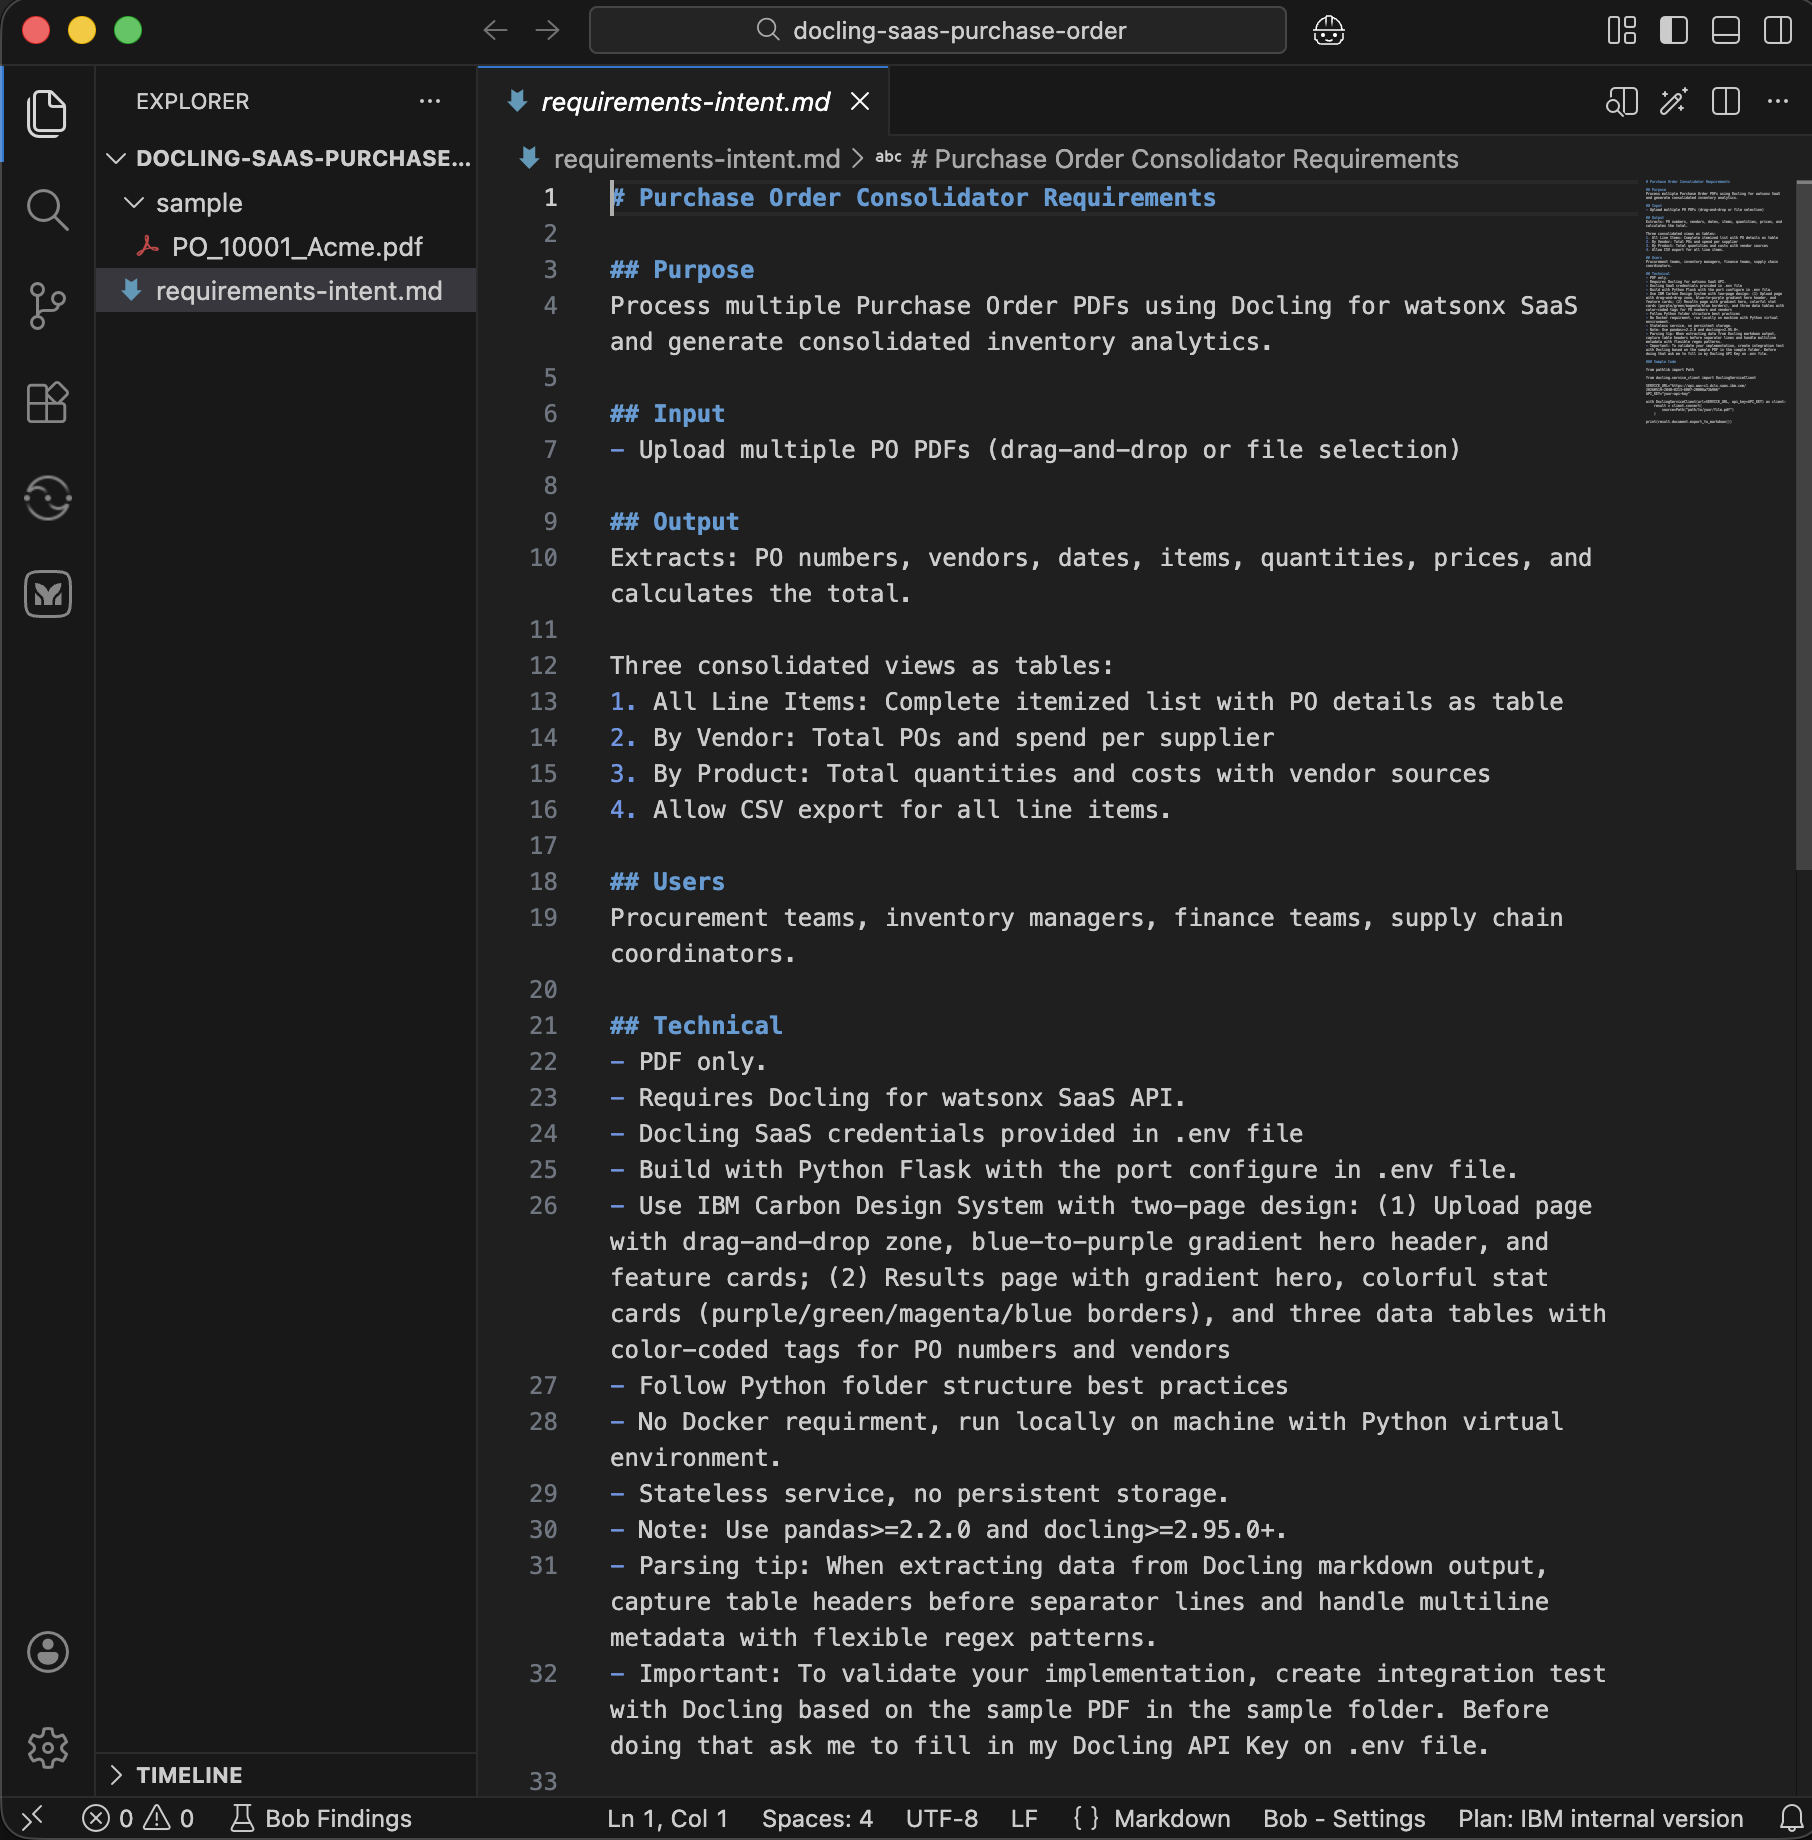
Make sure you are in Plan mode. Then, in the chat ask Bob in natural language to create the technical specification document.
 Create only a concise technical specification for Purchase Order Consolidator based on @requirements-intent.md using Spec-Driven Development (SDD) methodology.

 Include implementation essentials only: architecture mermaid diagram, tech stack, core data models, API endpoints, and directory structure.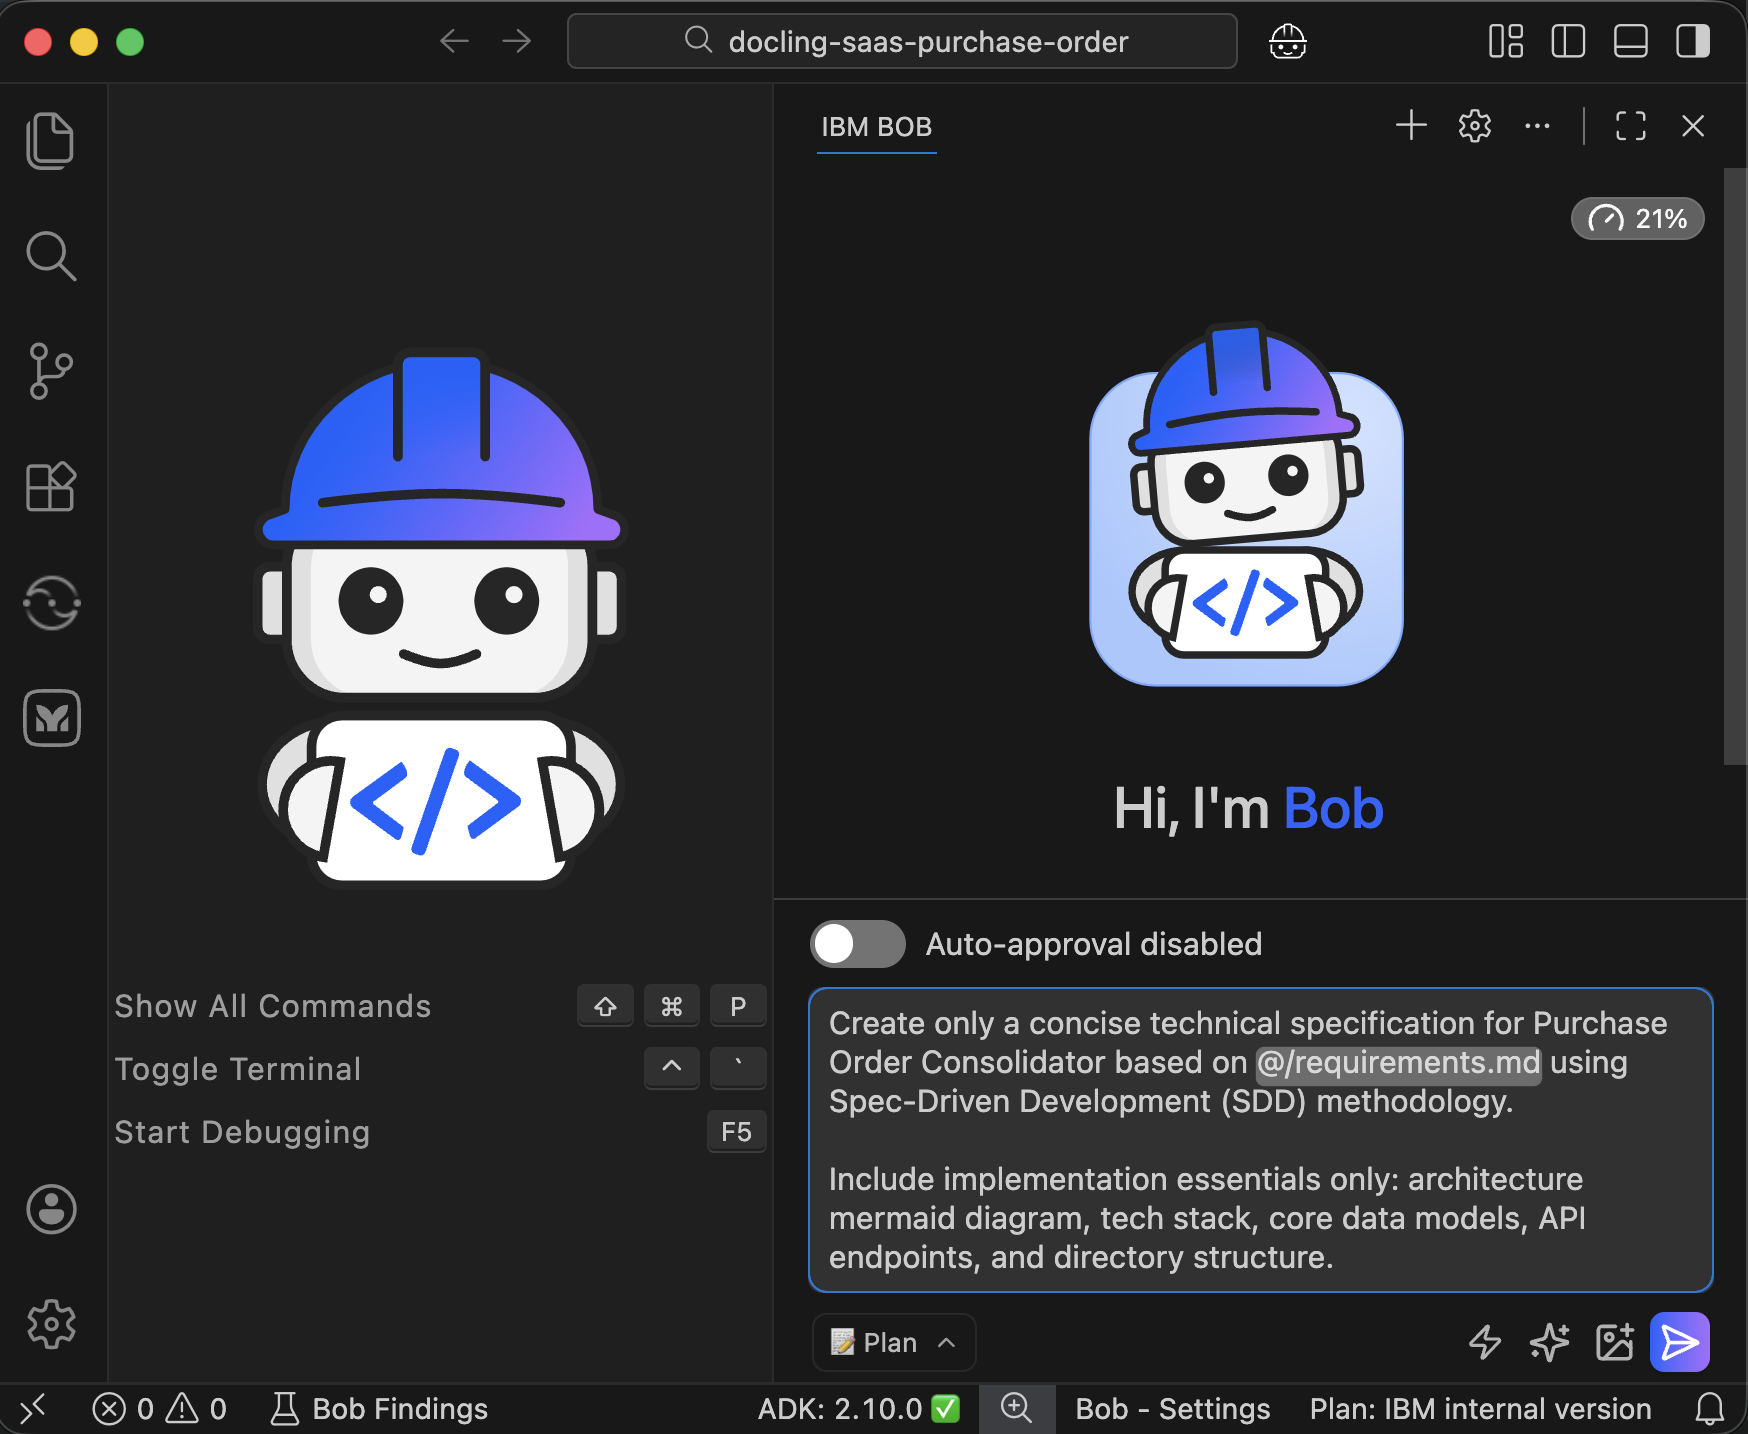
Bob asks any clarification questions and then creates a todo list with the actions that Bob will complete. Click Approve.
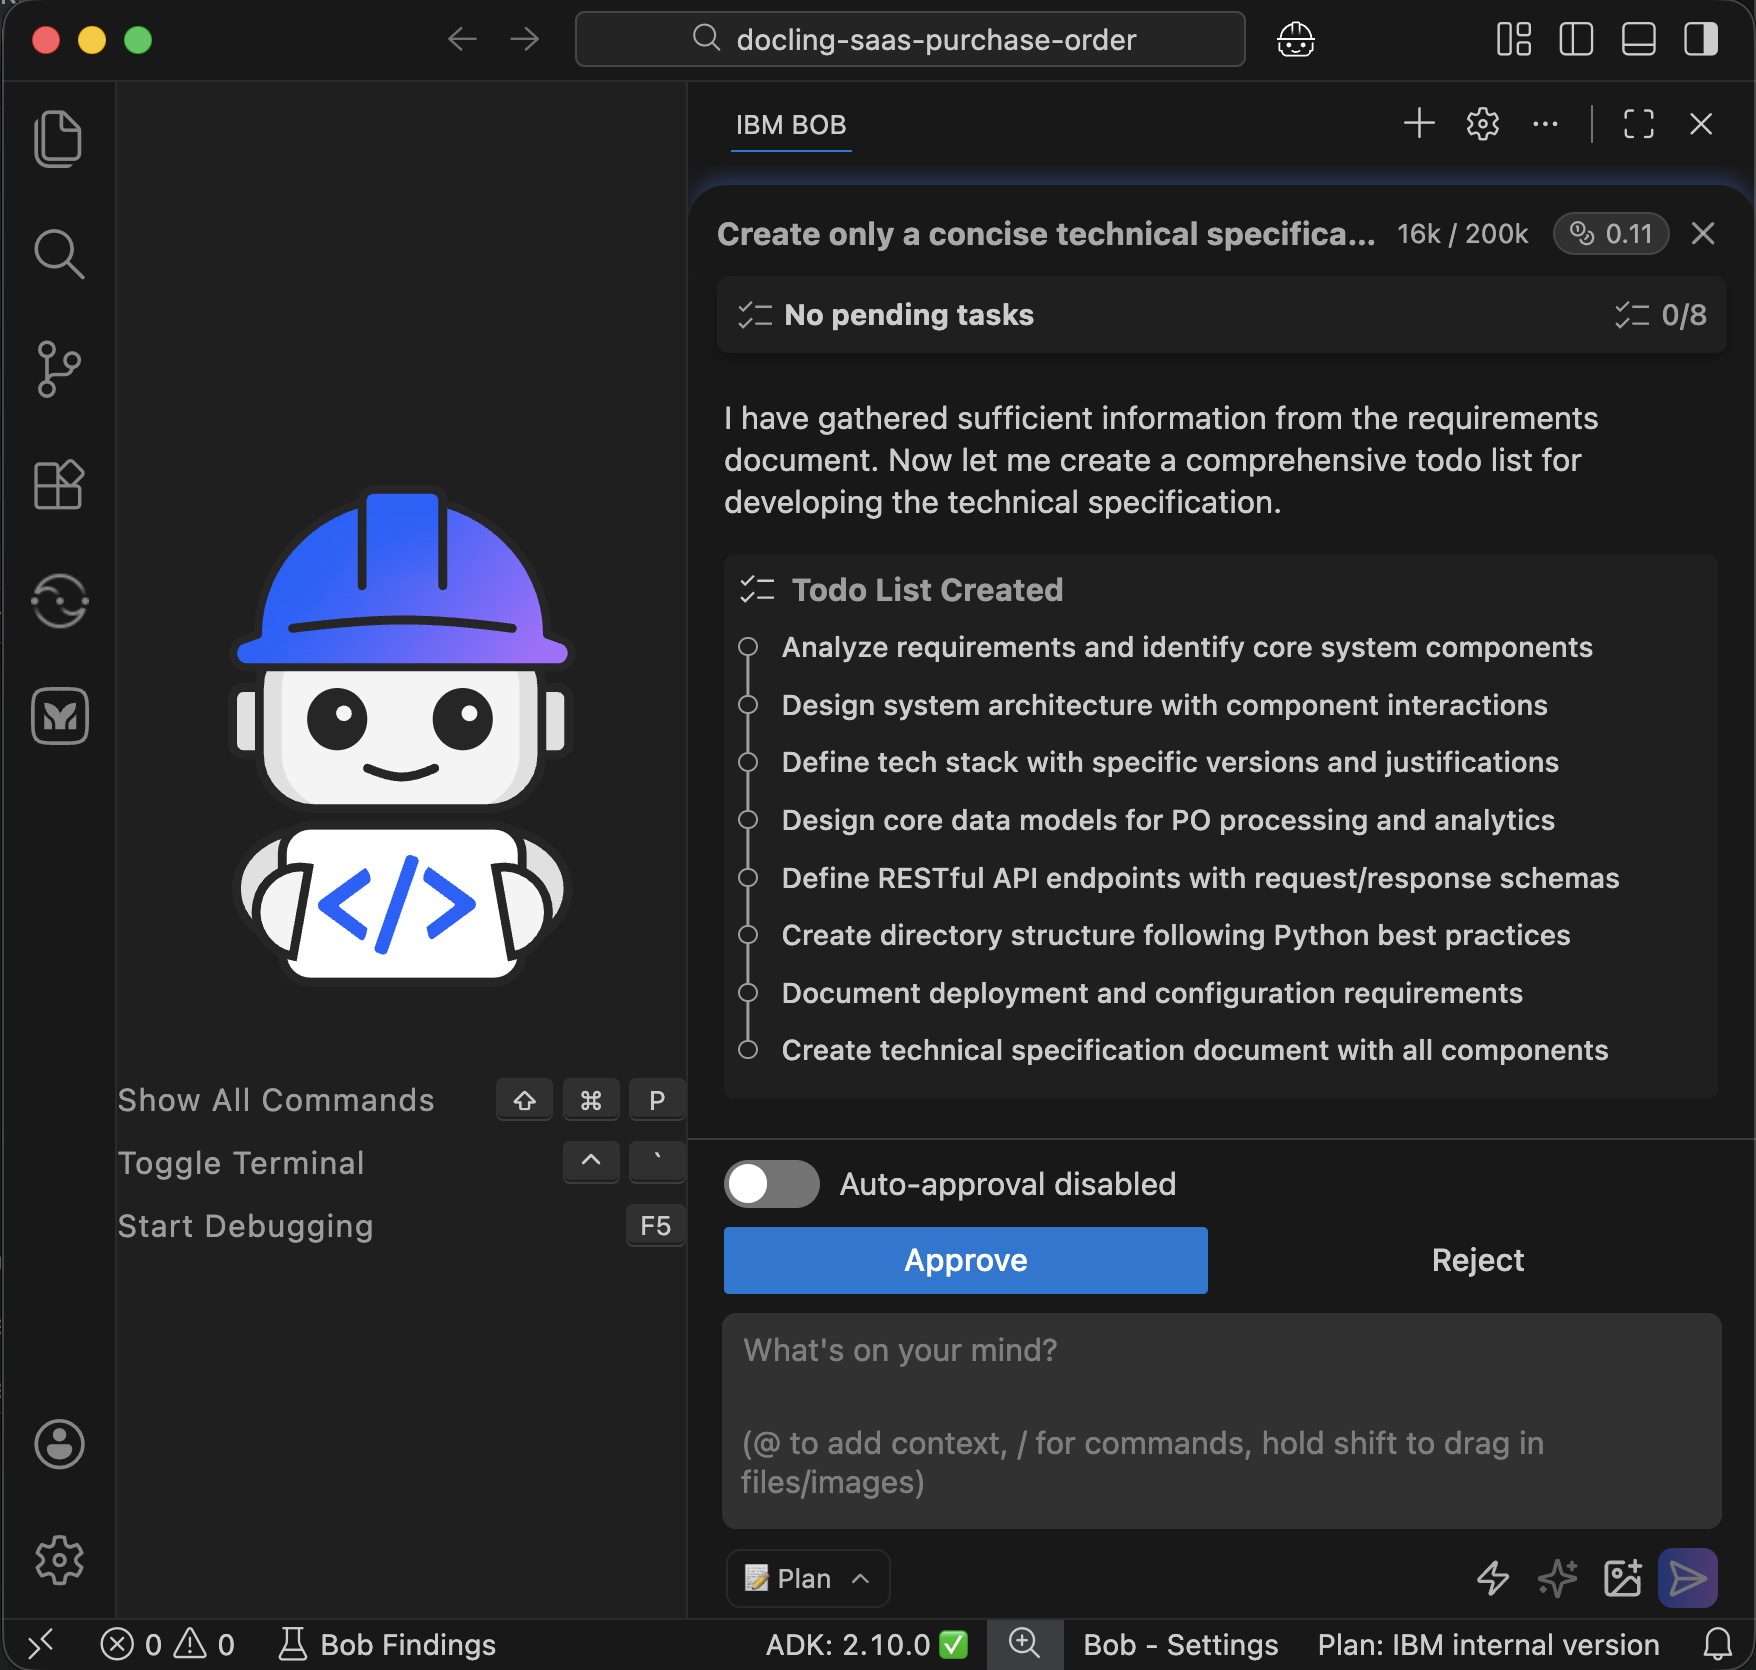
Bob might ask additional clarification questions. For this tutorial, use the default option to proceed with a simple implementation. The exact questions and options might vary from what is shown in the screenshots.
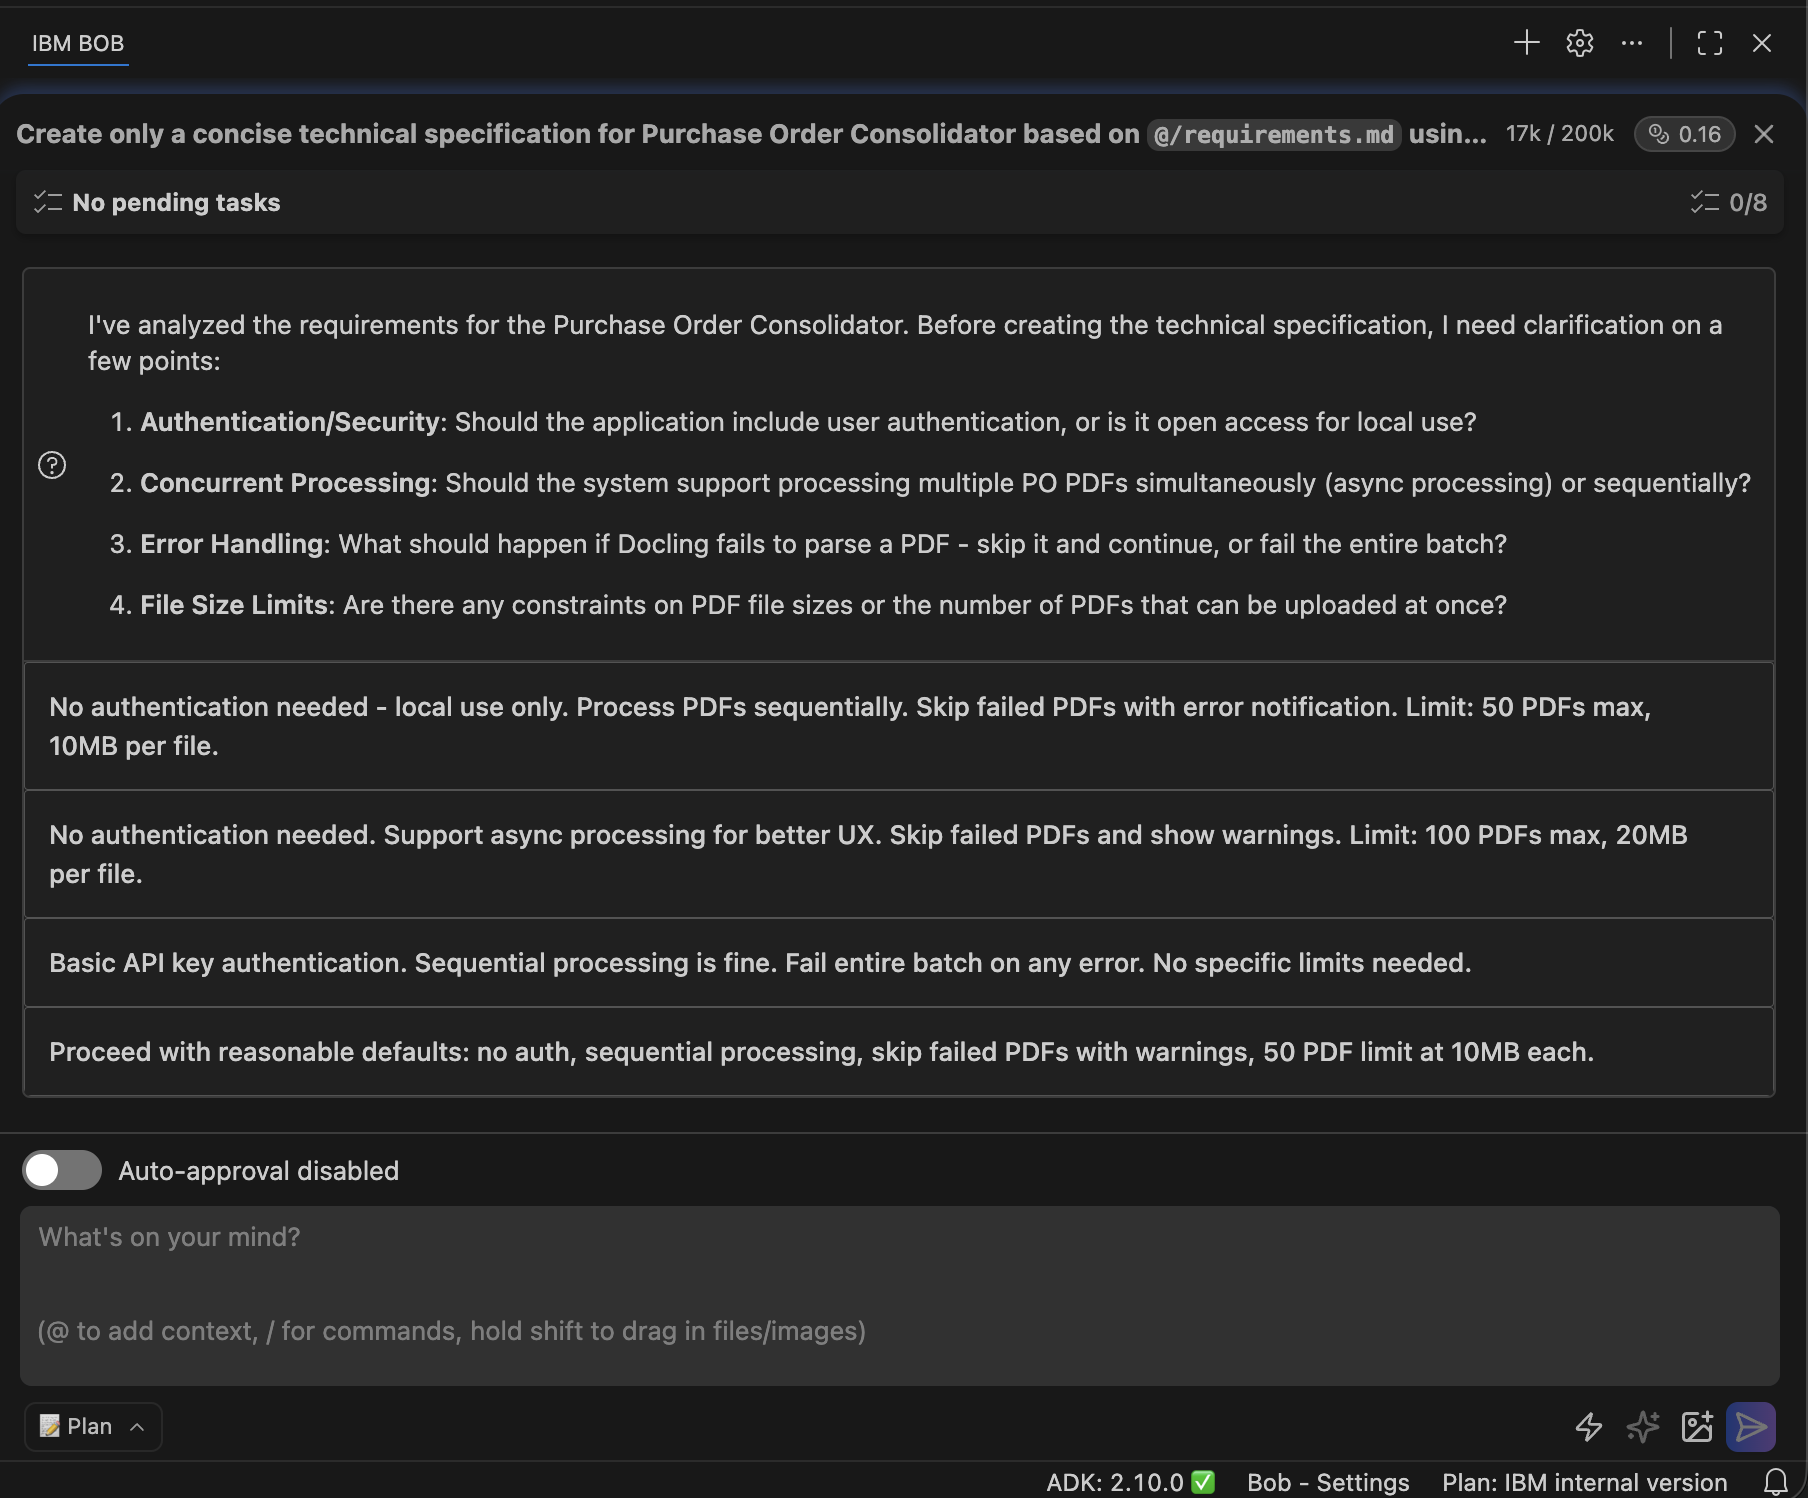
Bob creates the technical specification document. Click Save.
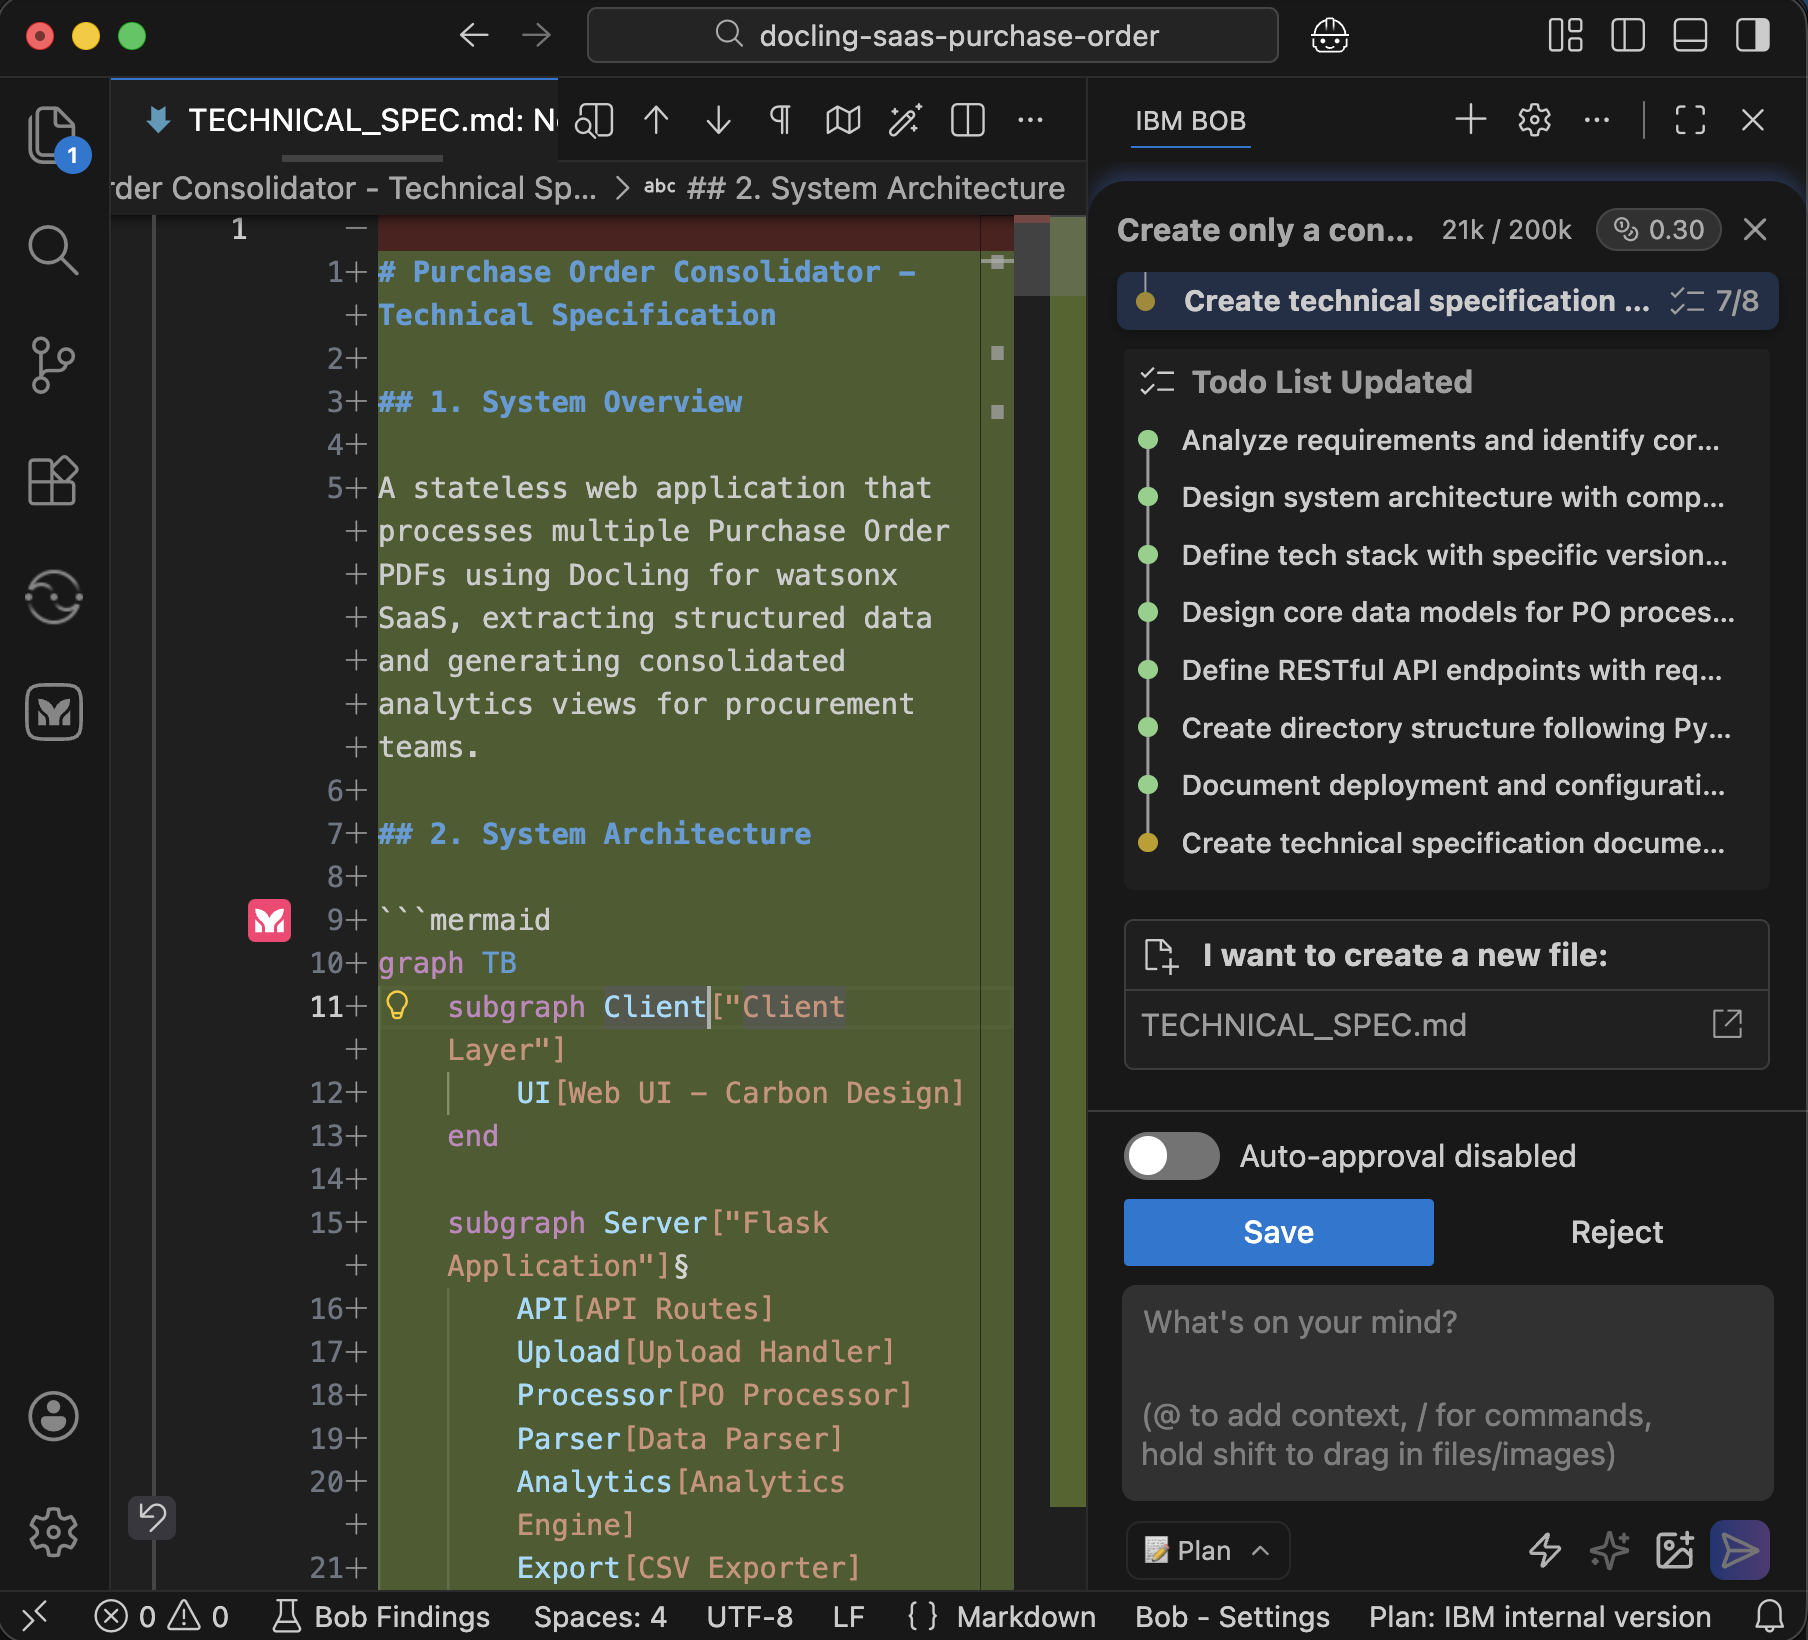
Right-click on the
TECHNICAL_SPEC.mdfile, and click Open Preview. Review the architecture.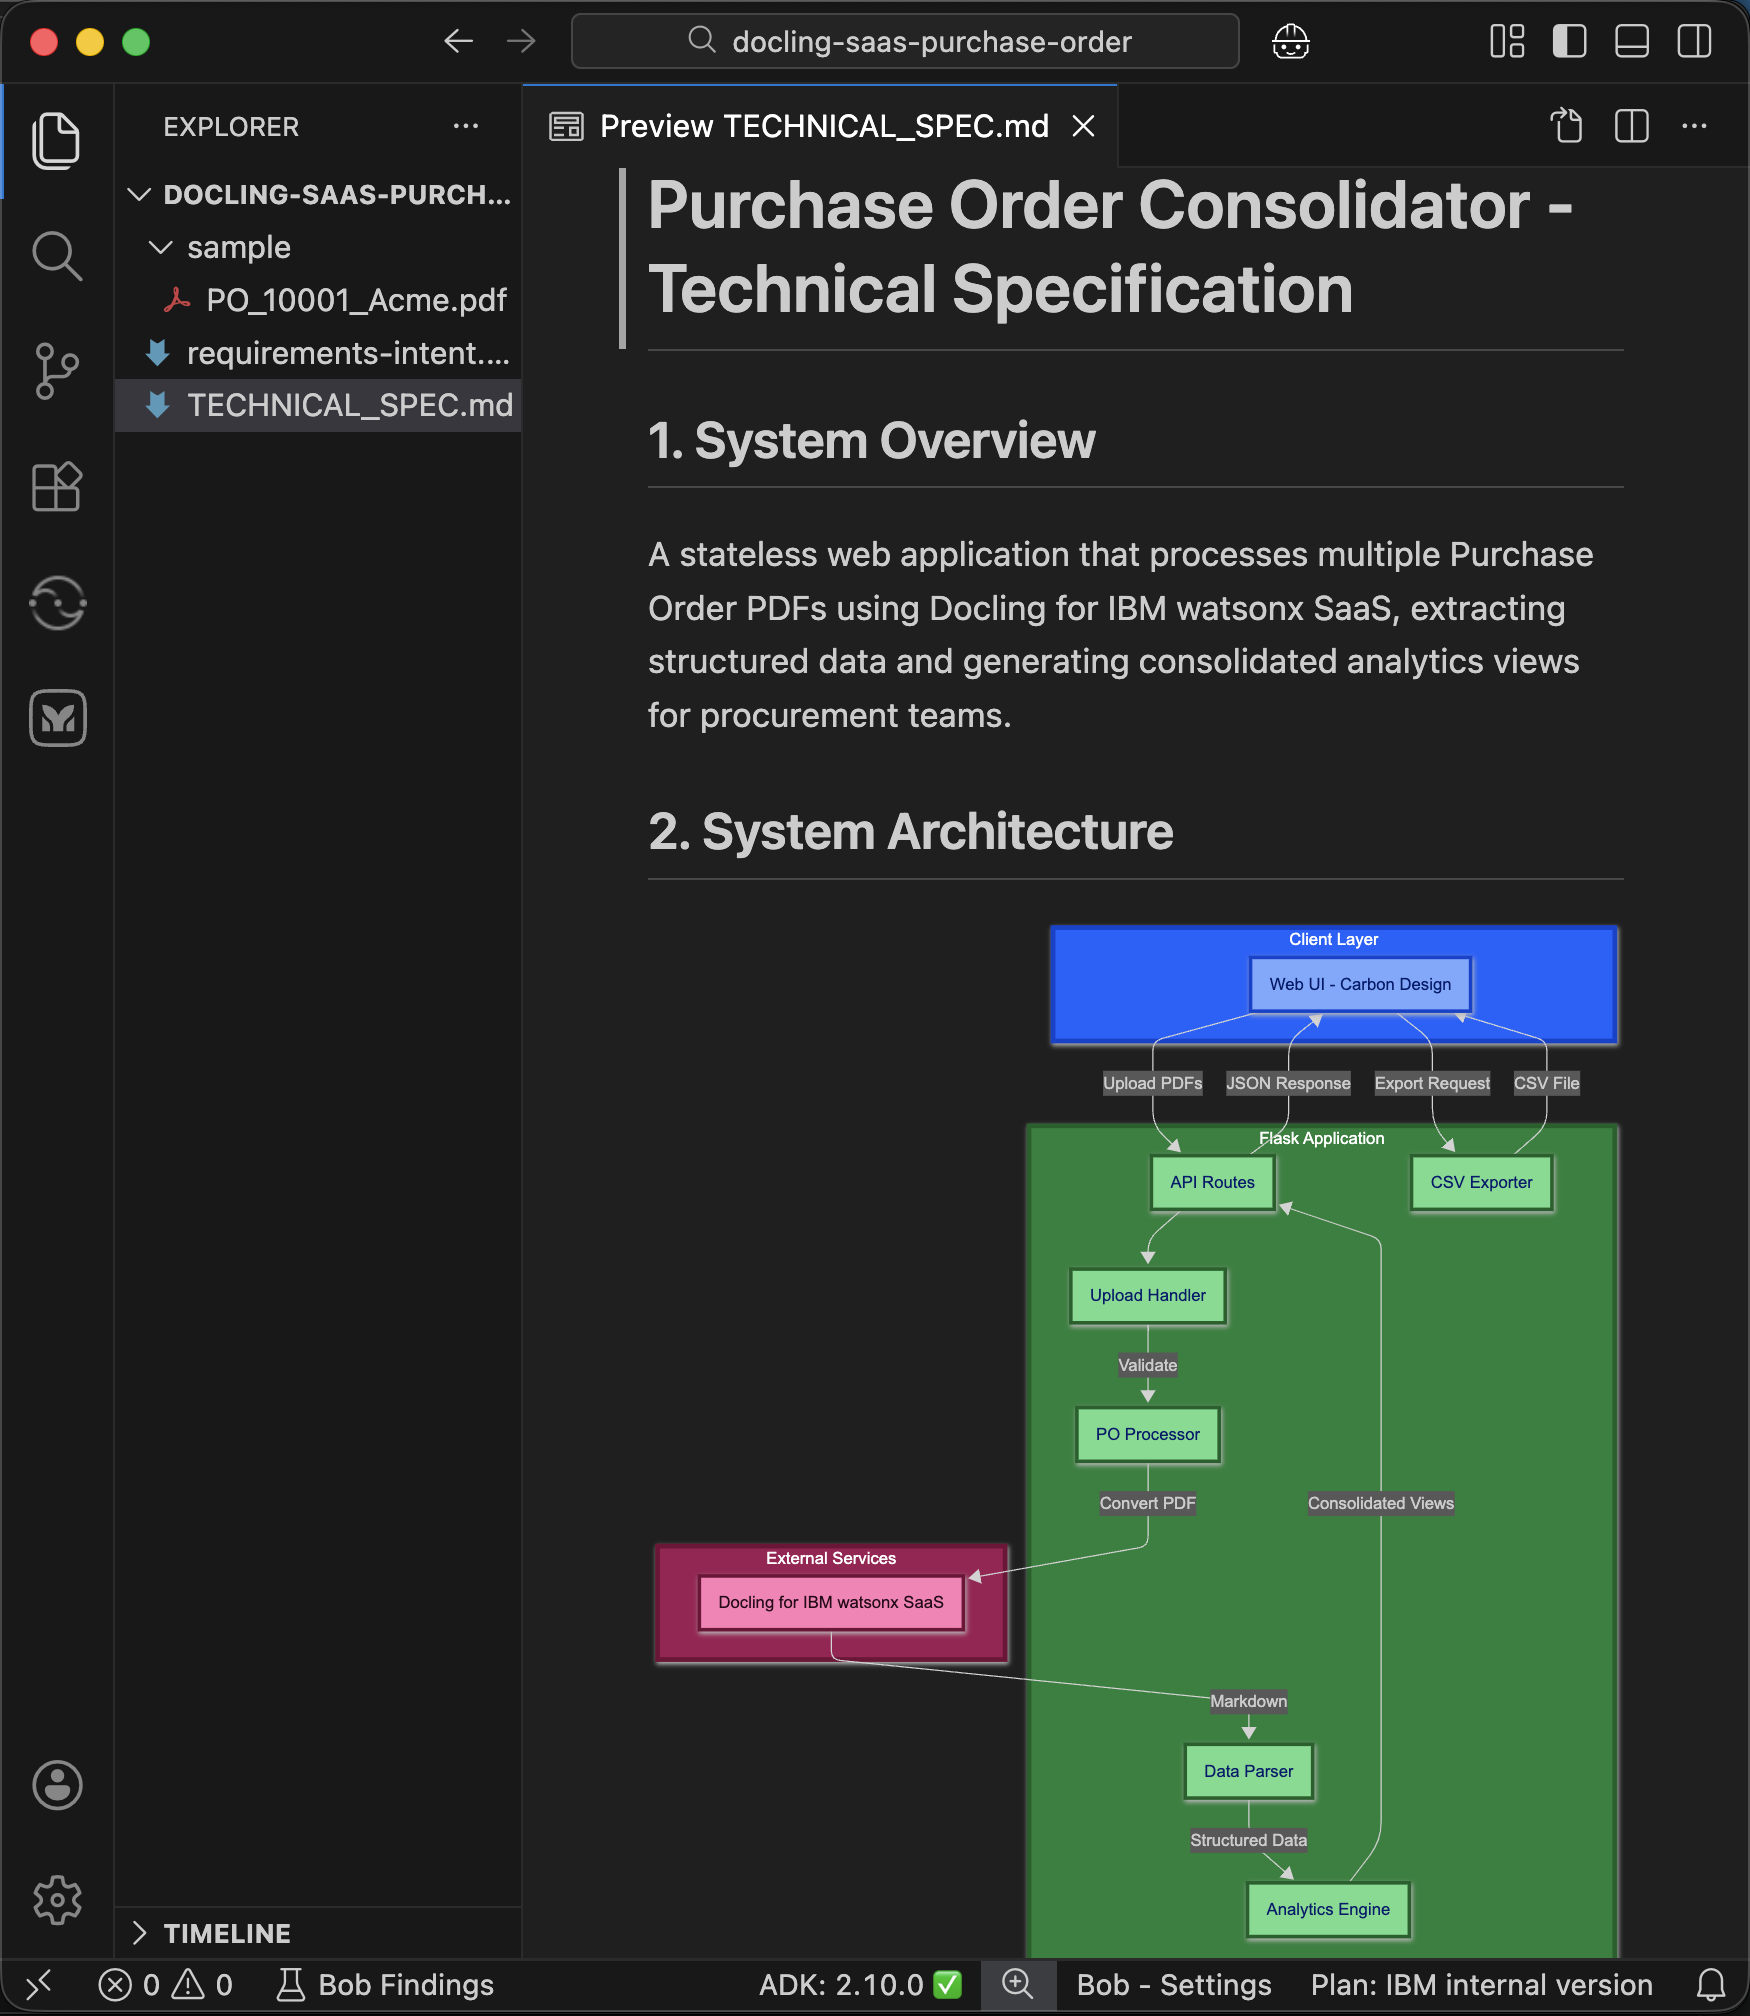
Step 4. Build the Flask application with Docling integration
In this step, you ask Bob to build the application based on your intent and technical specification documents, which Bob uses to generate all the necessary code files.
The code files include the Flask backend with services for Docling for watsonx integration, PDF parsing, and data aggregation, a user interface built using the IBM Carbon Design System with upload and results pages, configuration files, and integration tests to validate the Docling API connection using the sample PDF.
In the chat interface, click Start New Task. It is a best practice to regularly start a new task to manage the context and use Bobcoins efficiently.
Switch to Code mode so that Bob can write code.
Instruct Bob to build the application based on the intent requirements and technical specification document.
Build the application based on @/requirements-intent.md and @/TECHNICAL_SPEC.md .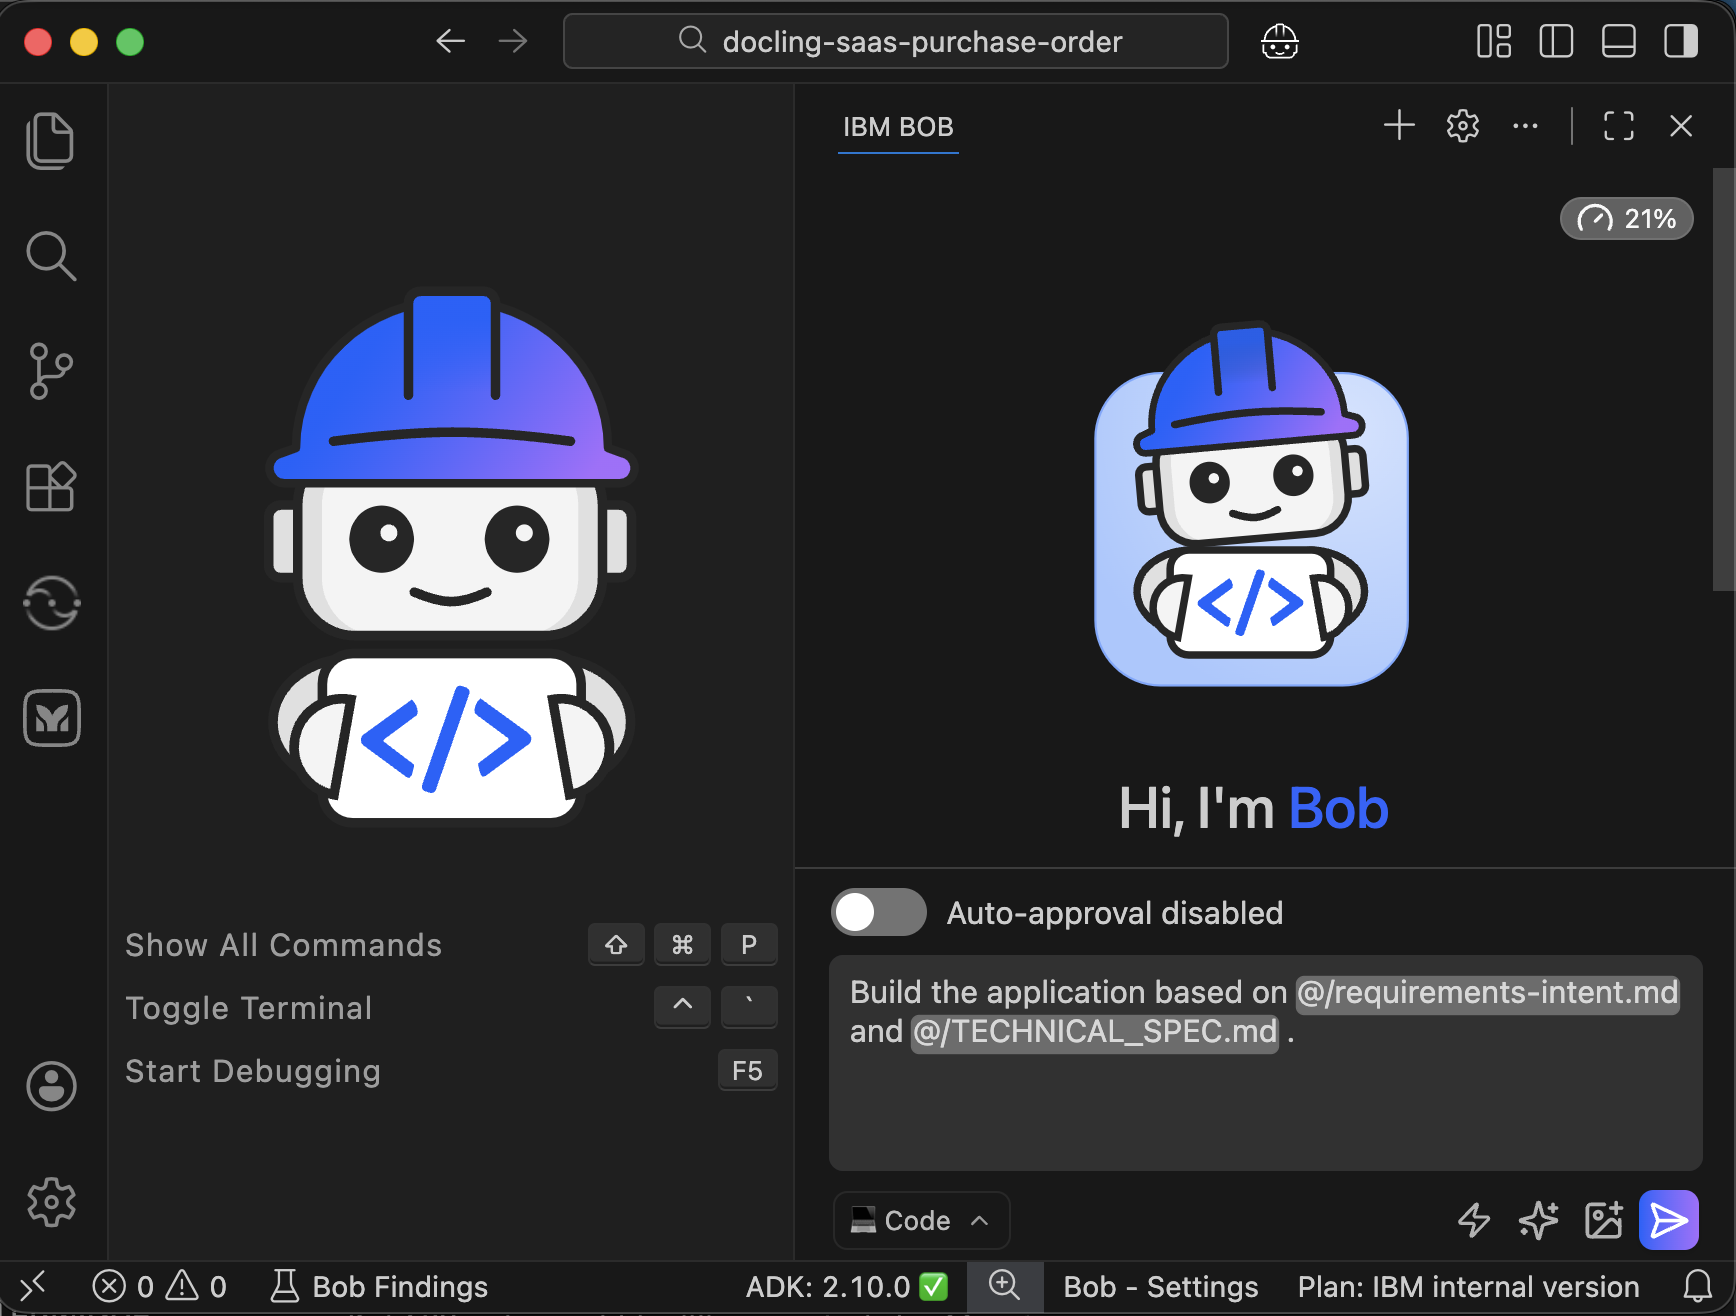
Bob creates a todo list that breaks down the application development into several tasks, including project structure setup, backend services (Docling integration, PDF parsing, data aggregation), API routes, Carbon Design UI pages, frontend JavaScript, documentation, and tests. Review the task list and click Approve.
Although you can enable auto-approval, consider the security risks before doing so.
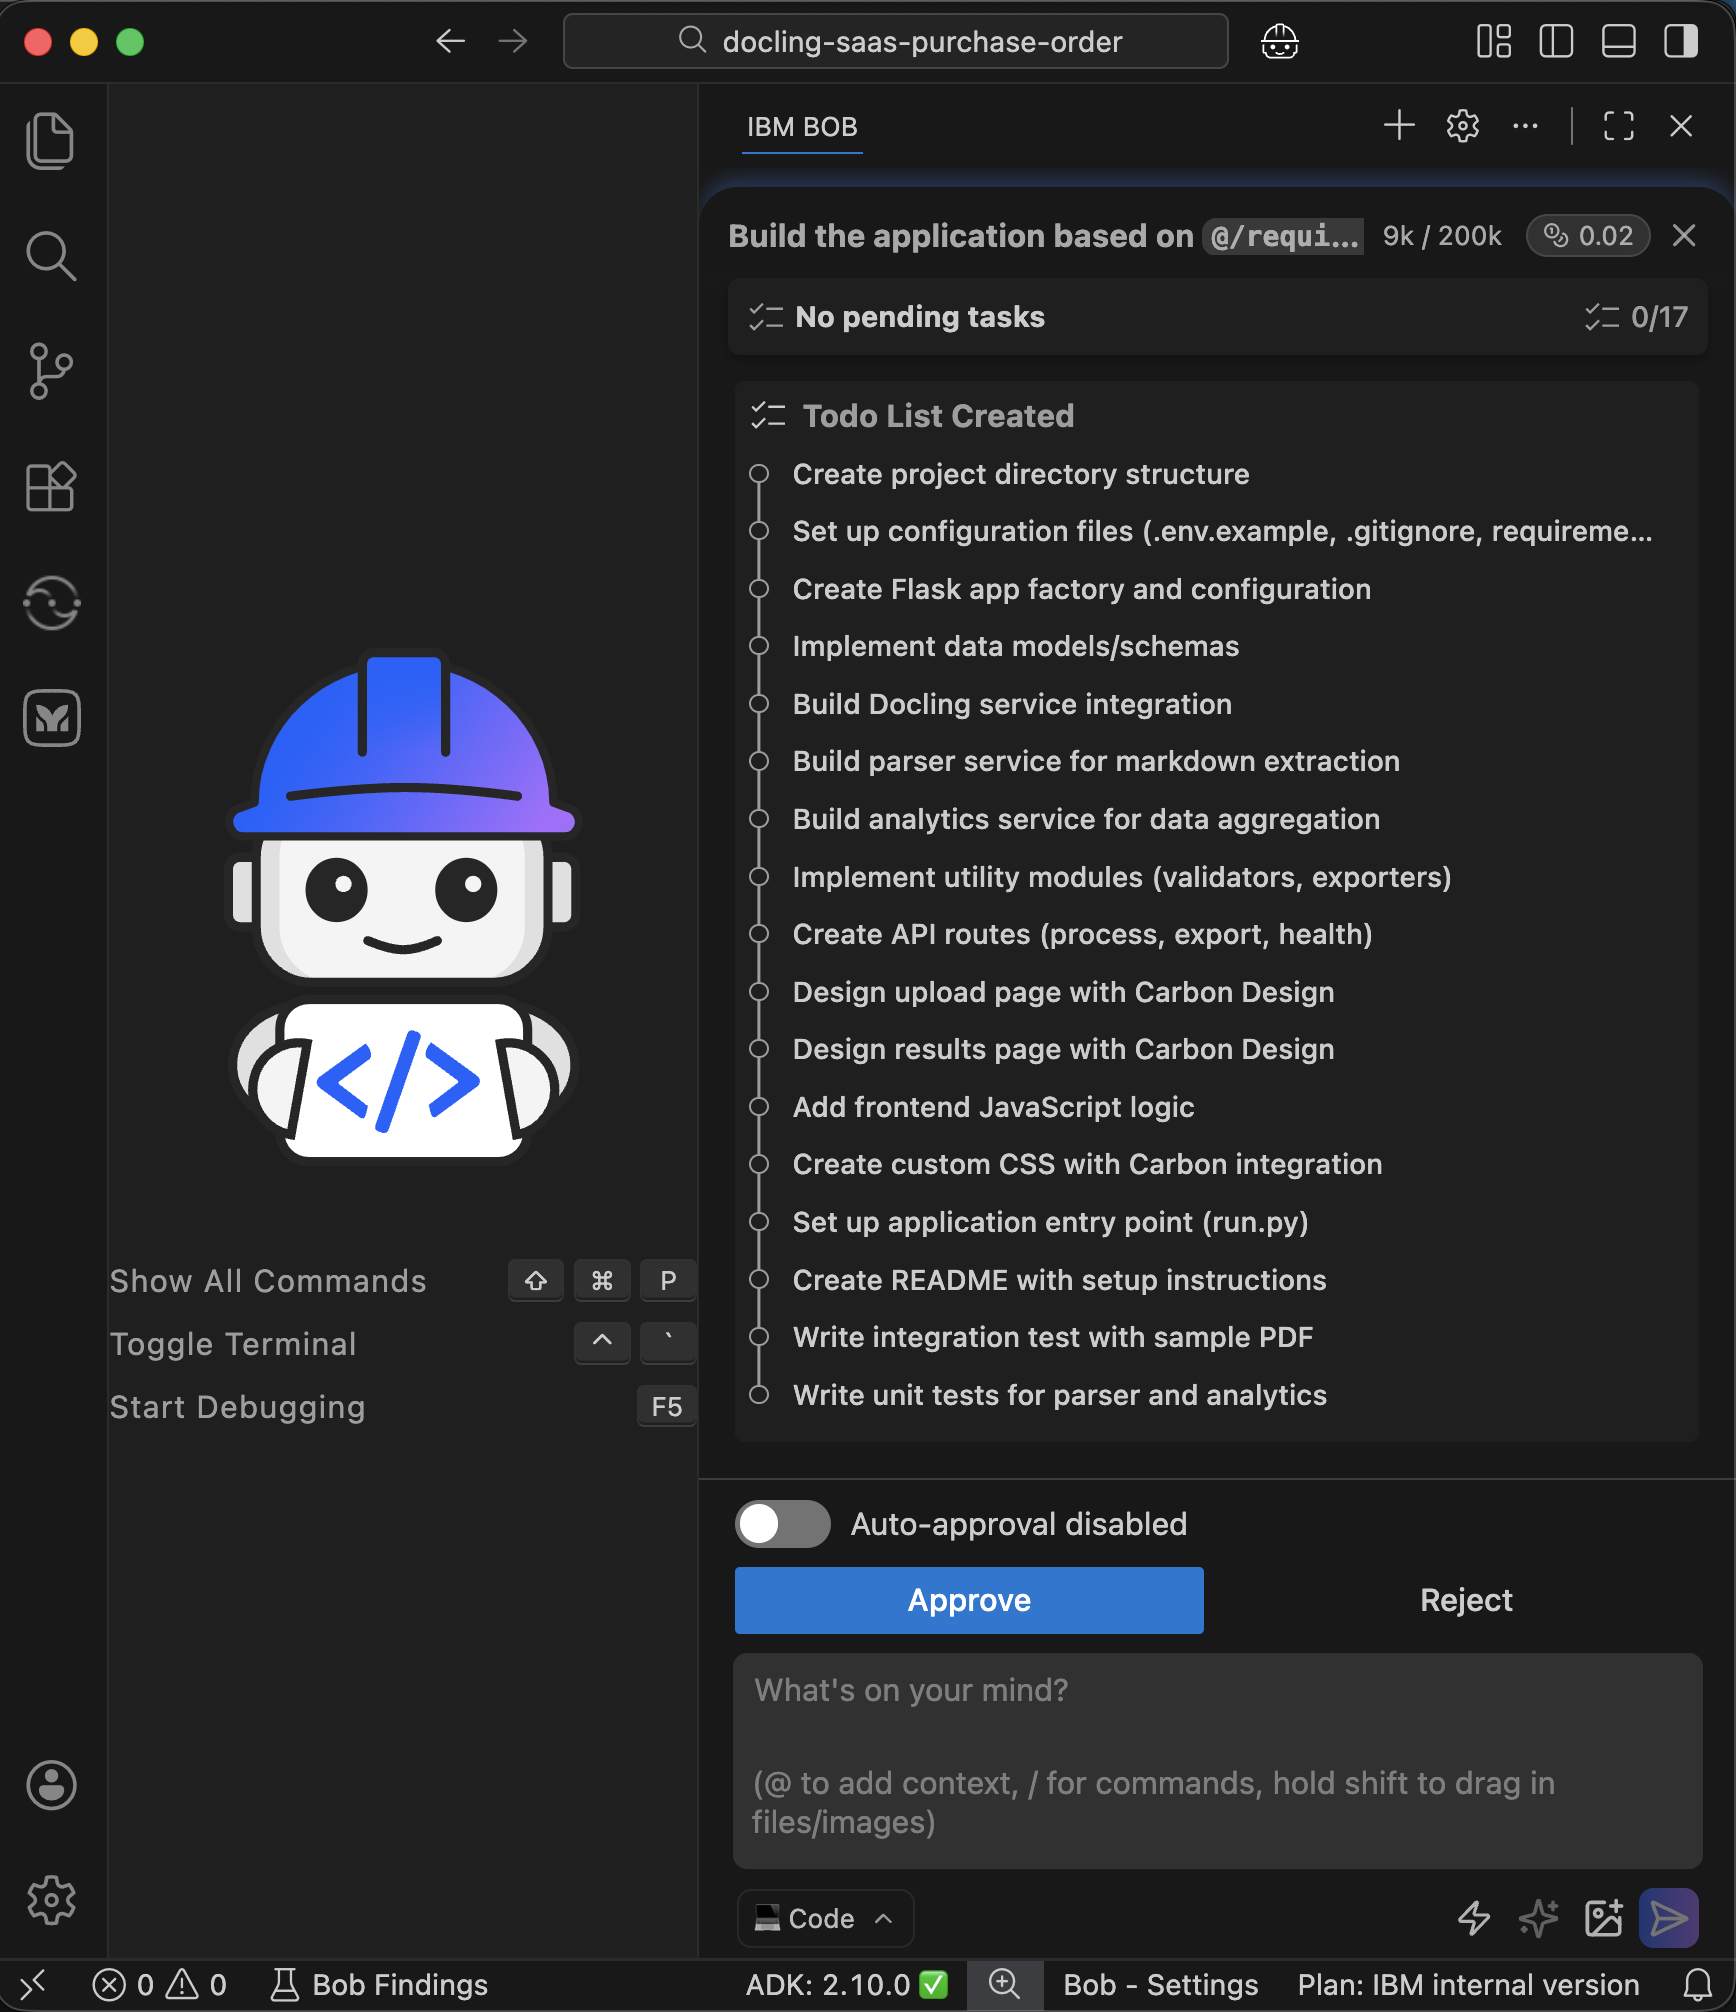
Bob creates the application code including the integration with Docling for watsonx. Click Save and proceed until the code creation is completed.
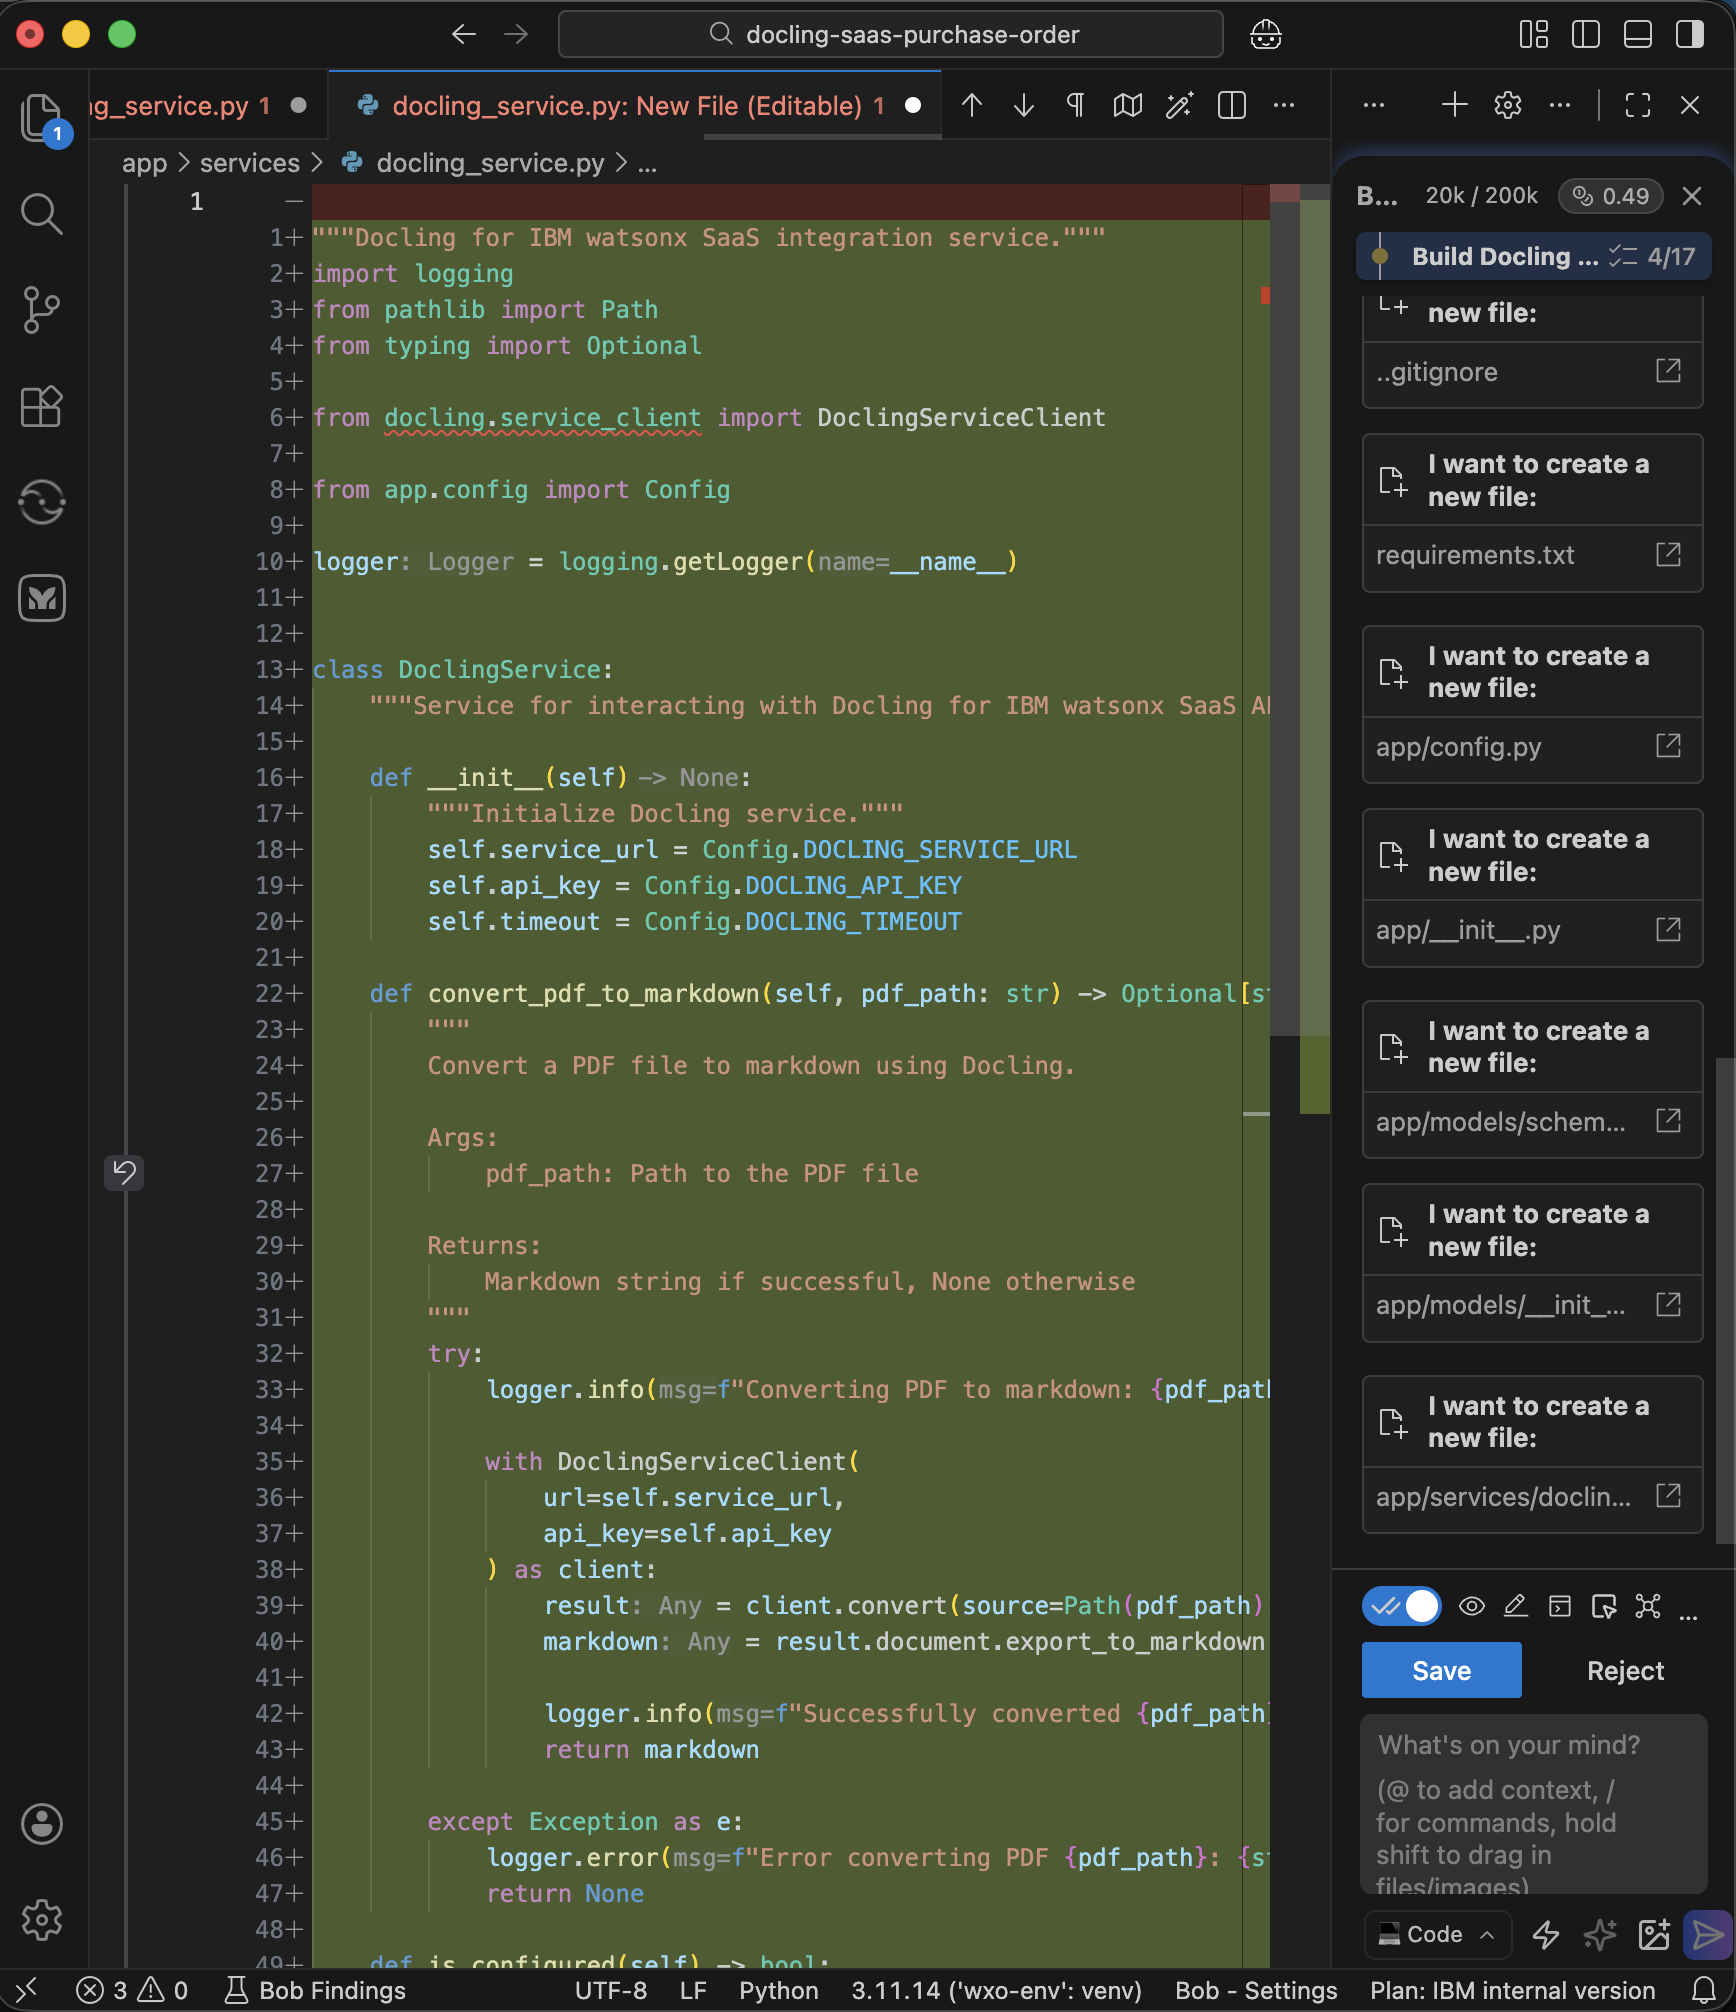
After Bob completes the code implementation, Bob pauses and asks you to provide your Docling for watsonx credentials and the intended port for Flask so that Bob can proceed in the testing activities. Replace the values in the
.envfile with the Docling credentials you obtained earlier. Then, in the chat, prompt Bob that you provided the necessary credentials.Added my Docling credentials, please proceed in the testing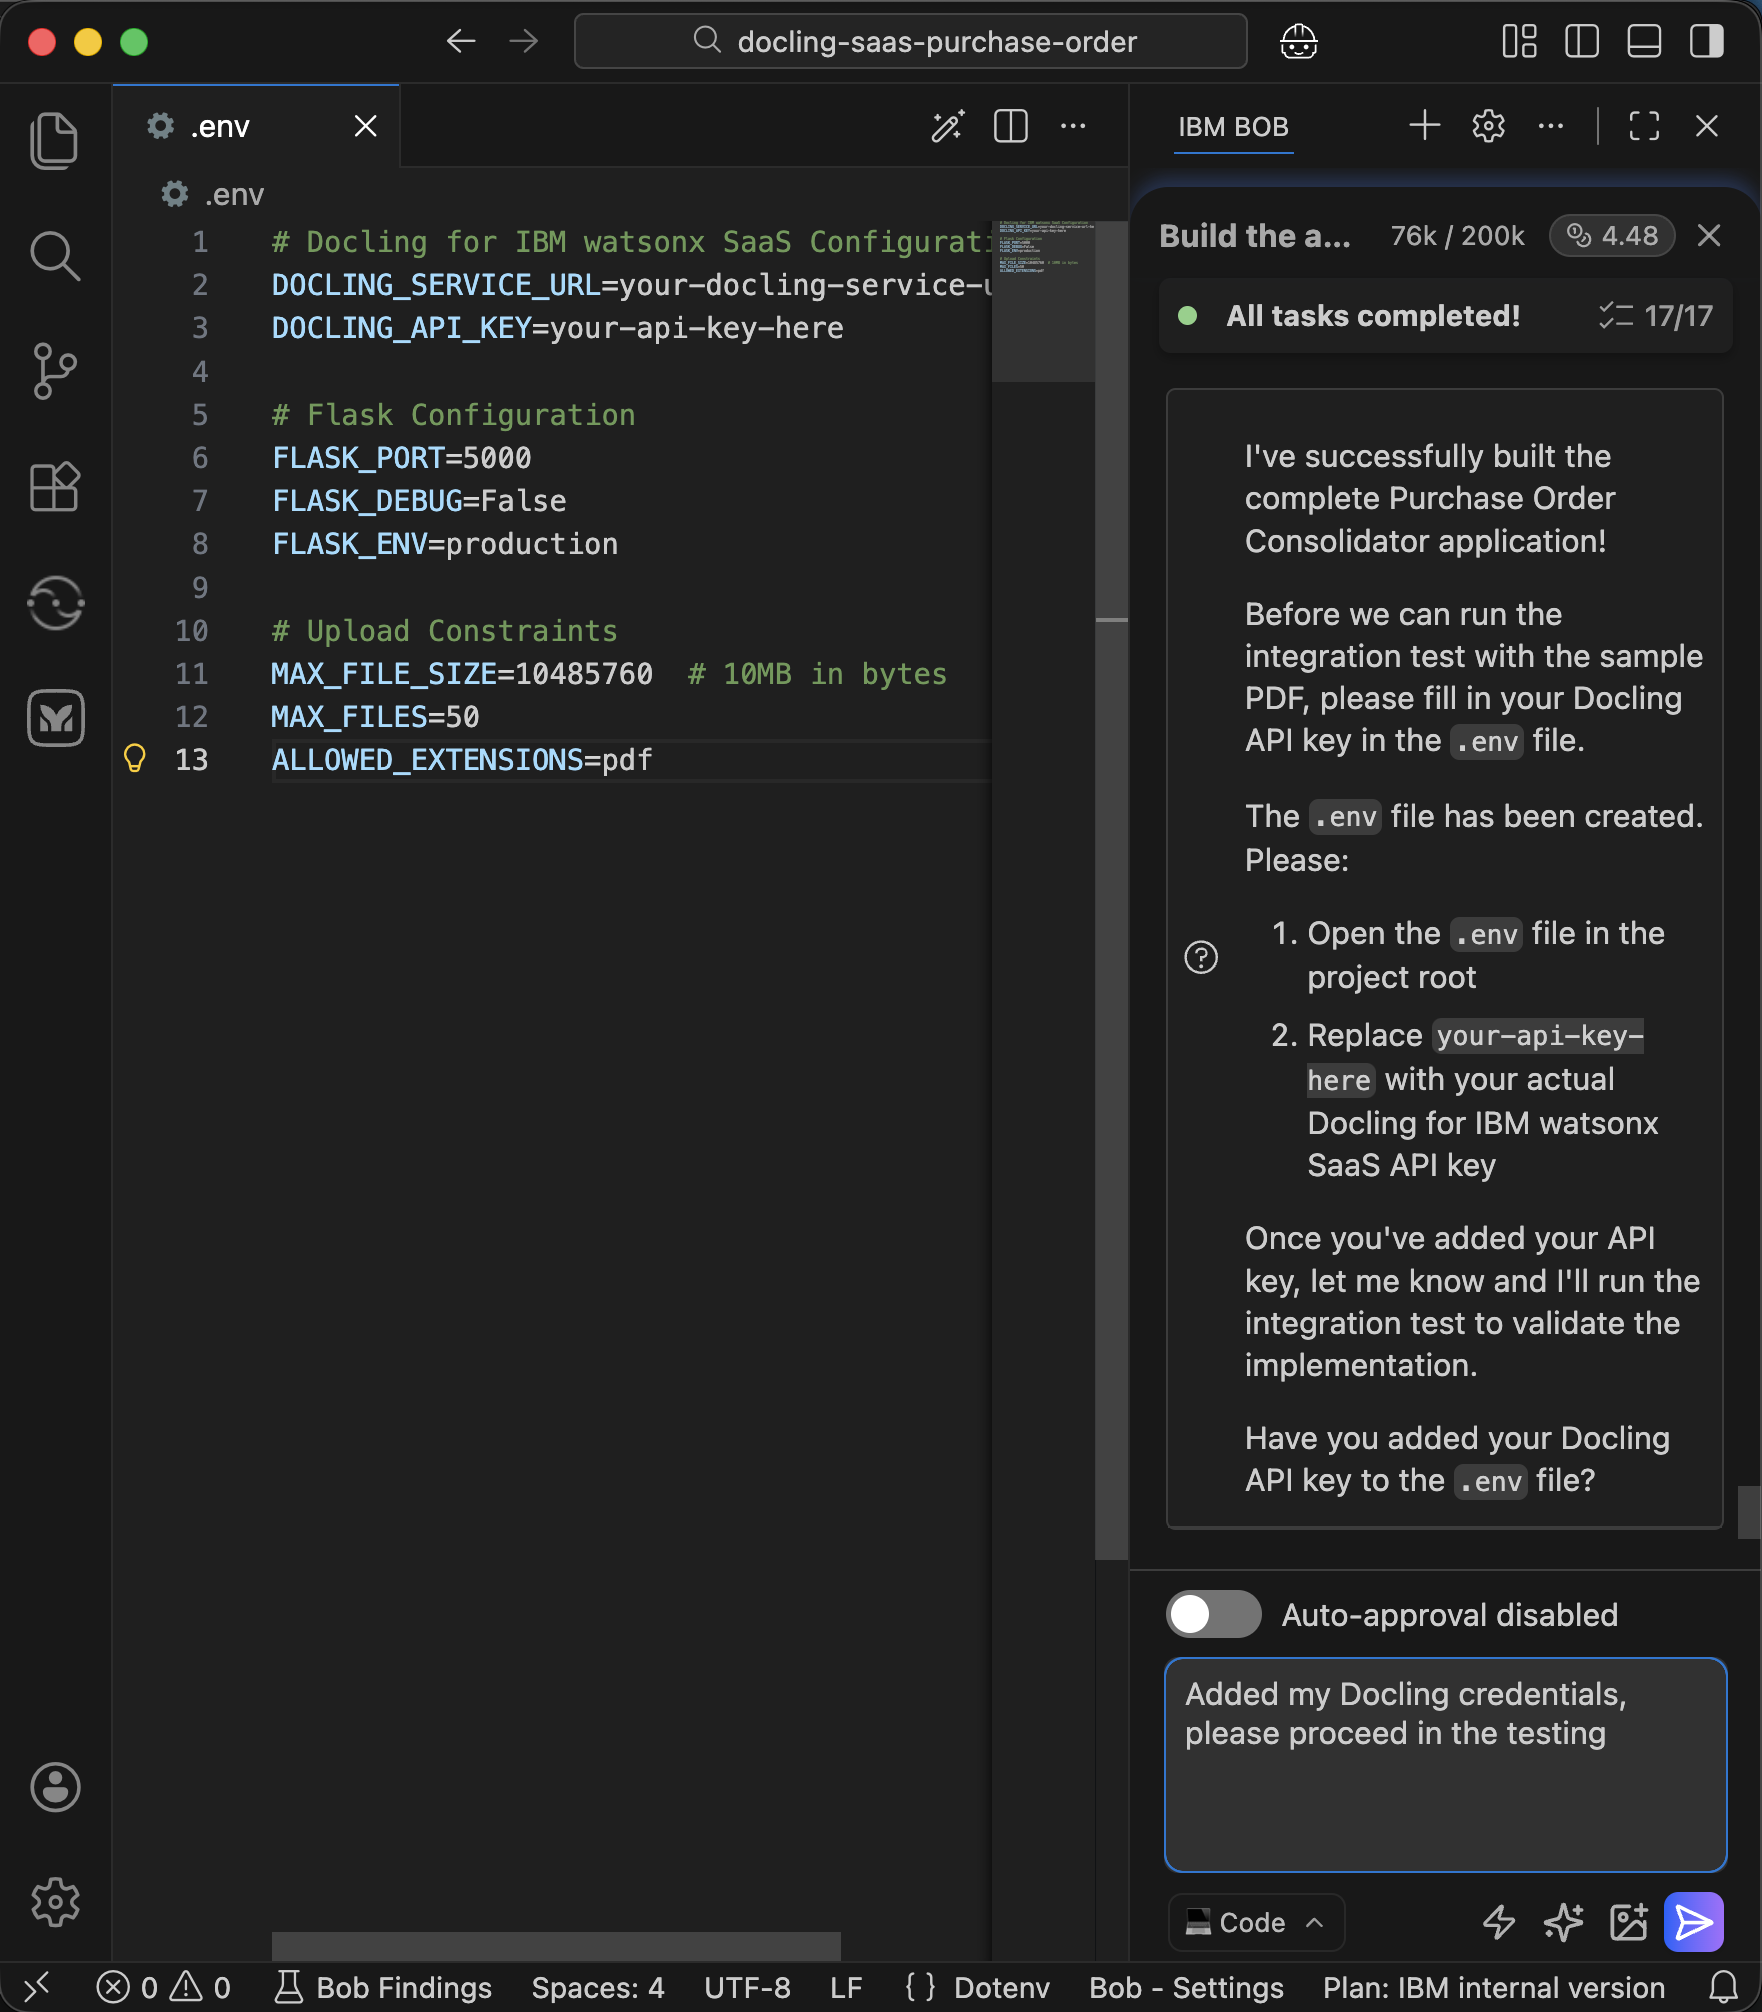
Bob starts the unit testing and integration testing, and automatically fixes the code to solve any issues that occur during testing.
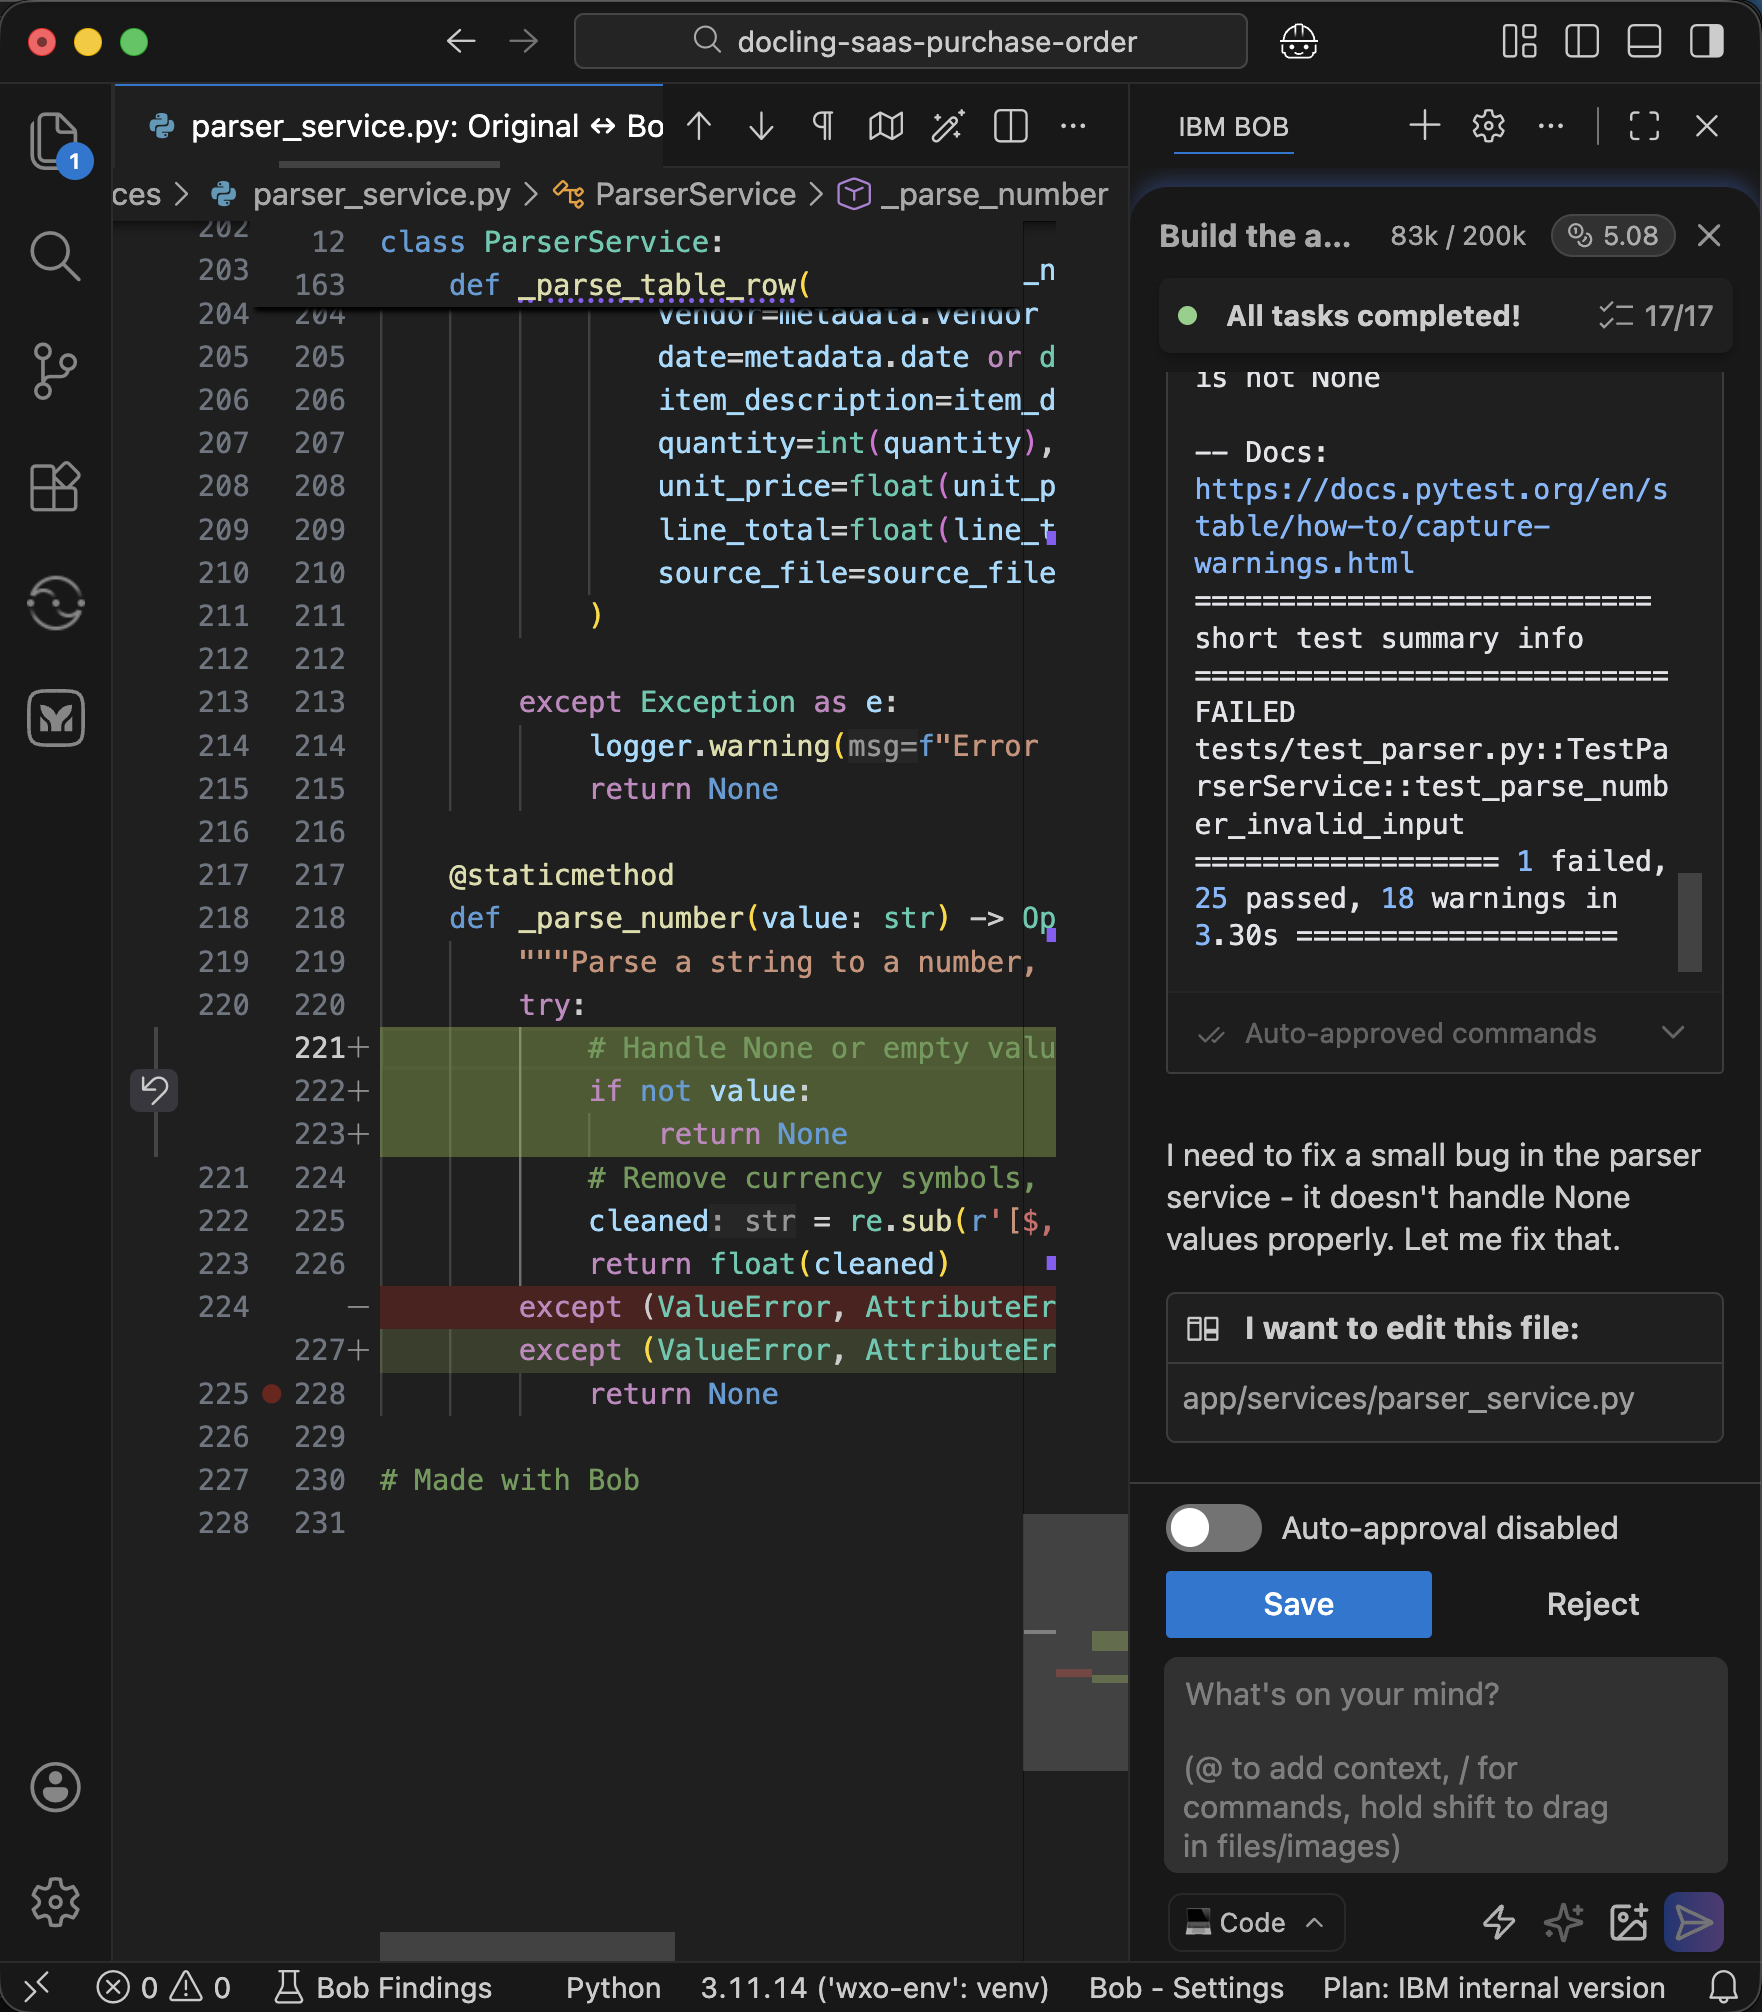
Bob completes the design, coding, unit testing and integration testing with Docling.
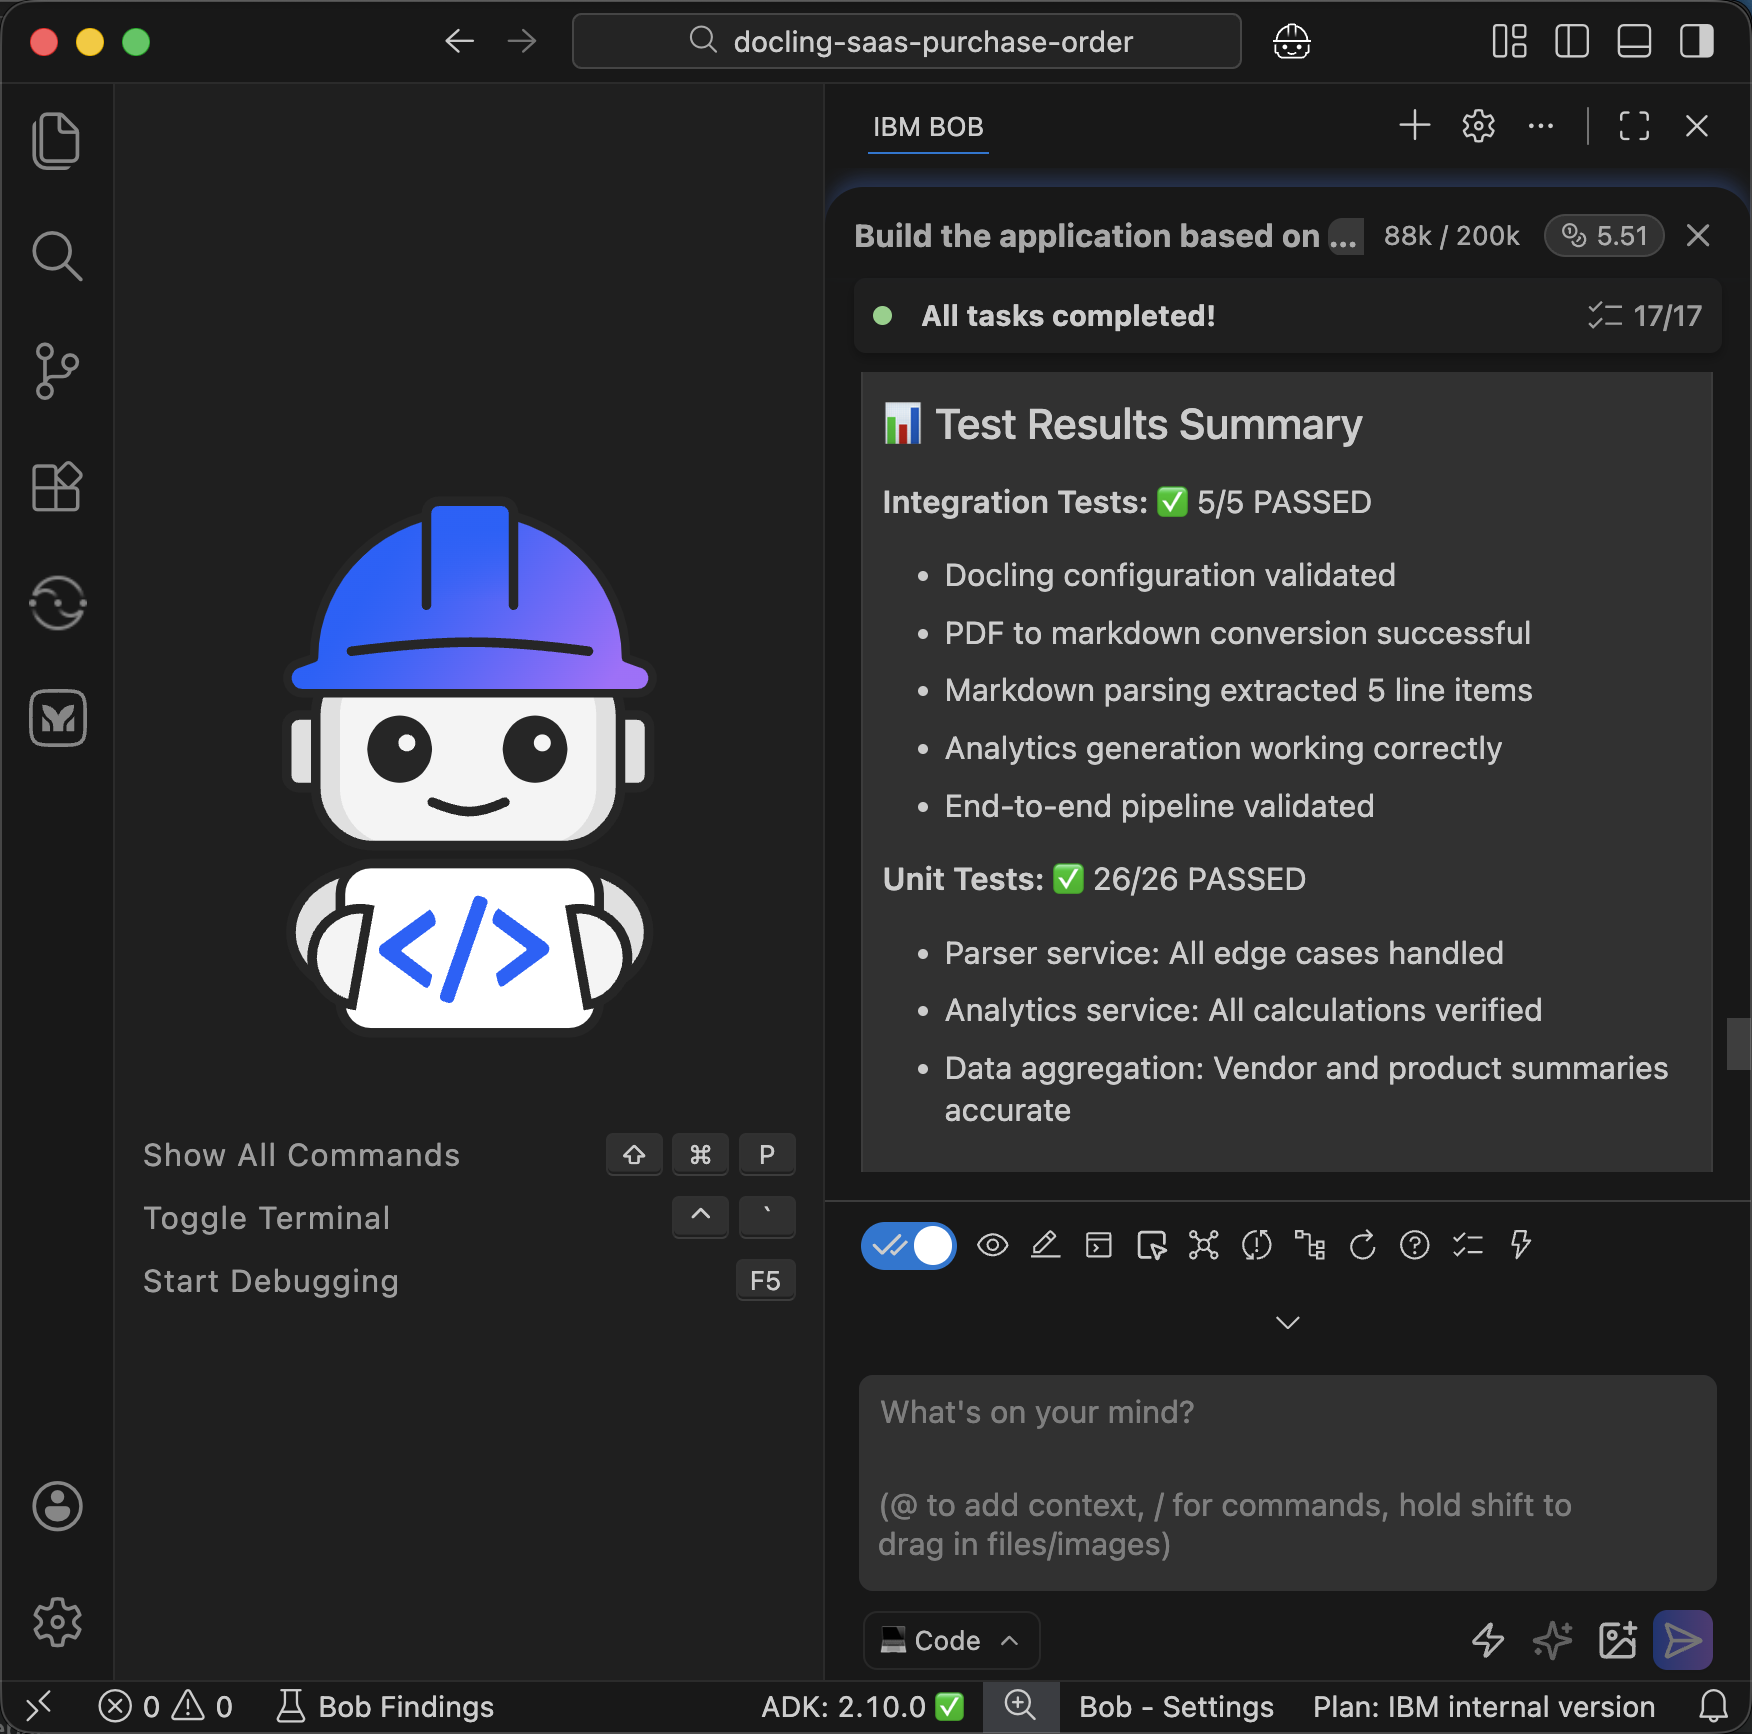
Step 5. Run and test the application
In this step, you start the application and test it with purchase orders.
In Bob IDE, from the Terminal menu select New Terminal. Then, run the following command to activate a Python virtual environment, install the dependencies, and start the application.
 python3 -m venv venv
 source venv/bin/activate
 pip install -r requirements.txt
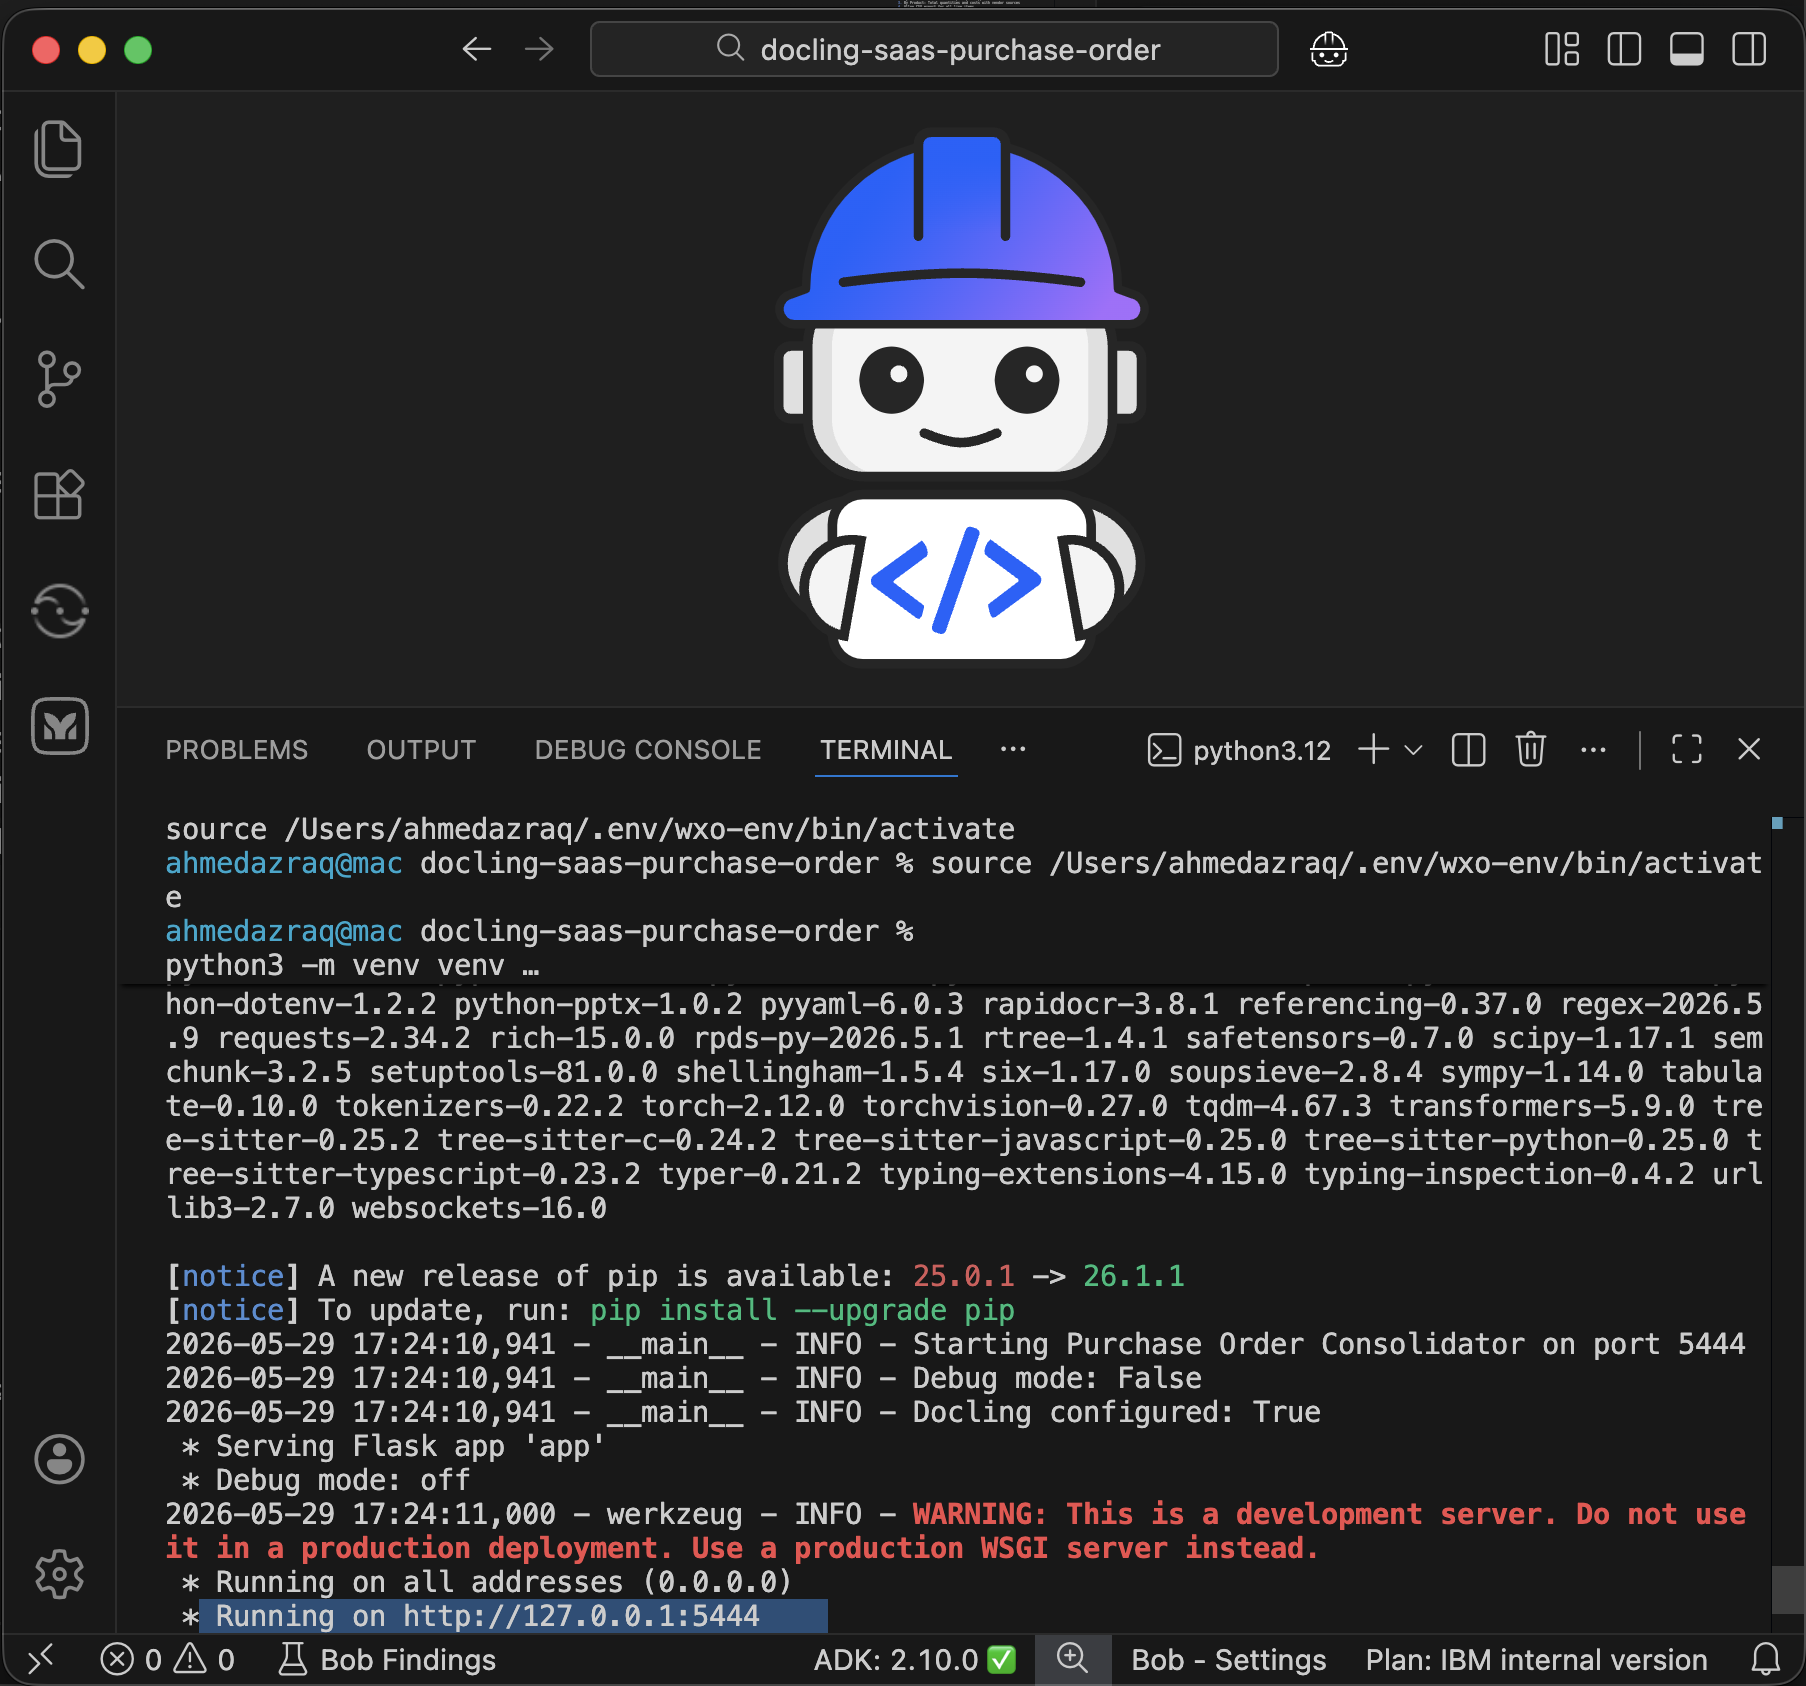
 python run.py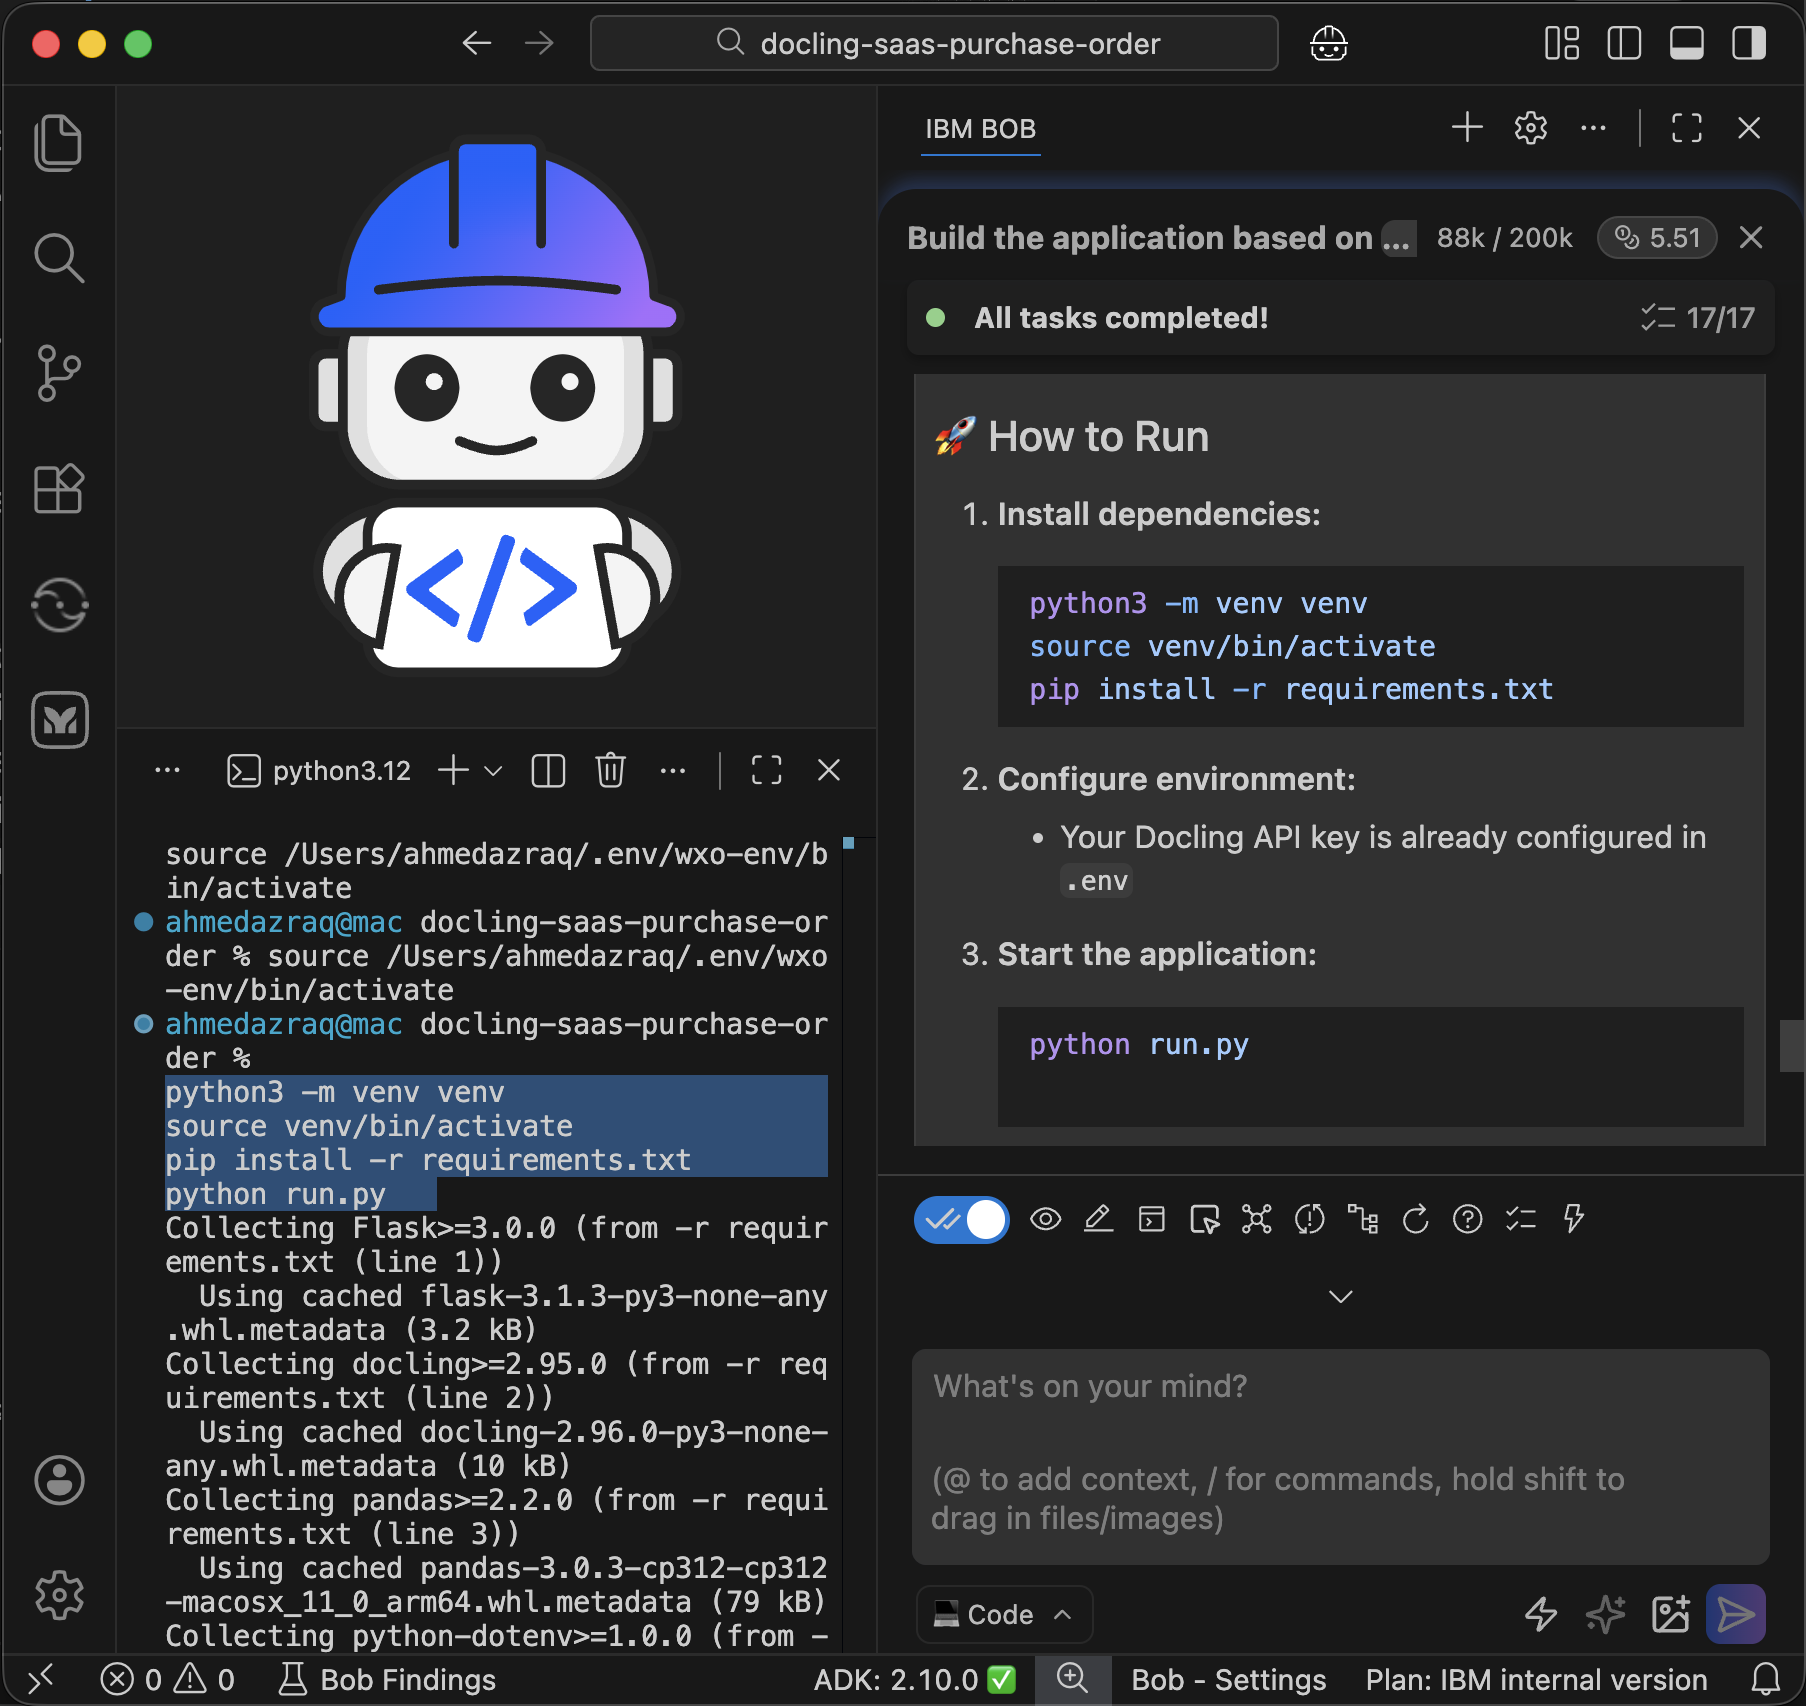
If you run into any issue, copy the terminal output into the chat and Bob will solve it.
Wait for the application to start and access it in the browser using the link shown in the log.
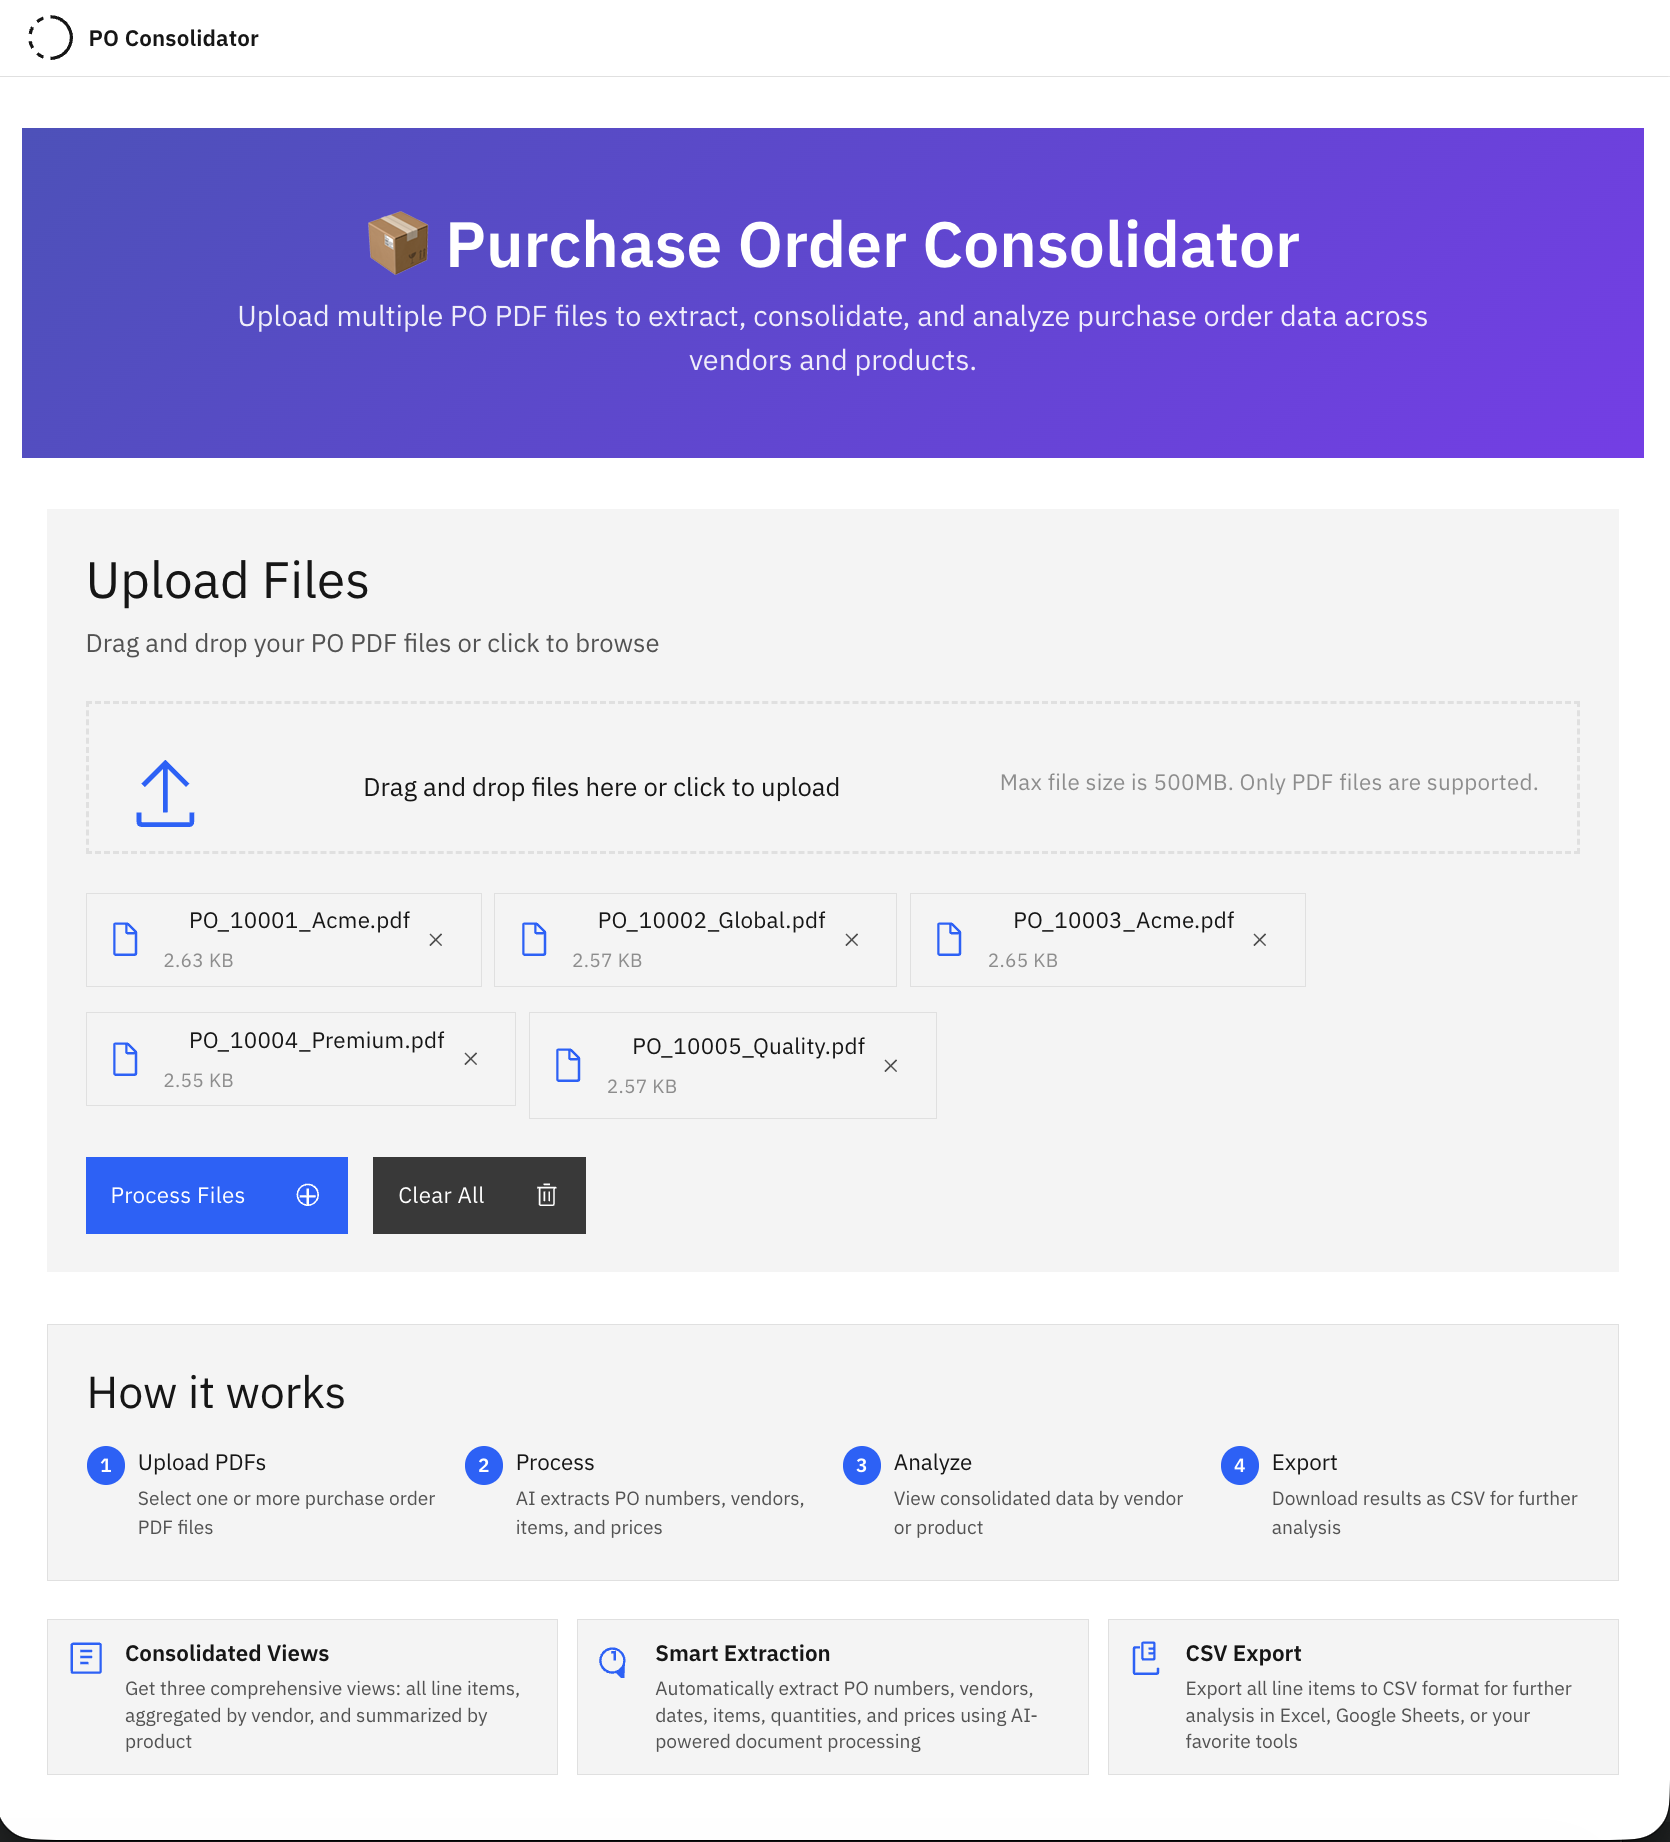
Download all the PDFs in the sample purchase order PDFs folder. These PDFs represent sample purchase orders. Drag and drop the PDFs into the application, and then click Process Files. Notice that the application follows IBM Carbon design language, as noted in our intent and technical specifications documents.
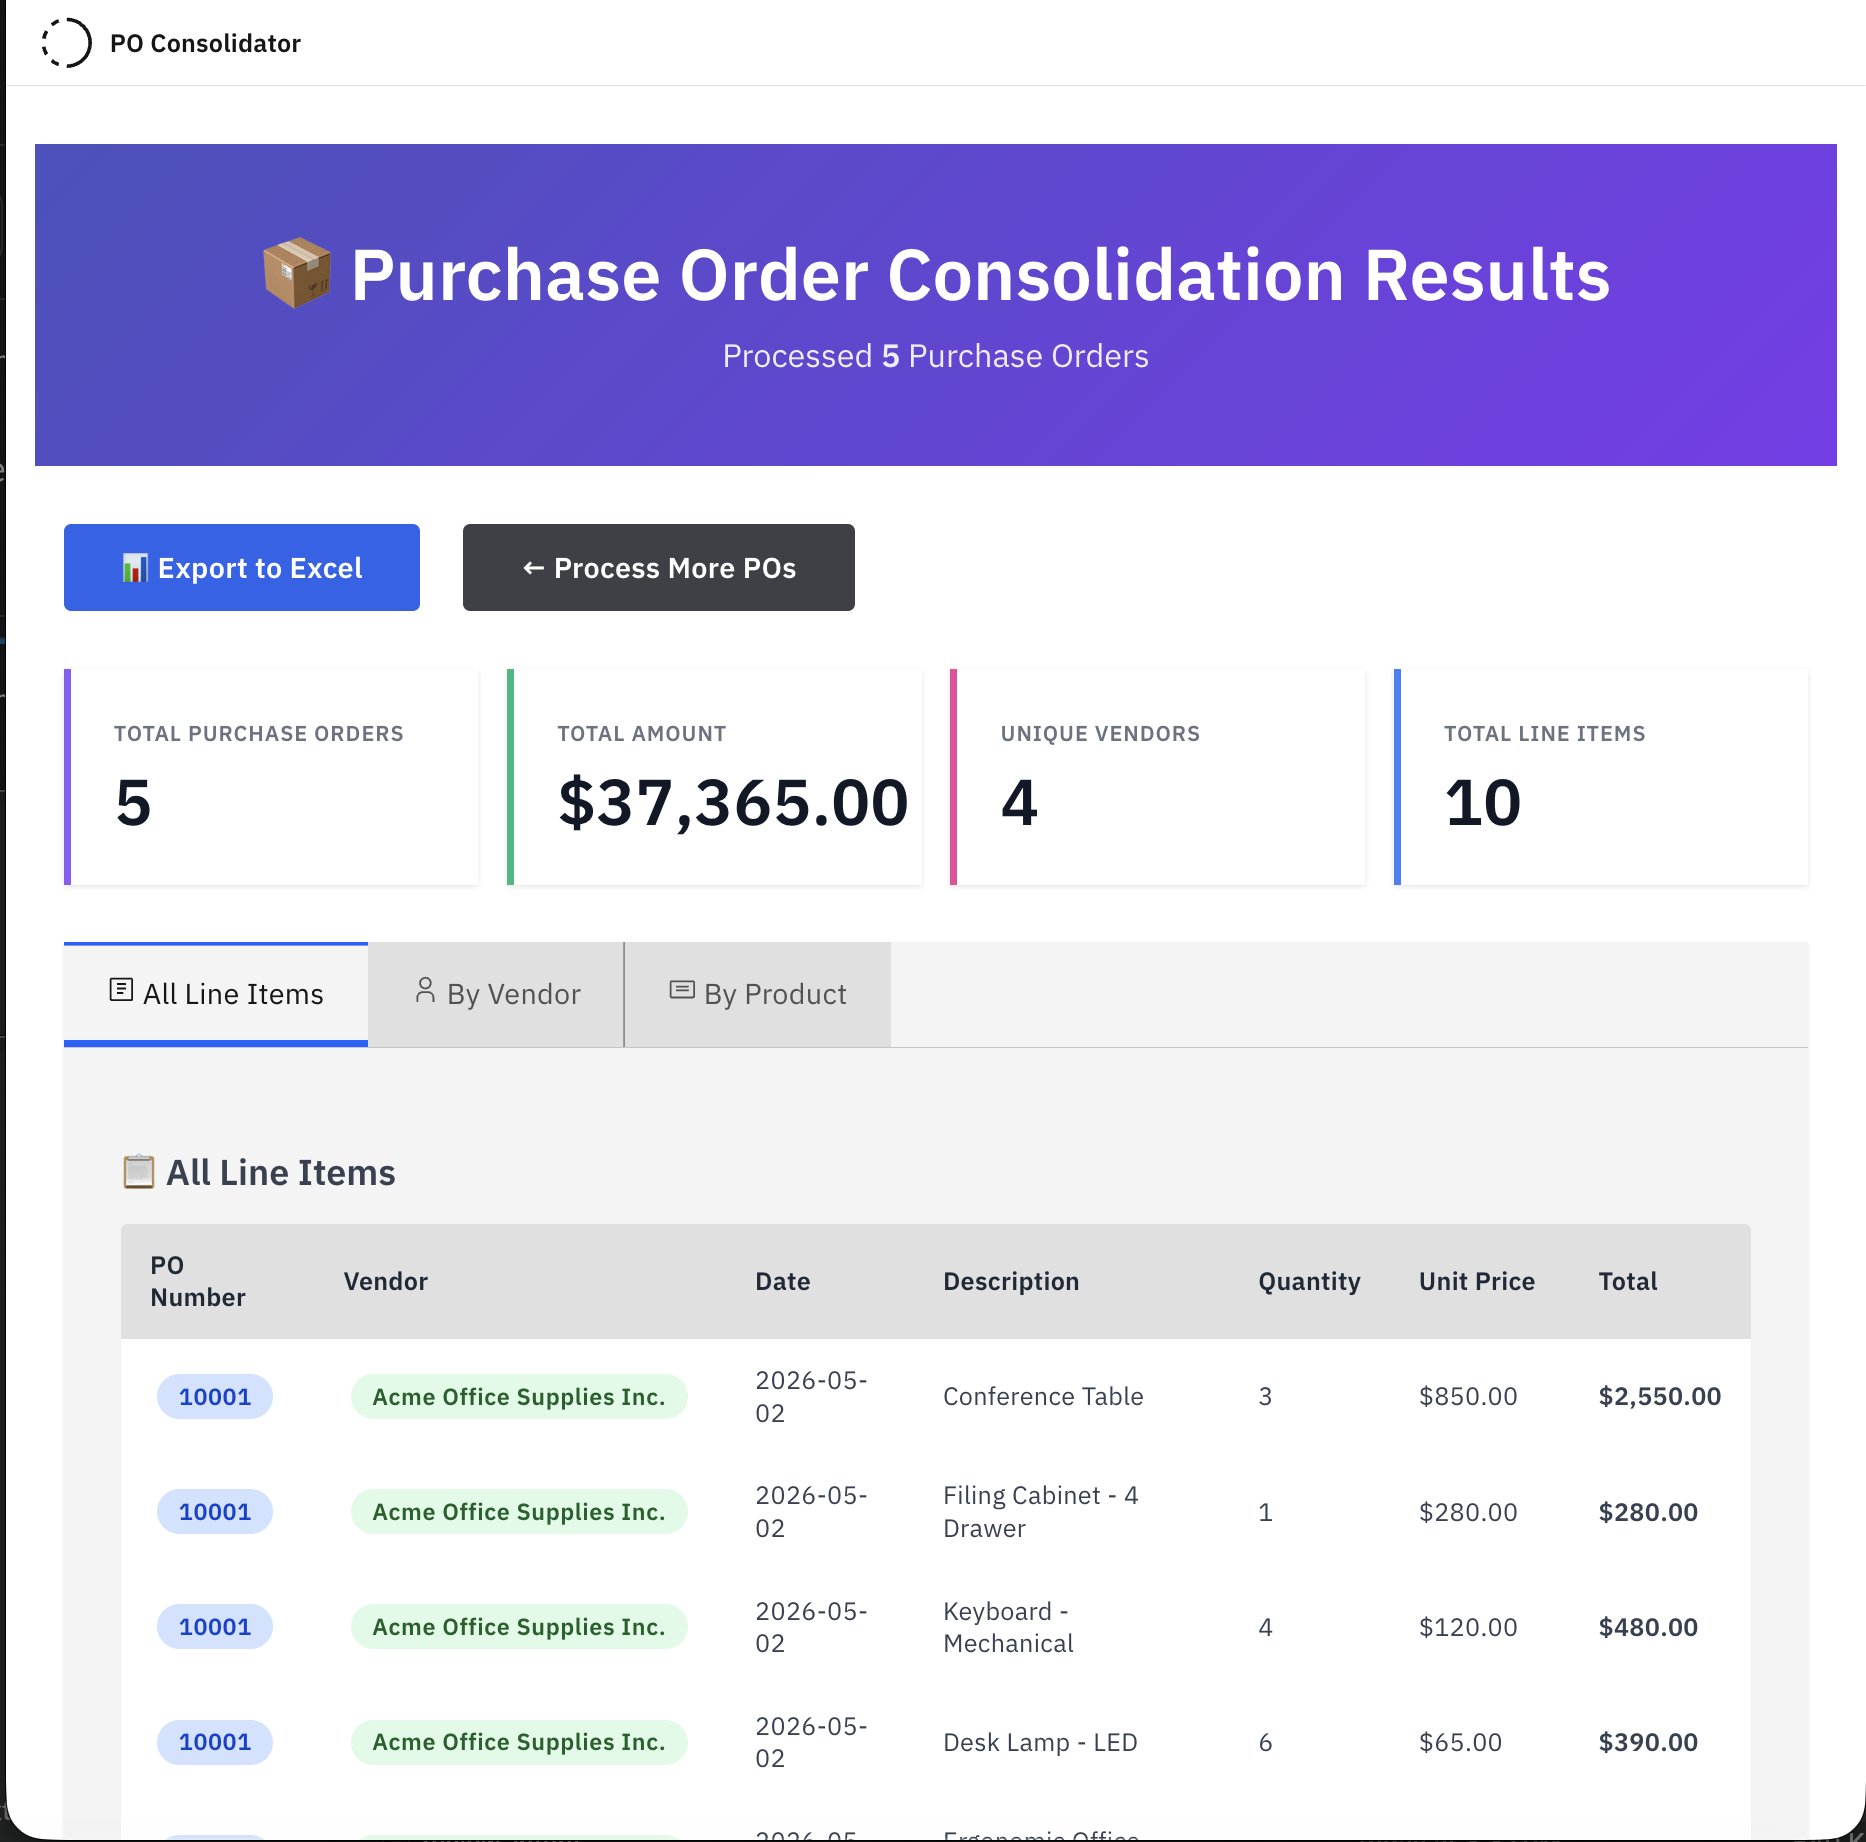
Docling for IBM watsonx extracts all the purchase order details. Notice that you can also export the results into an Excel file, and view the purchase orders grouped by vendor or products.
Summary and next steps
In this tutorial, you learned a spec-driven development approach to build applications powered by Docling for IBM watsonx SaaS. You learned how to integrate Docling's AI-powered PDF processing by providing IBM Bob with the intent and letting Bob generate the complete application with Docling API integration, markdown parsing logic, and IBM Carbon Design UI. You also learned how Bob creates both the backend services for document processing and the frontend interface with Carbon Design components.
You can also explore how Bob helps creating MCP tools and watsonx Orchestrate agents in this tutorial: "Using IBM Bob to build watsonx Orchestrate agents and MCP tools."
Acknowledgments
This tutorial was produced as part of IBM Open Innovation Community initiative: Bob Tutorials.
The author Ahmed Azraq deeply appreciates the support of Michele Dolfi and Lauren McHugh for the guidance on reviewing and their contributions to this tutorial.