The IBM MQ Console is a browser-based UI for managing queue managers, queues, channels, and messages. Administrators use it to administer MQ objects; developers use it to test and debug client applications.
This tutorial shows you how to set up the IBM MQ Console, access it, and view and edit MQ objects. By the end, you will have created a queue and put a message onto it using the console.
Prerequisites
First, you'll need to install MQ, or run it in a container or on the cloud. Pick your platform from the list in the Ready, Set, Connect series. The last step in each of these tutorials will lead you back to this tutorial. (If you are running MQ in the IBM cloud, then you do not need to use this tutorial. Instead, use the tutorial in the IBM MQ as a Service docs.)
If you installed MQ for Linux or Windows, following this tutorial will help you to set up the console and use its powerful features. The specific commands given here are for Linux (Ubuntu), but the principles apply to all platforms. If you're using Windows, see the IBM MQ data directory locations for Windows in the MQ docs.
Estimated time
Completing this tutorial should take about 30 minutes.
Steps
If you are running MQ in the cloud, then you do not need to use this tutorial. Instead, use the tutorial in the IBM MQ as a Service docs.
If you are running MQ in containers, you can start with Step 2 in this tutorial, as the MQ Console is preconfigured when you install MQ.
The MQ Console requires authorized users. Token authentication or client certificate authentication are both supported. This tutorial covers token authentication. To use certificate authentication instead, see client certificate authentication for the MQ REST API and MQ Console in the MQ docs.
If you'd rather watch a video to learn how to access the MQ Console (Step 2) and view and edit MQ objects by using the MQ Console (Step 3), you can watch this one.
Step 1. Set up the MQ Console
If you are running MQ in containers, you can skip this step and start with Step 2, as the MQ Console is preconfigured when you install MQ.
Start by using a sample configuration. Navigate to the sample directory and copy the basic_registry.xml into the MQ web directory.
cd /opt/mqm/web/mq/samp/configuration
cp basic_registry.xml /var/mqm/web/installations/Installation1/servers/mqweb
Inside the basic_registry.xml file, there are some defined access groups to use, as well as some other basic configuration.
By default, the MQ Console uses the contents of the mqwebuser.xml file. To use the sample code that you just copied, rename the unwanted file and change the name of basic_registry.xml to mqwebuser.xml:
mv mqwebuser.xml mqwebuser.xml.old
mv basic_registry.xml mqwebuser.xml
You'll also need write access to this file. Run the following command to grant it.
chmod 640 mqwebuser.xml
You should now have write access to the mqwebuser.xml file.
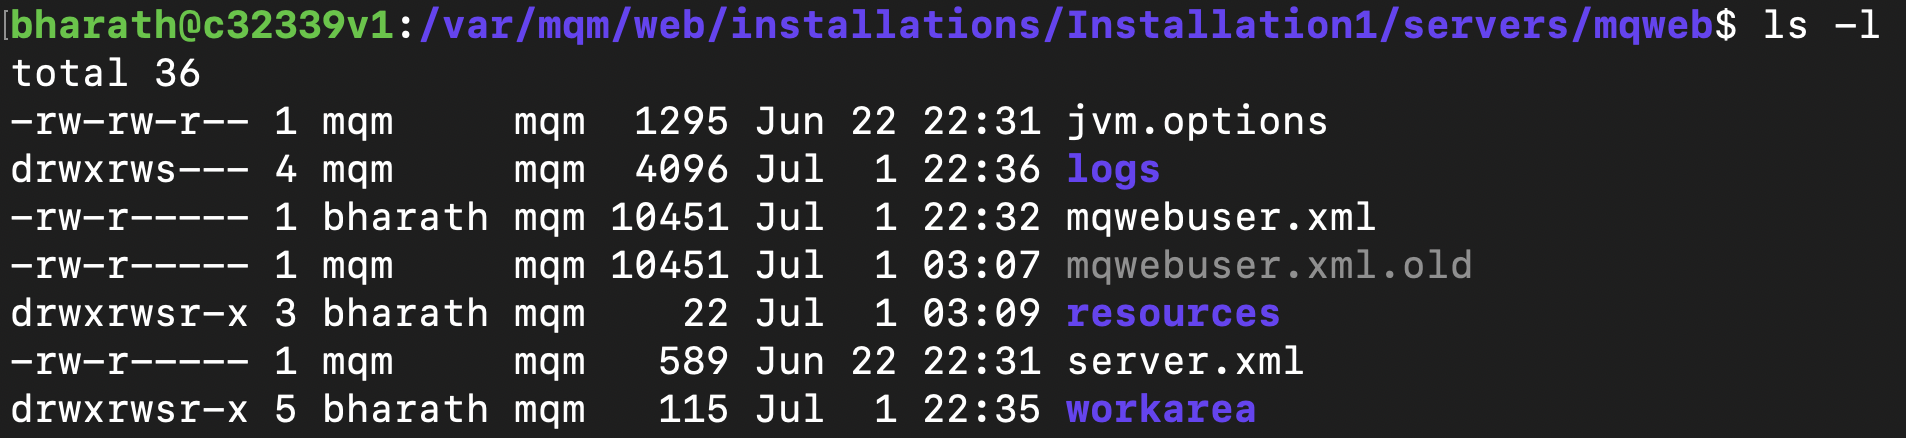
Currently, the MQ Console can only be accessed locally. To access the MQ Console from any other location, use the command line tool setmqweb:
setmqweb properties -k httpHost -v "*"
The console can now be accessed from any location, provided the user knows the correct username and password.
The MQ Console is not currently running. To start it, type strmqweb. You should see output like this:

To see the URL where the console is available, type dspmqweb. You should see output like this:

Sign in and start using the MQ Console.
Step 2. Access the MQ Console
Navigate to https://localhost:9443/ibmmq/console. Your browser will warn you about an unsafe connection. MQ uses a self-signed certificate by default, so you can accept the warning and continue to the MQ Console. (To provide your own certificate instead, see client certificate authentication for the MQ REST API and MQ Console in the MQ docs.)
Once you've confirmed to your browser that you want to proceed, you'll be taken to the sign-in page, which will ask for a username and password. You should change the password after logging in for the first time.
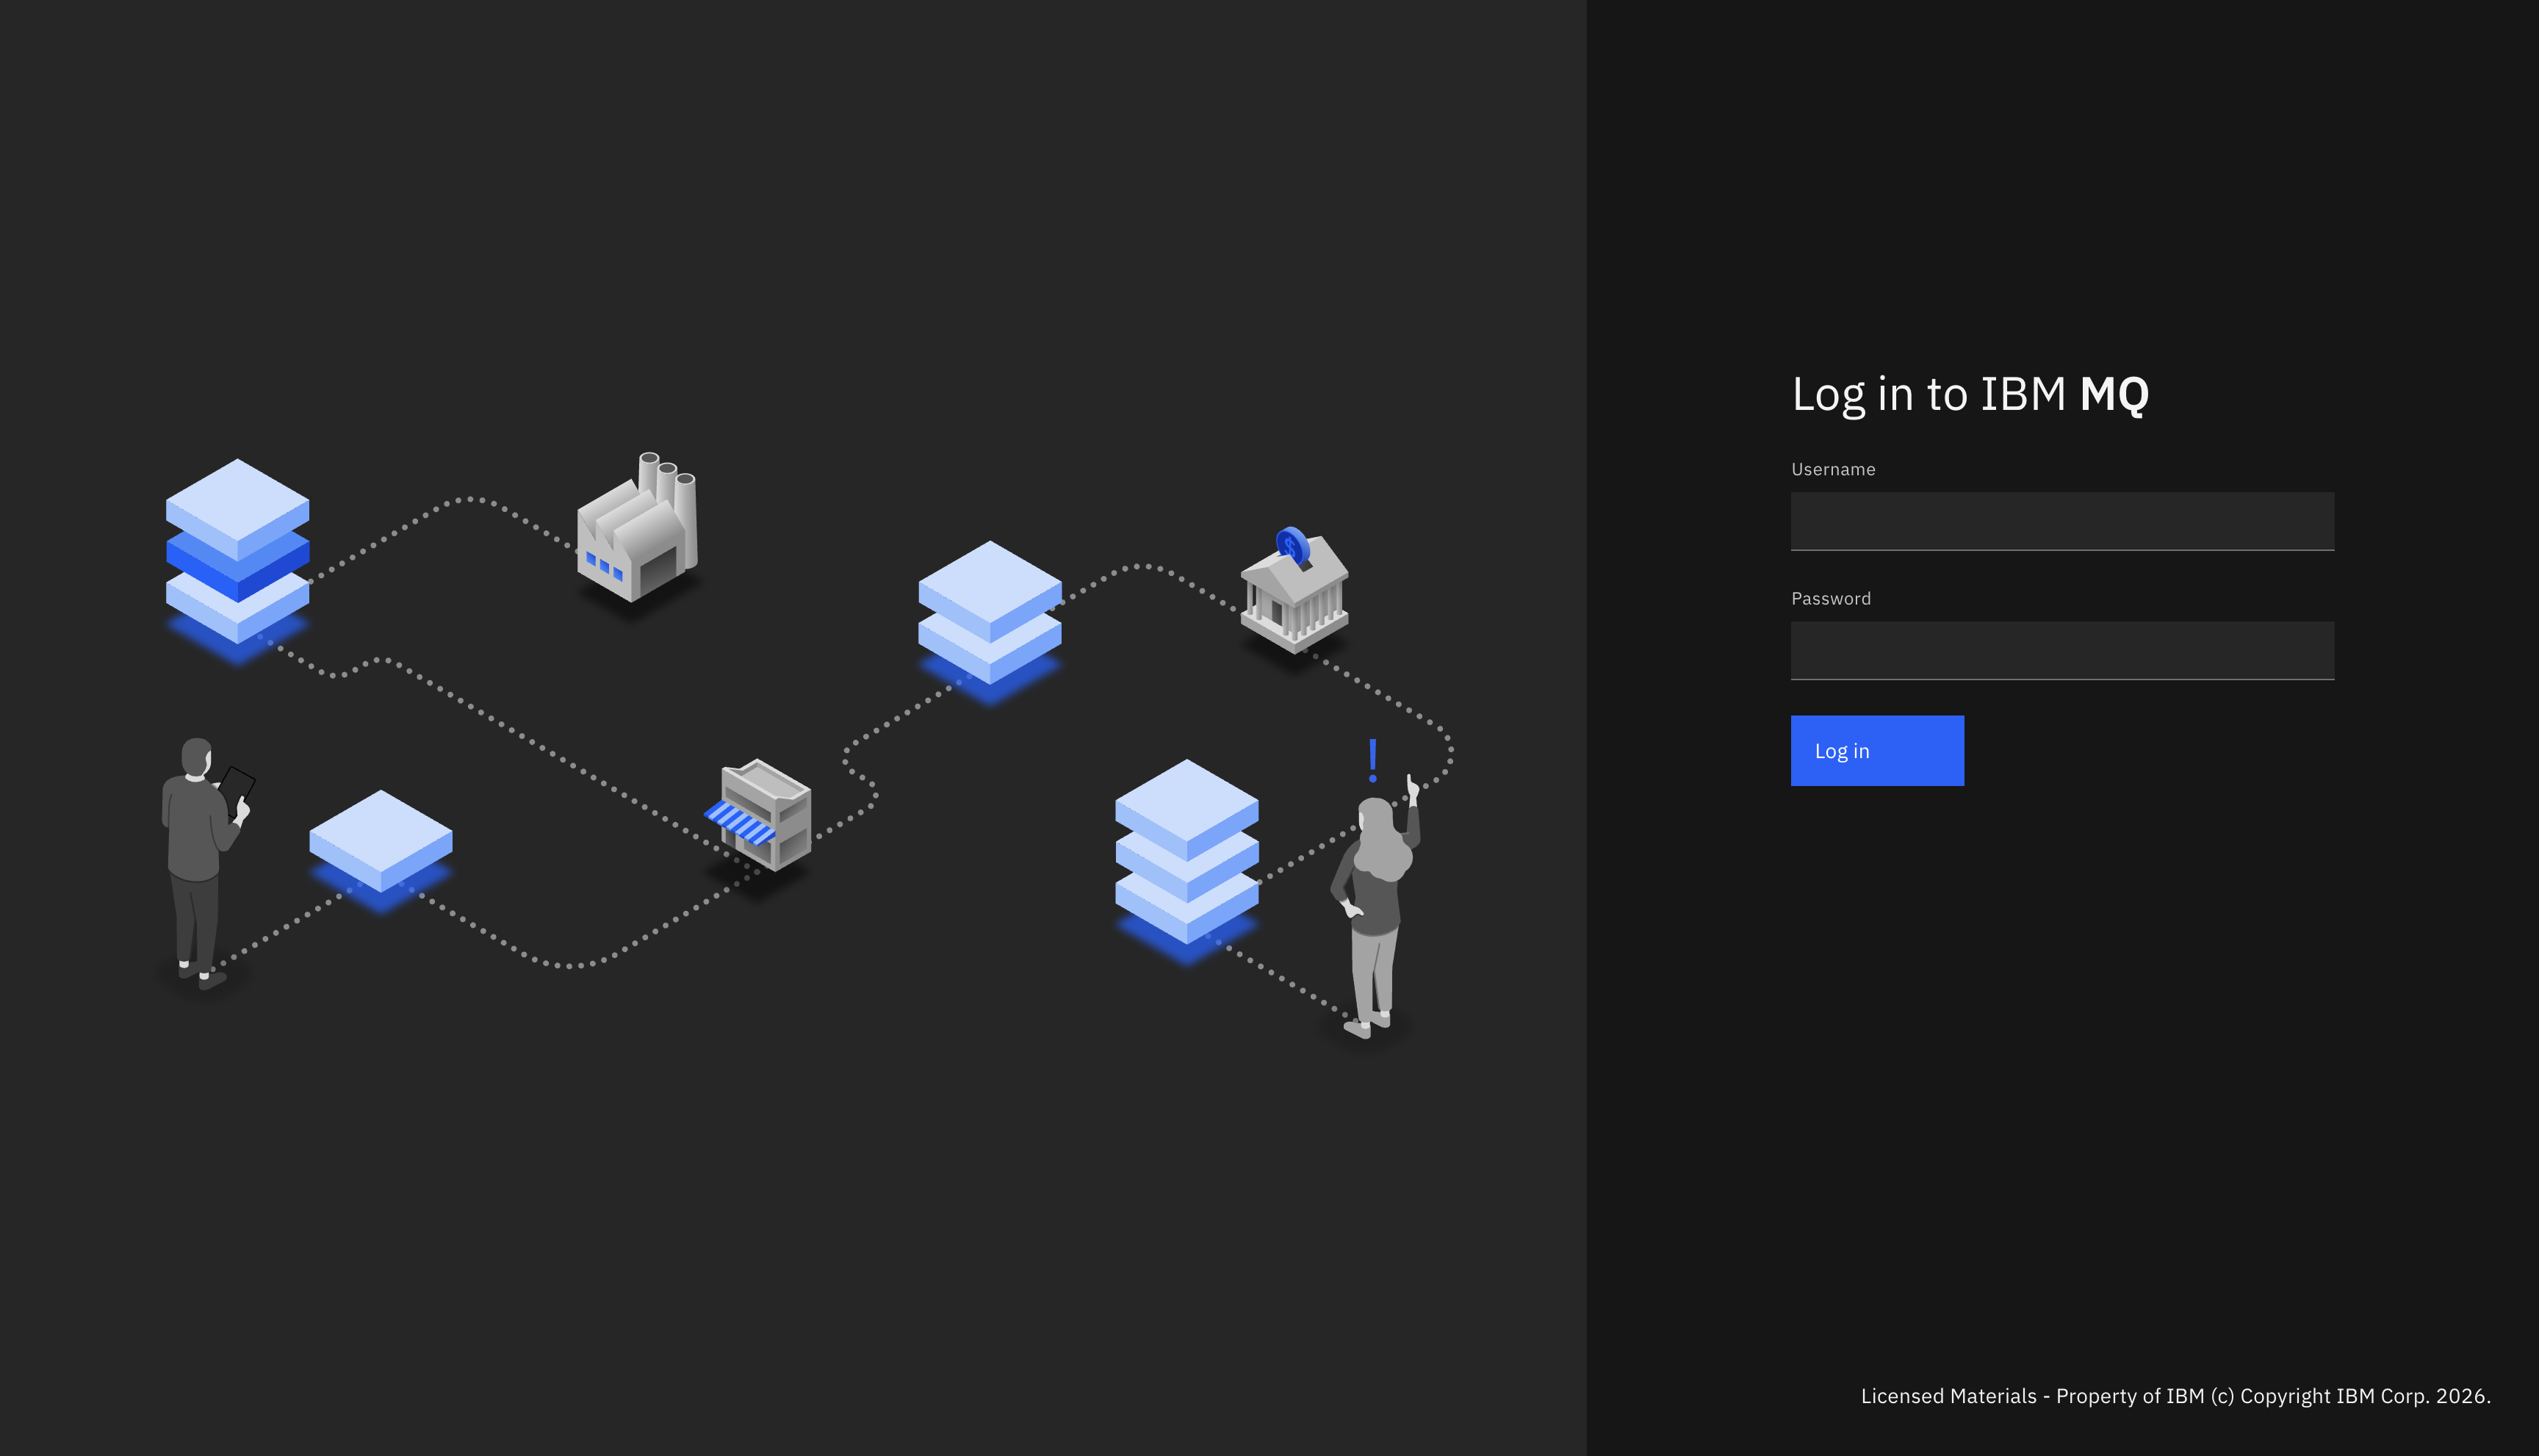
You'll need to sign in with a specific username and password, depending on the platform and version of MQ you're using.
| Platform | MQ Version | Credentials |
|---|---|---|
| Containers/Docker | Any | Username: admin Password: passw0rd |
| Linux or Windows | 9.0.2 or above | Username: mqadmin Password: mqadmin |
| Linux or Windows | 9.0.1 or below | Username: admin Password: admin |
| Cloud | Any | This cloud tutorial on using the MQ Console has all the information you need. The console can be found under the "Administration" tab of your queue manager dashboard. |
Now, you should be inside the console!
Step 3. View and edit MQ objects by using the MQ Console
Inside the MQ Console, you can view and edit all of your IBM MQ queue managers, channels, and other objects. You can also create new queues, set permissions for different users and objects, view message flows, and monitor the health of your IBM MQ environment. For a full tour, see Administering IBM MQ using the MQ Console in the MQ docs; this tutorial covers some basic actions.
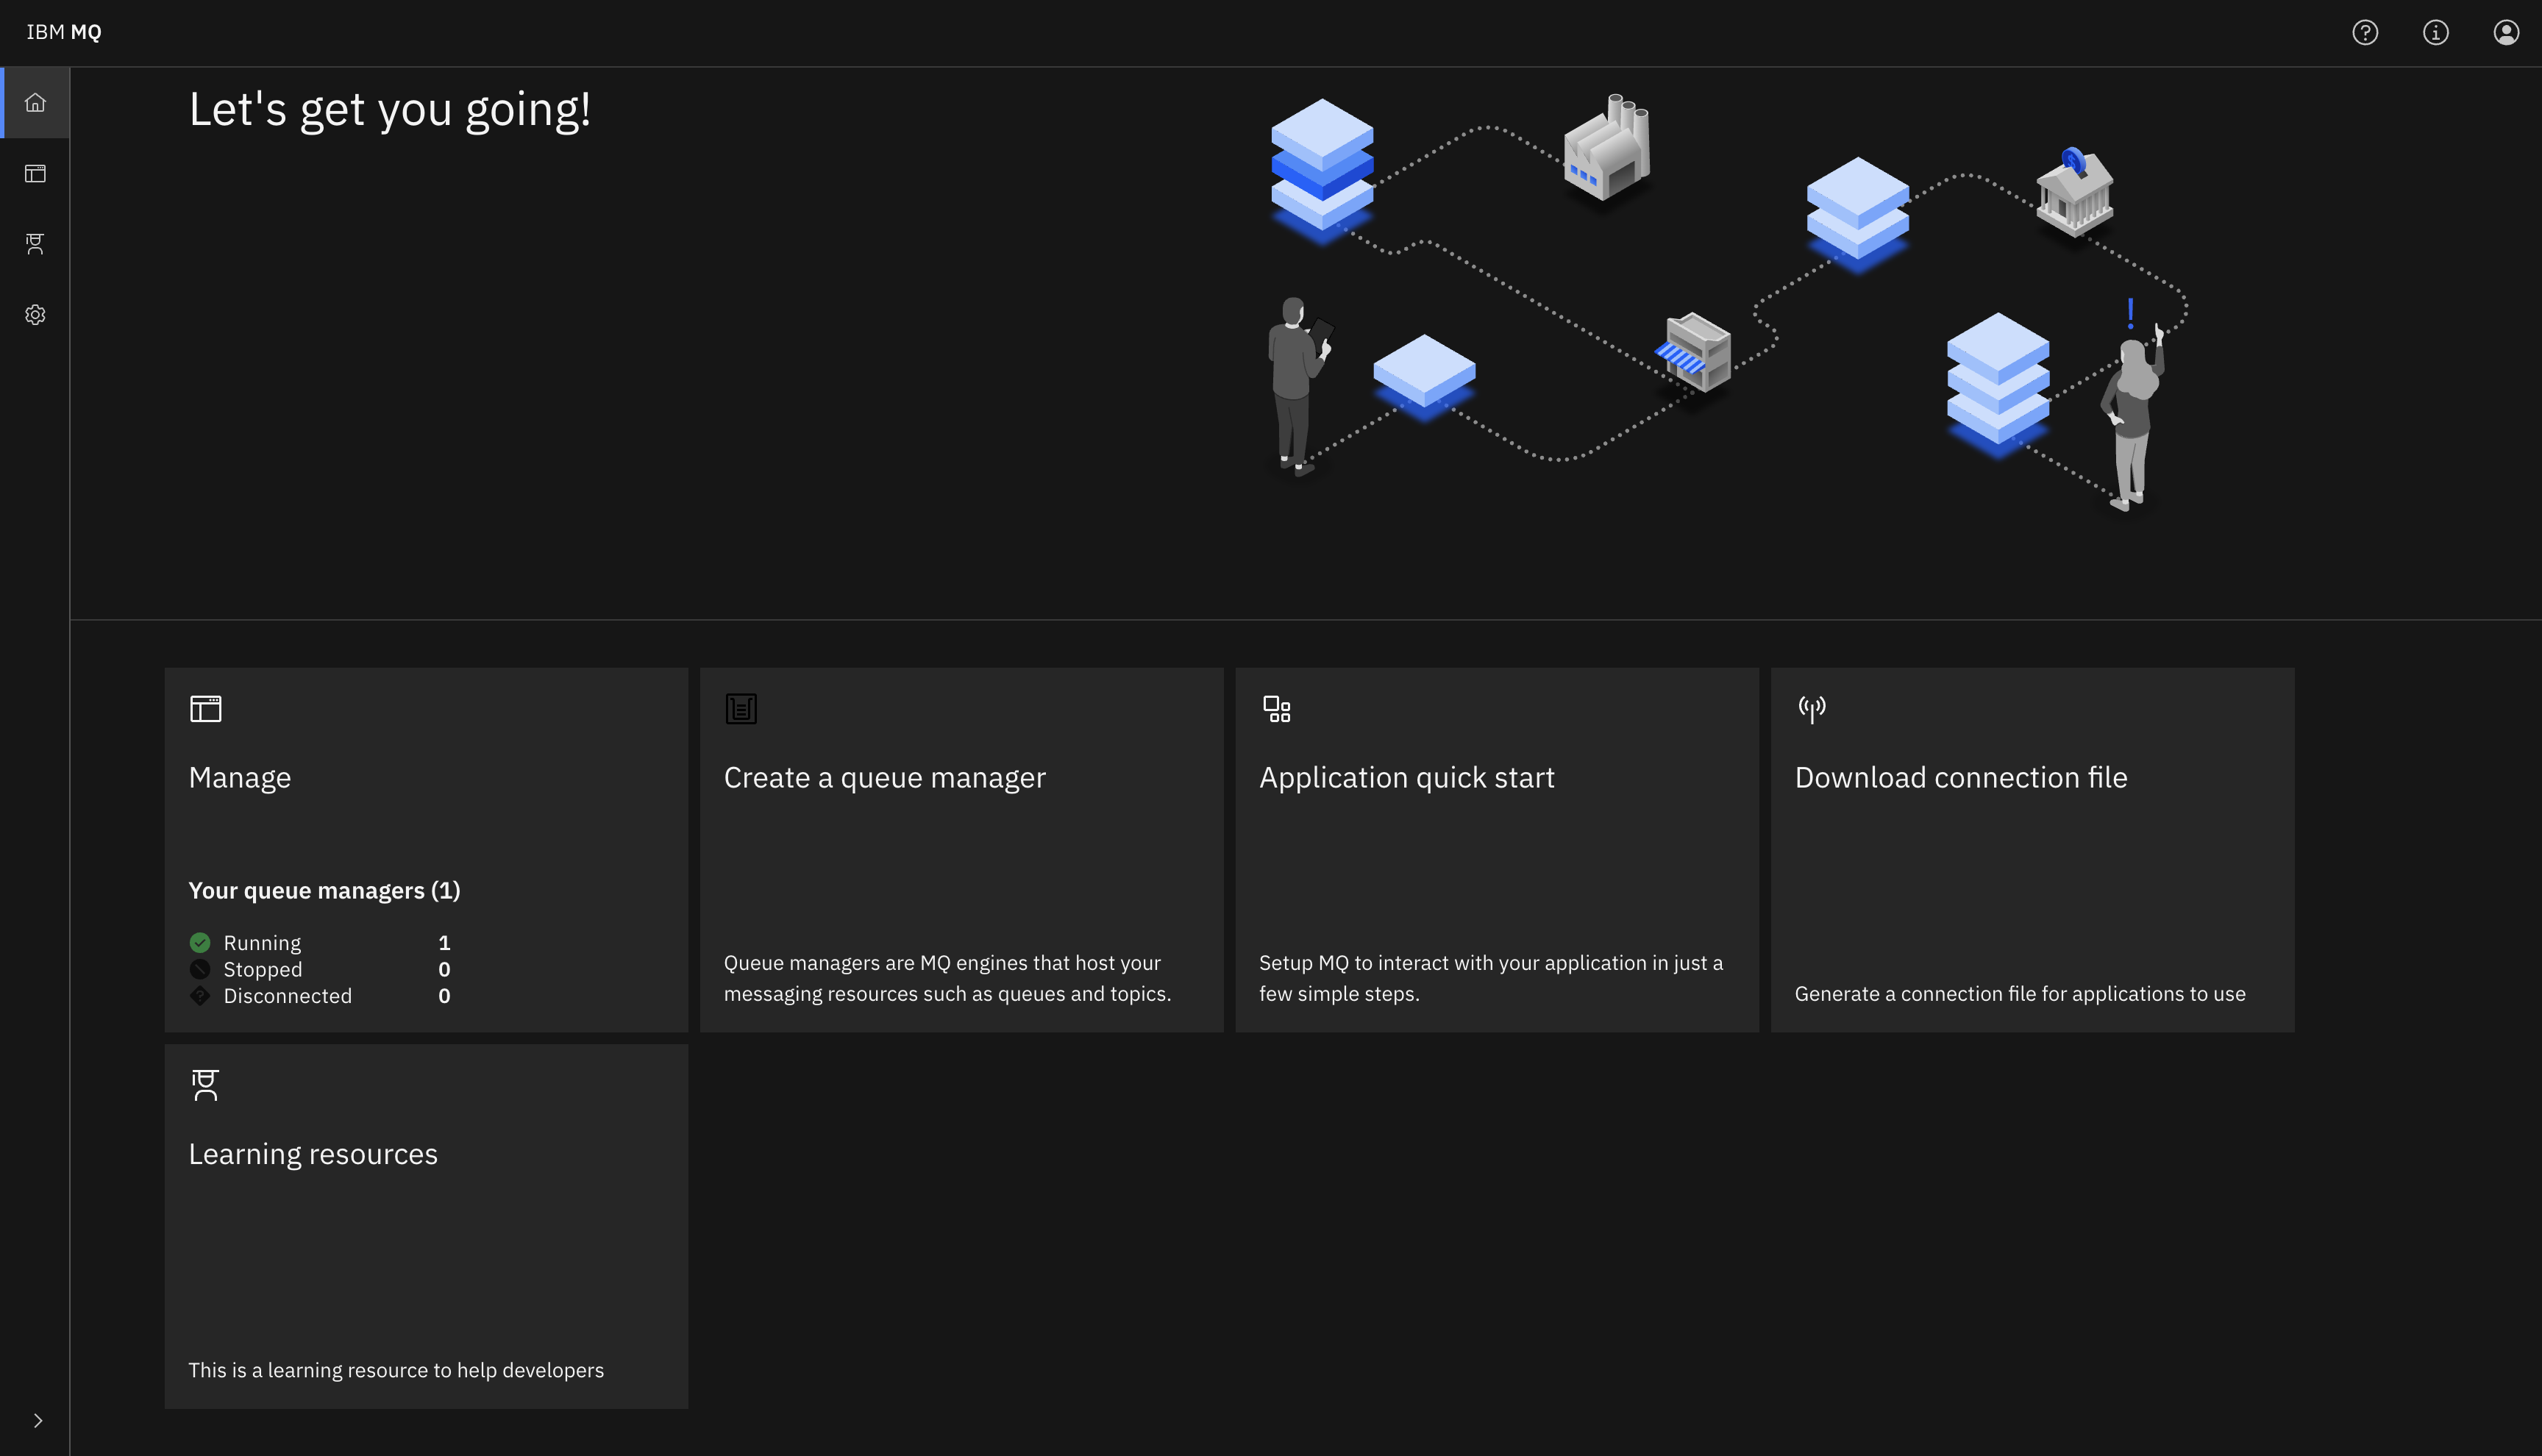
From the Home page in the MQ console, select Manage to open a list of queue managers. You can create or manage them from here.
Selecting a queue manager, such as QM1, will display the queues and other objects associated with this queue manager, like the image below.
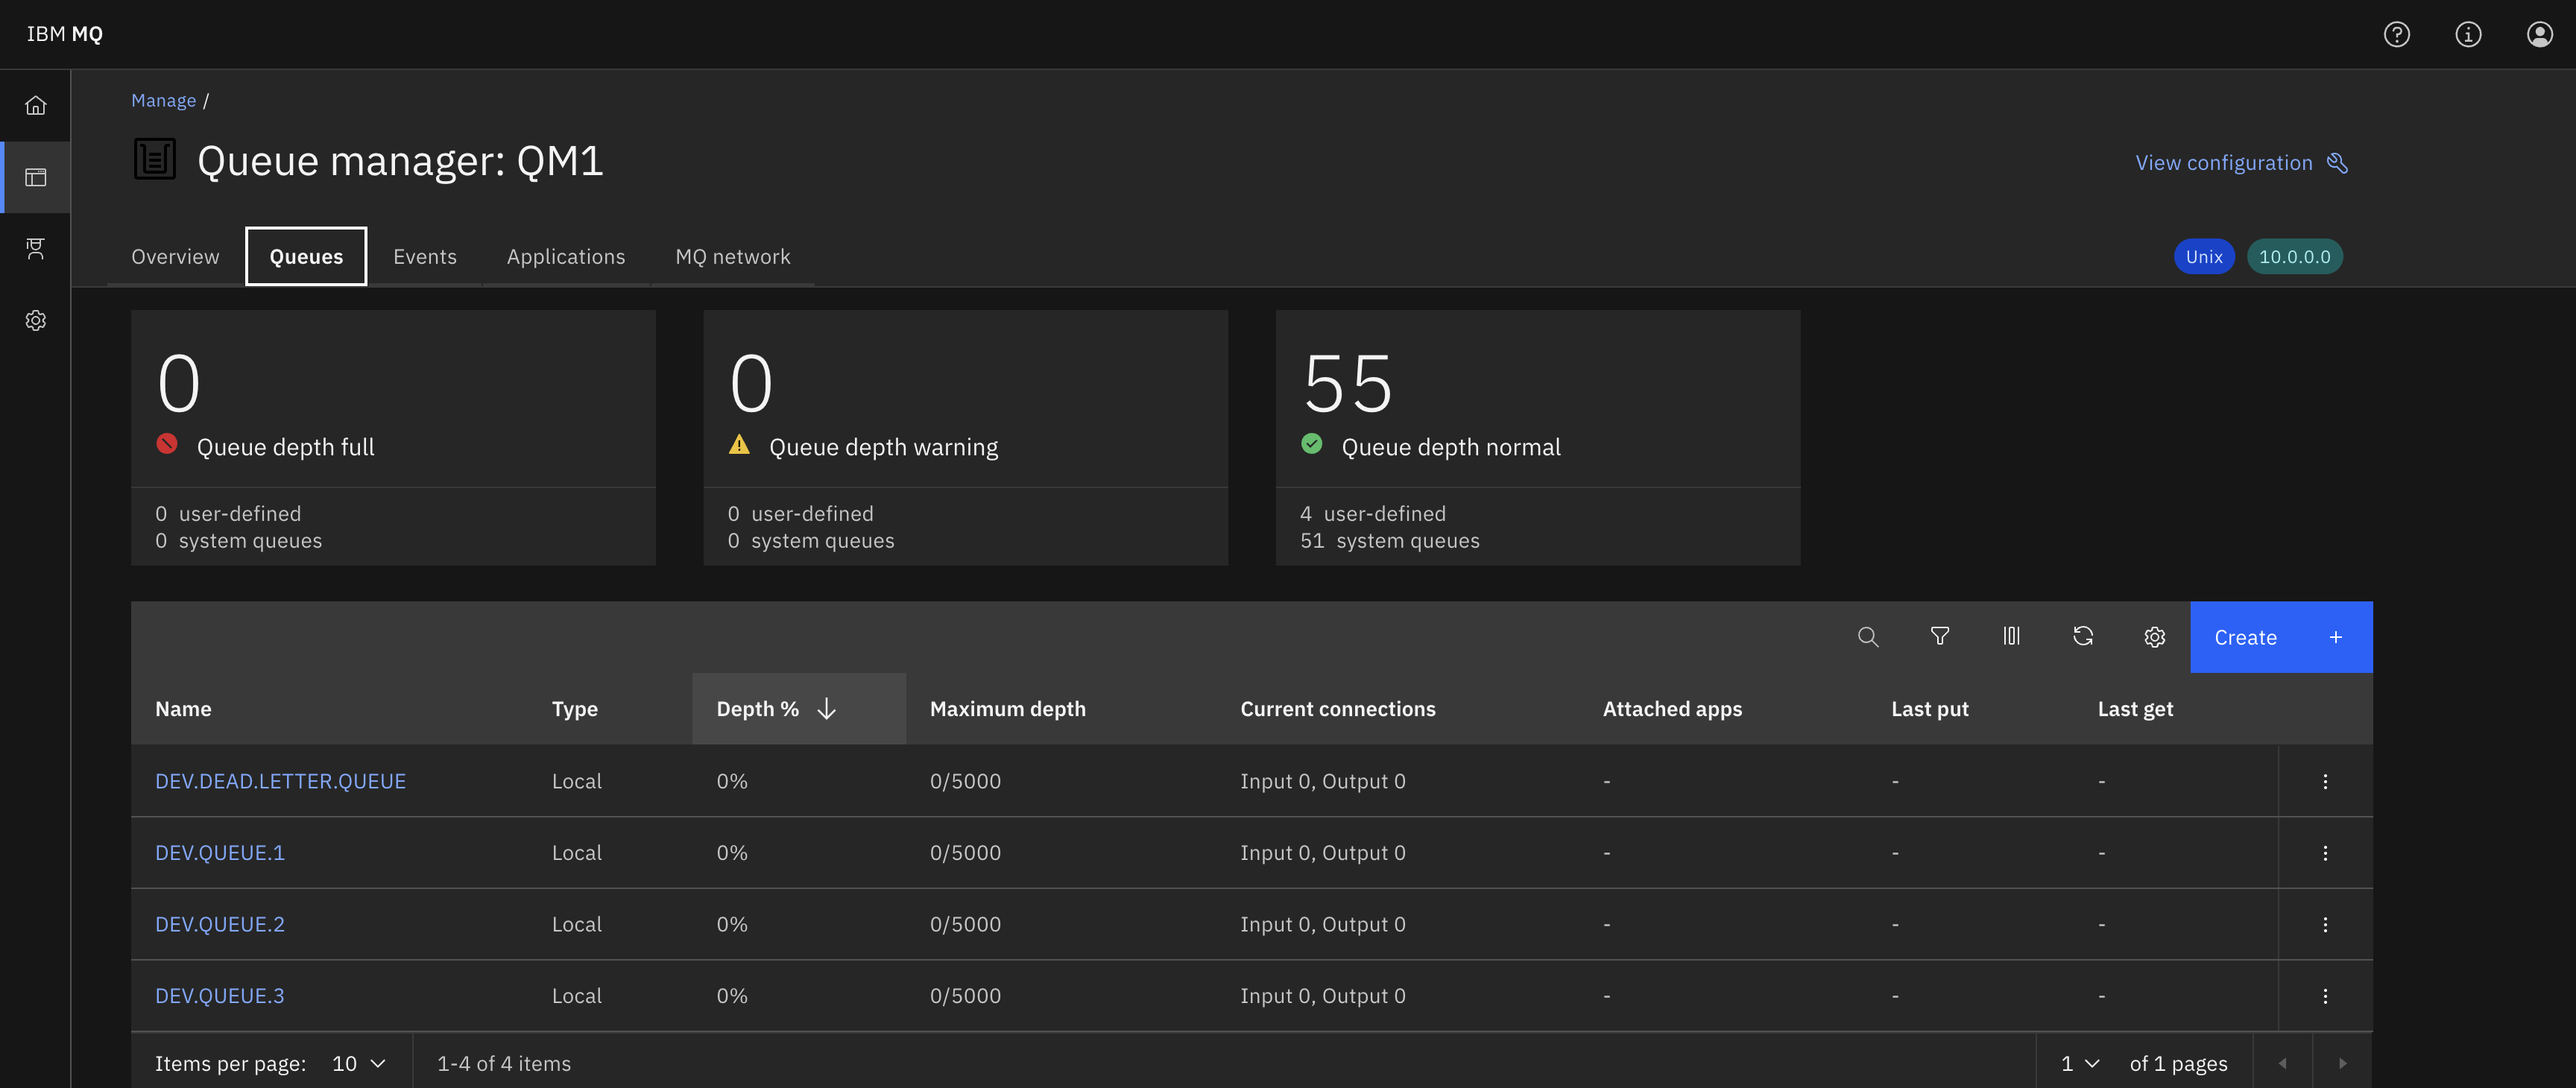
From here, click Create to create your own queues. You can also see the messages on existing queues by selecting an individual queue, as shown below:
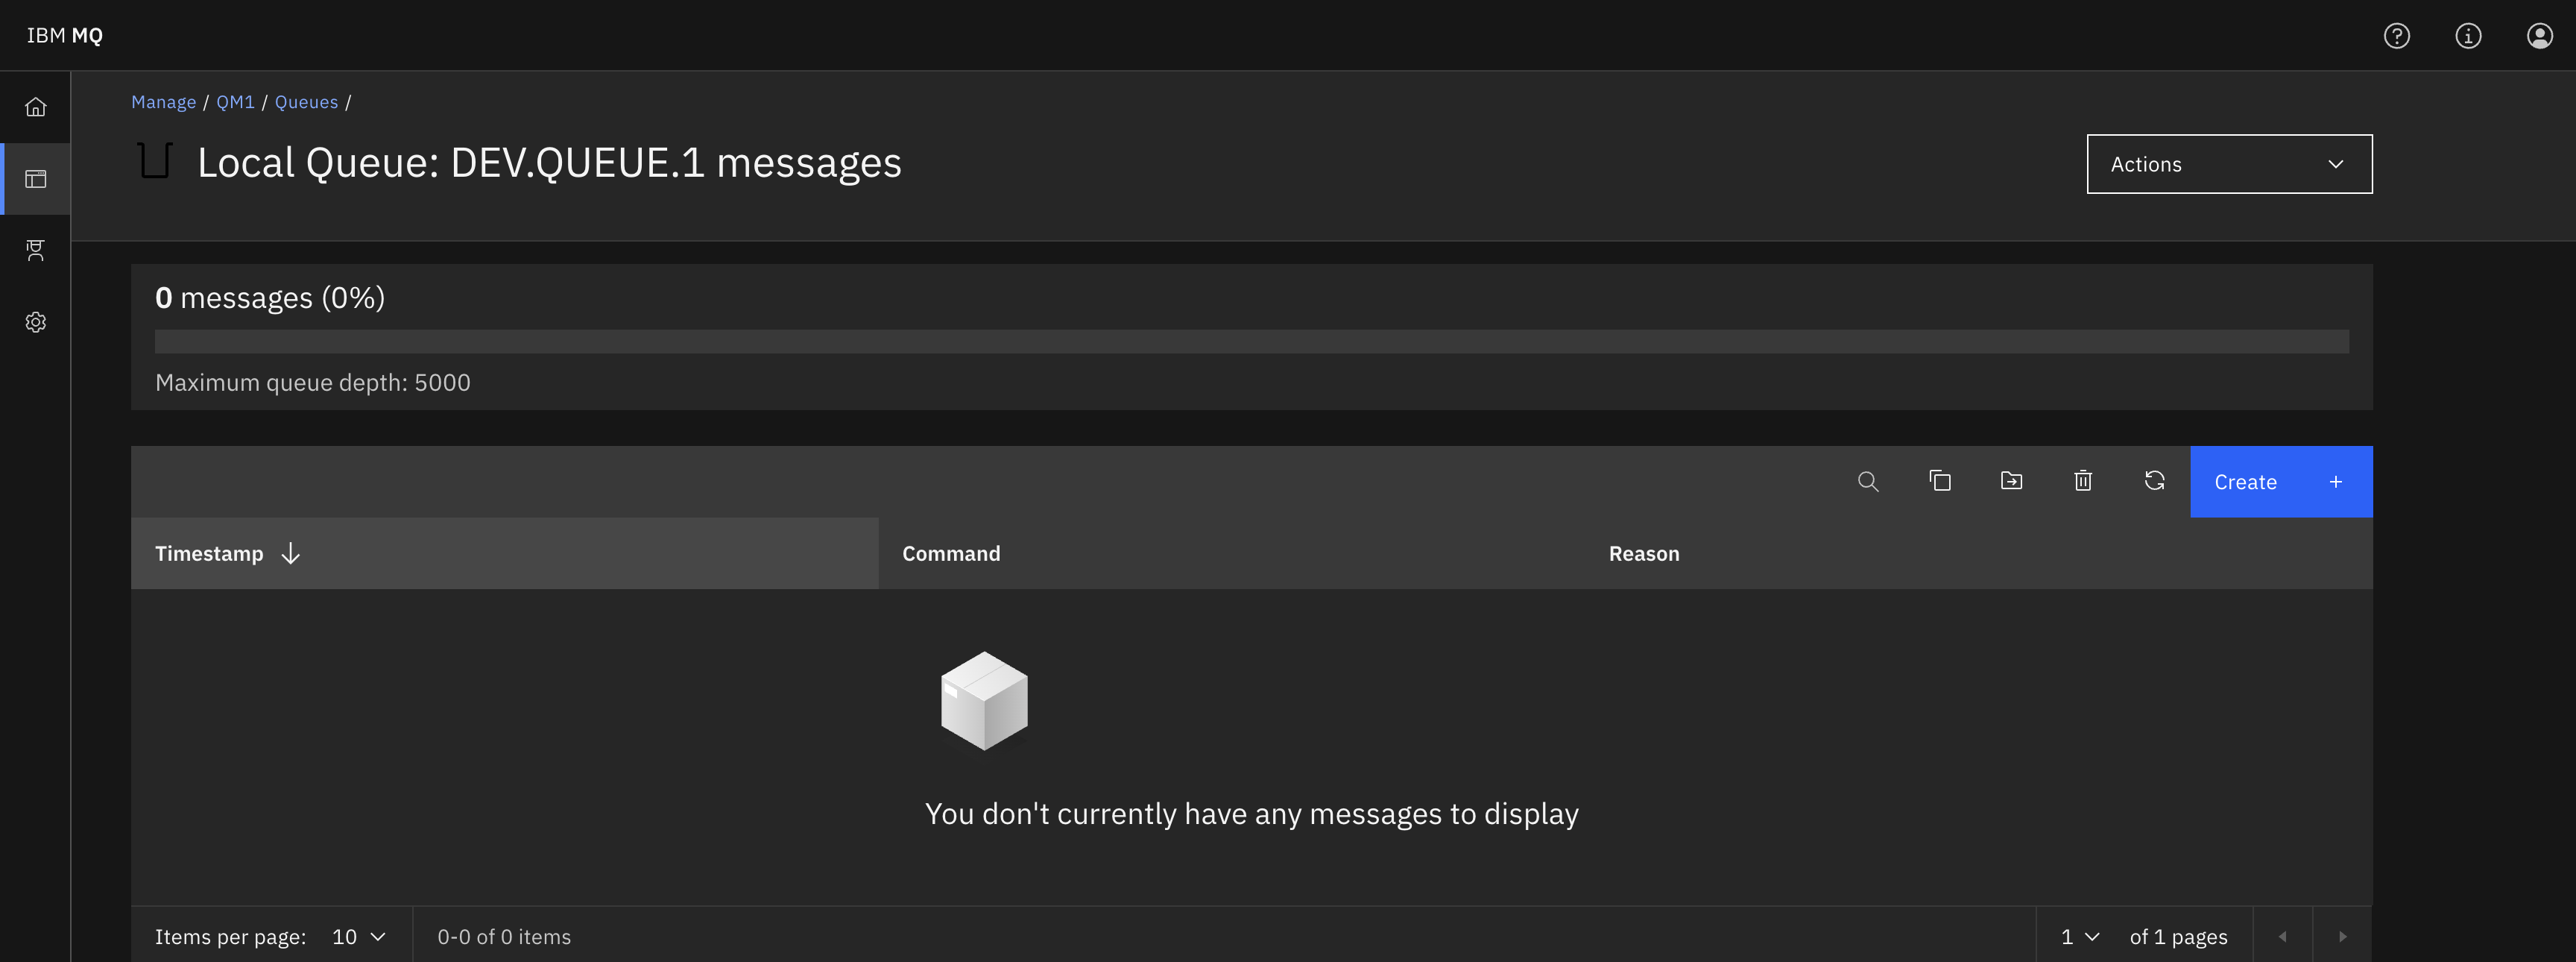
You can put a message onto this queue clicking Create on this page, which here means "create a new message." The Application data field contains the message contents. Clicking Create puts your message onto the queue.
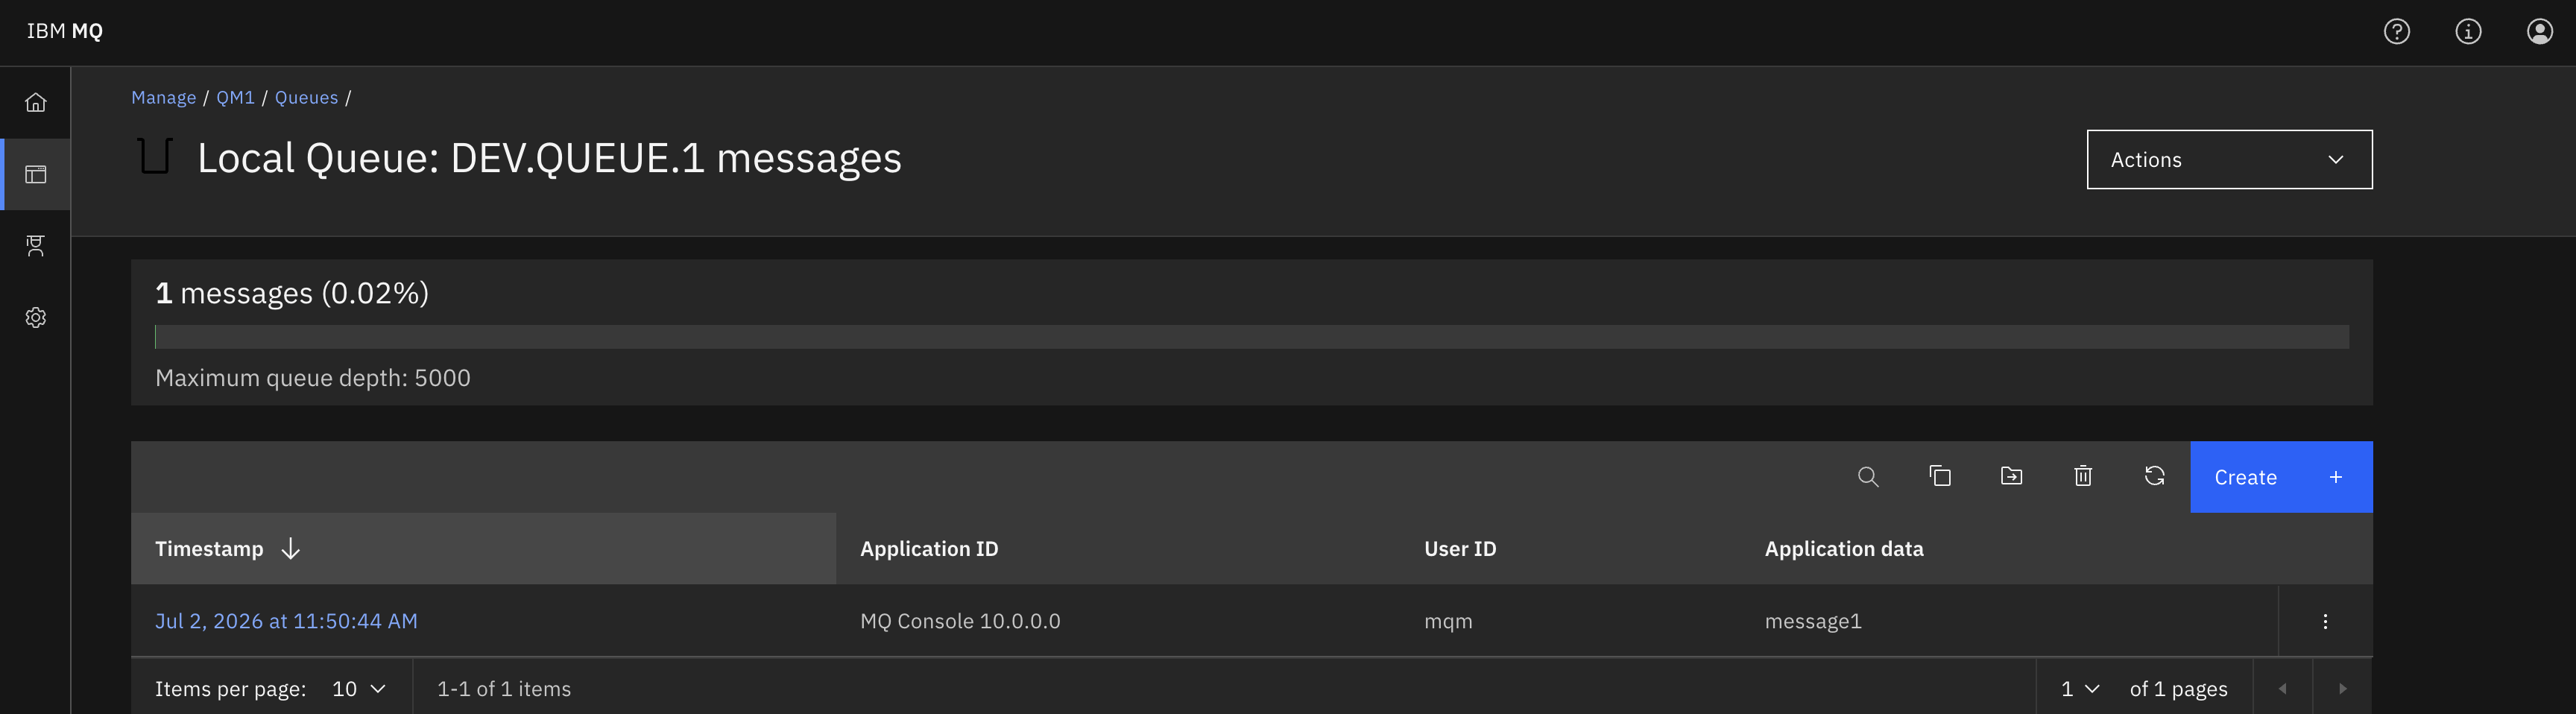
Clicking on the message will show the Message details, which provide more insights about the message properties.
You have now set up the MQ Console to manage and visualize your messaging system.
Summary
In this tutorial, you explored the MQ Console. You set it up, accessed it, and used it to put a message onto a queue.
For an overview of all MQ Console features and options, see Administering IBM MQ using the MQ Console in the MQ docs.