Jakarta Messaging (formerly known as Java Message Service or JMS) is a standard API for Java applications to interact with enterprise messaging systems. Messaging service providers like IBM MQ implement the Jakarta Messaging API so that Jakarta-based clients can send and receive messages.
Since version 9.3.0, IBM MQ supports Jakarta Messaging 3.0. This version is functionally equivalent to JMS 2.0, but uses jakarta package prefixes instead of javax. You can read more about these changes in the IBM MQ documentation for Jakarta Messaging classes. The IBM MQ Jakarta samples are available in the mq-dev-patterns repository.
In this tutorial, you connect to IBM MQ using the Jakarta API, put a message onto a queue, and receive it from the queue. You learn how Jakarta client objects map to MQ server objects and have a working point-to-point messaging application.
Prerequisites
Java Software Development Kit (JDK), Version 11 or later, to develop and run applications.
IBM MQ Queue Manager:
- To connect the application to a Queue Manager in IBM Cloud, you need to follow the steps in the tutorial "Get an IBM MQ queue for development in IBM Cloud."
- To connect the application to a Queue Manager running in a local container, you need to follow the steps in the tutorial "Get an IBM MQ queue for development in a Container."
Developing a point-to-point app with Jakarta and IBM MQ
Your applications will be able to do these things:
- Connect to the queue manager
- Open a queue
- Put a message
- Get a message
- Close the queue
- Disconnect from the queue manager
We assume that these MQ objects are set up on the MQ server that you are connecting to:
- Queue manager QM1
- Queue DEV.QUEUE.1
- Channel DEV.APP.SVRCONN (For IBM Cloud users: Channel CLOUD.APP.SVRCONN)
- Port 1414 (For IBM Cloud users: refer to the
connection_infofile downloaded)
If you are using your own objects, you'll need to adjust these names accordingly. Or, you can go to a tutorial in the Ready, Set, Connect series to get started.
If you’ve already worked through a Ready, Set, Connect tutorial, your queue manager should already be configured correctly. If not, you'll need to set up authorization on the queue manager to accept connection from the application through a named channel and the application has to be authorized to put and get messages to and from the queue.
If you already have a Jakarta application but want help with performance or debugging, review the IBM MQ best practices for Jakarta applications article.
Set up your environment
In this first step, we walk you through installing and setting up the prerequisites. The following instructions assume Windows users are working with a PowerShell command prompt unless otherwise stated.
Create a directory to save the files needed for the sample, for example in your home directory.
 mkdir MQClient
 cd MQClient
From the
MQClientfolder, download the latest IBM MQ Jakarta client jar file by usingcurl.curl -o com.ibm.mq.jakarta.client-10.0.0.0.jar https://repo1.maven.org/maven2/com/ibm/mq/com.ibm.mq.jakarta.client/10.0.0.0/com.ibm.mq.jakarta.client-10.0.0.0.jarFrom the
MQClientfolder, download the JAKARTA API file by usingcurl.curl -o jakarta.jms-api-3.1.0.jar https://repo1.maven.org/maven2/jakarta/jms/jakarta.jms-api/3.1.0/jakarta.jms-api-3.1.0.jarFrom the
MQClientfolder, download the JSON.jarfile by usingcurl.curl -o json-20260814.jar https://repo1.maven.org/maven2/org/json/json/20260814/json-20260814.jar
Downloading the point-to-point Jakarta sample application
Let's get the sample from GitHub, save it on your local machine, and look through some of the key Jakarta constructs and where you can add the host, port, channel, and queue details so that your sample can connect to the queue manager.
In your
MQClientdirectory, create the following directory structure:com/ibm/mq/samples/jakarta.On Windows:
 md com\ibm\mq\samples\jakarta
 cd com\ibm\mq\samples\jakarta
On Linux or Mac:
 mkdir -p com/ibm/mq/samples/jakarta
 cd com/ibm/mq/samples/jakarta
From the
MQClient/com/ibm/mq/samples/jakartadirectory, download theJakartaPut.javaandJakartaGet.javasamples from GitHub by usingcurl:curl -o JakartaPut.java https://raw.githubusercontent.com/ibm-messaging/mq-dev-samples/master/gettingStarted/jms/com/ibm/mq/samples/jakarta/JakartaPut.java curl -o JakartaGet.java https://raw.githubusercontent.com/ibm-messaging/mq-dev-samples/master/gettingStarted/jms/com/ibm/mq/samples/jakarta/JakartaGet.javaUsing separate put and get samples means the message stays on the queue after
JakartaPutruns, so you can inspect it in the MQ Web Console before retrieving it withJakartaGet.Edit the Java files that you downloaded. Replace the host, port, and app password variables to match your queue manager configuration. The
CHANNELwill beDEV.APP.SVRCONN.For IBM Cloud users, you can find your hostname and port in the Connection Information file, called "connection_info". It will contain your host name and port number (under Listener port). Your
APP_PASSWORDis the API key that you generated when you created your application username. TheCHANNELwill beCLOUD.APP.SVRCONN.// Create variables for the connection to MQ private static final String HOST = "_YOUR_HOSTNAME_"; // Host name or IP address private static final int PORT = _YOUR_PORT_; // Listener port for your queue manager private static final String CHANNEL = "_DEV_OR_CLOUD_.APP.SVRCONN"; // Channel name private static final String QMGR = "QM1"; // Queue manager name private static final String APP_USER = "app"; // User name that application uses to connect to MQ private static final String APP_PASSWORD = "_APP_PASSWORD_"; // Password that the application uses to connect to MQ private static final String QUEUE_NAME = "DEV.QUEUE.1"; // Queue that the application uses to put and get messages to and from
Additional step for IBM Cloud
If you are running your IBM MQ queue manager in IBM Cloud, you need to also complete these steps to enable a TLS connection with the queue manager hosted on the public cloud:
Edit both JakartaPut.java and JakartaGet.java. In each file, uncomment the following line, and then save the file.
//cf.setStringProperty(WMQConstants.WMQ_SSL_CIPHER_SUITE, "*TLS12ORHIGHER");
This line is required because the Queue Manager on the cloud is TLS-enabled, and its certificate is signed by a trusted certificate authority. Uncommenting this line allows the application and the Queue Manager to negotiate and select an appropriate cipher specification (cipherSpec) for the secure connection.
Change your working directory back to the MQClient.
Compile your Jakarta application
From the MQClient directory, use javac to compile both the JakartaPut.java and JakartaGet.java samples.
On Windows:
  javac -cp .\com.ibm.mq.jakarta.client-10.0.0.0.jar;.\jakarta.jms-api-3.1.0.jar;.\json-20260814.jar com\ibm\mq\samples\jakarta\JakartaPut.java
  javac -cp .\com.ibm.mq.jakarta.client-10.0.0.0.jar;.\jakarta.jms-api-3.1.0.jar;.\json-20260814.jar com\ibm\mq\samples\jakarta\JakartaGet.java
On Windows PowerShell:
  javac -cp '.\com.ibm.mq.jakarta.client-10.0.0.0.jar;.\jakarta.jms-api-3.1.0.jar;.\json-20260814.jar' .\com\ibm\mq\samples\jakarta\JakartaPut.java
  javac -cp '.\com.ibm.mq.jakarta.client-10.0.0.0.jar;.\jakarta.jms-api-3.1.0.jar;.\json-20260814.jar' .\com\ibm\mq\samples\jakarta\JakartaGet.java
On Linux or Mac:
  javac -cp ./com.ibm.mq.jakarta.client-10.0.0.0.jar:./jakarta.jms-api-3.1.0.jar:./json-20260814.jar com/ibm/mq/samples/jakarta/JakartaPut.java
  javac -cp ./com.ibm.mq.jakarta.client-10.0.0.0.jar:./jakarta.jms-api-3.1.0.jar:./json-20260814.jar com/ibm/mq/samples/jakarta/JakartaGet.java
To confirm that the samples are compiled, run one of these commands. You should now see .class files accompanying the .java files.
On Windows, run the
dircommand:dir com\ibm\mq\samples\jakarta\On Linux or Mac, run the
lscommand:ls -l com/ibm/mq/samples/jakarta/
You should now see .class files accompanying the .java files:

Run your Jakarta application
This is where you connect your applications to the queue manager, put a message onto the queue, and receive it.
Run JakartaPut to put a message onto the queue
First, run JakartaPut to put a message onto the queue.
On Windows:
java -cp .\com.ibm.mq.jakarta.client-10.0.0.0.jar;.\jakarta.jms-api-3.1.0.jar;.\json-20260814.jar;. com.ibm.mq.samples.jakarta.JakartaPutOn Windows PowerShell:
java -cp '.\com.ibm.mq.jakarta.client-10.0.0.0.jar;.\jakarta.jms-api-3.1.0.jar;.\json-20260814.jar;.' com.ibm.mq.samples.jakarta.JakartaPutOn Linux or Mac:
java -cp ./com.ibm.mq.jakarta.client-10.0.0.0.jar:./jakarta.jms-api-3.1.0.jar:./json-20260814.jar:. com.ibm.mq.samples.jakarta.JakartaPut
You should see output like this:
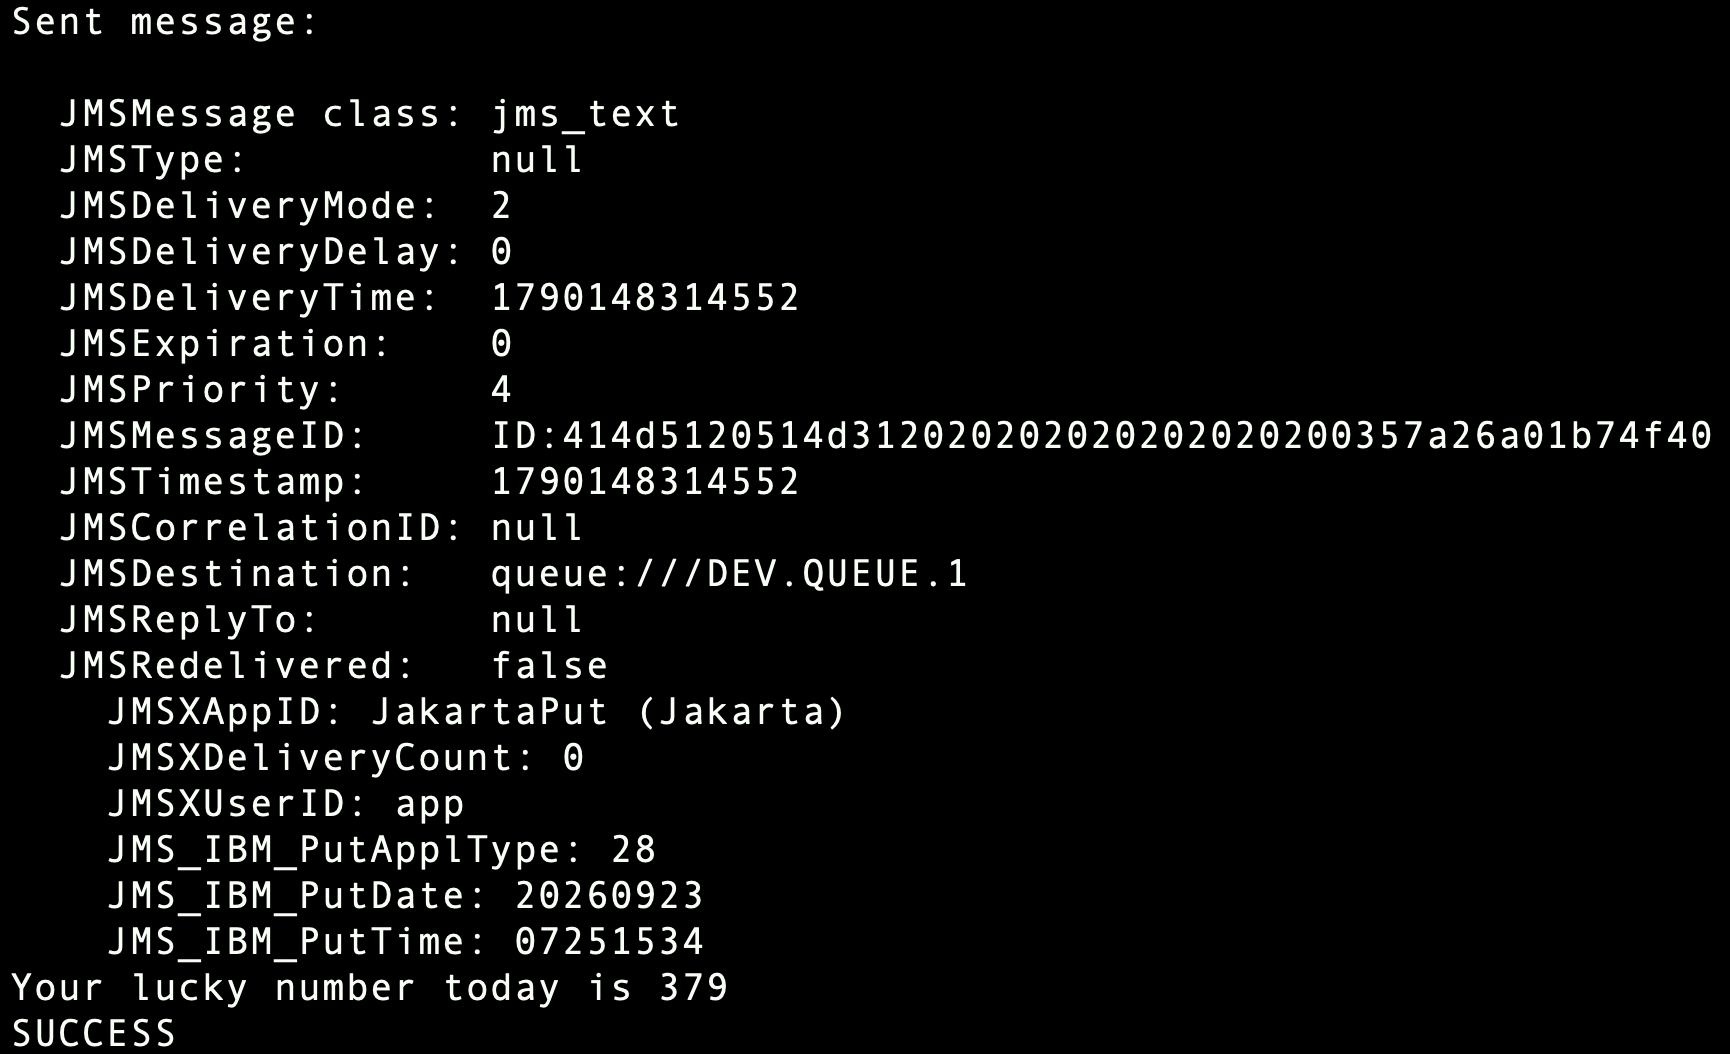
The message is now sitting on DEV.QUEUE.1. Before retrieving it, you can view it in the MQ Web Console. (To open the MQ Web console, see the steps in the Setting up and using the IBM MQ Console tutorial, or for IBM Cloud users see the IBM MQ as a Service documentation.)
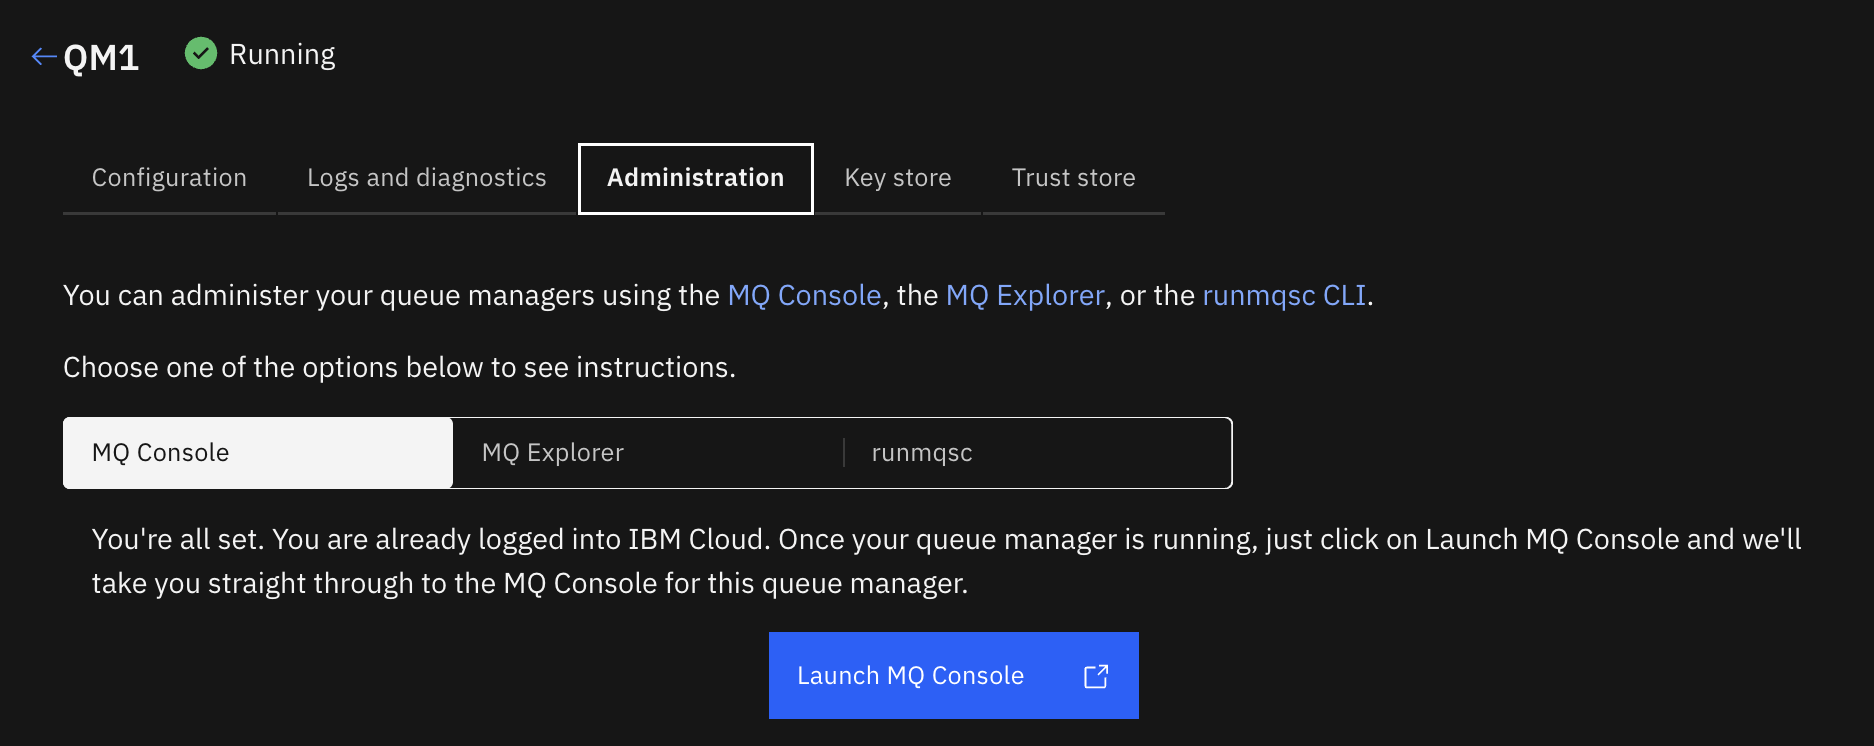
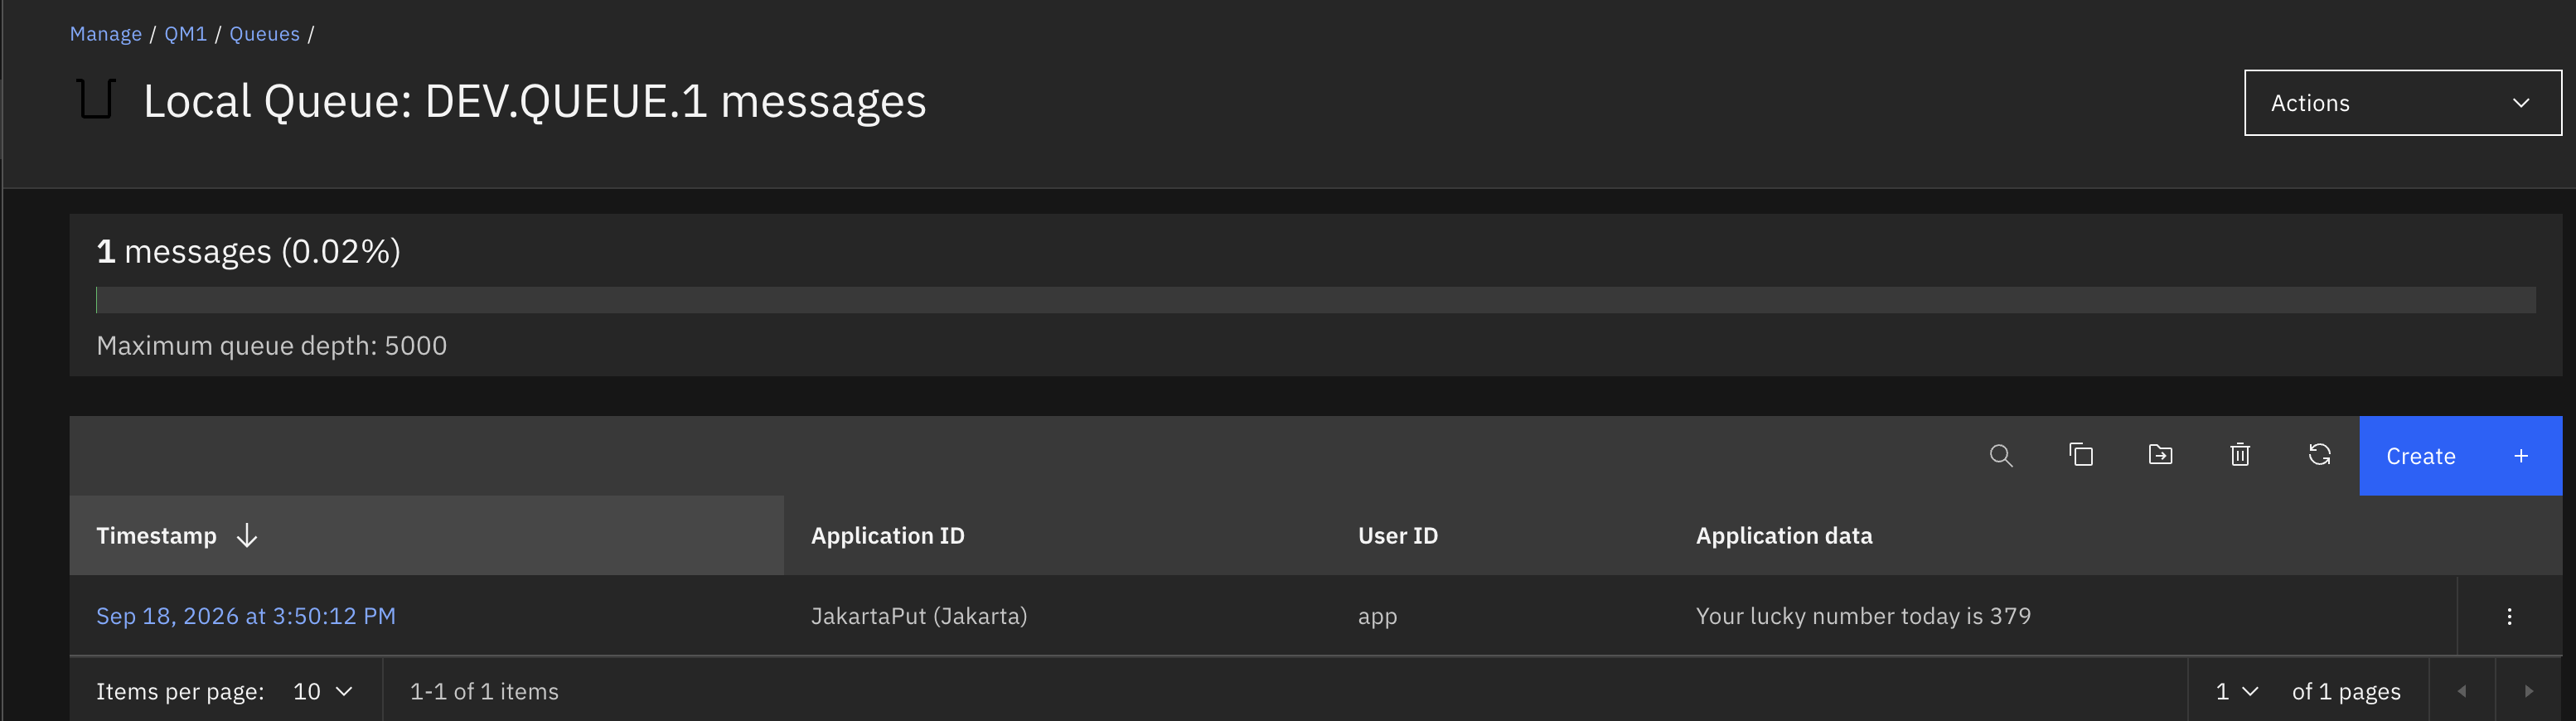
In the MQ Web Console, browse to Manage → Queues → DEV.QUEUE.1 to see the message that JakartaPut placed on the queue.
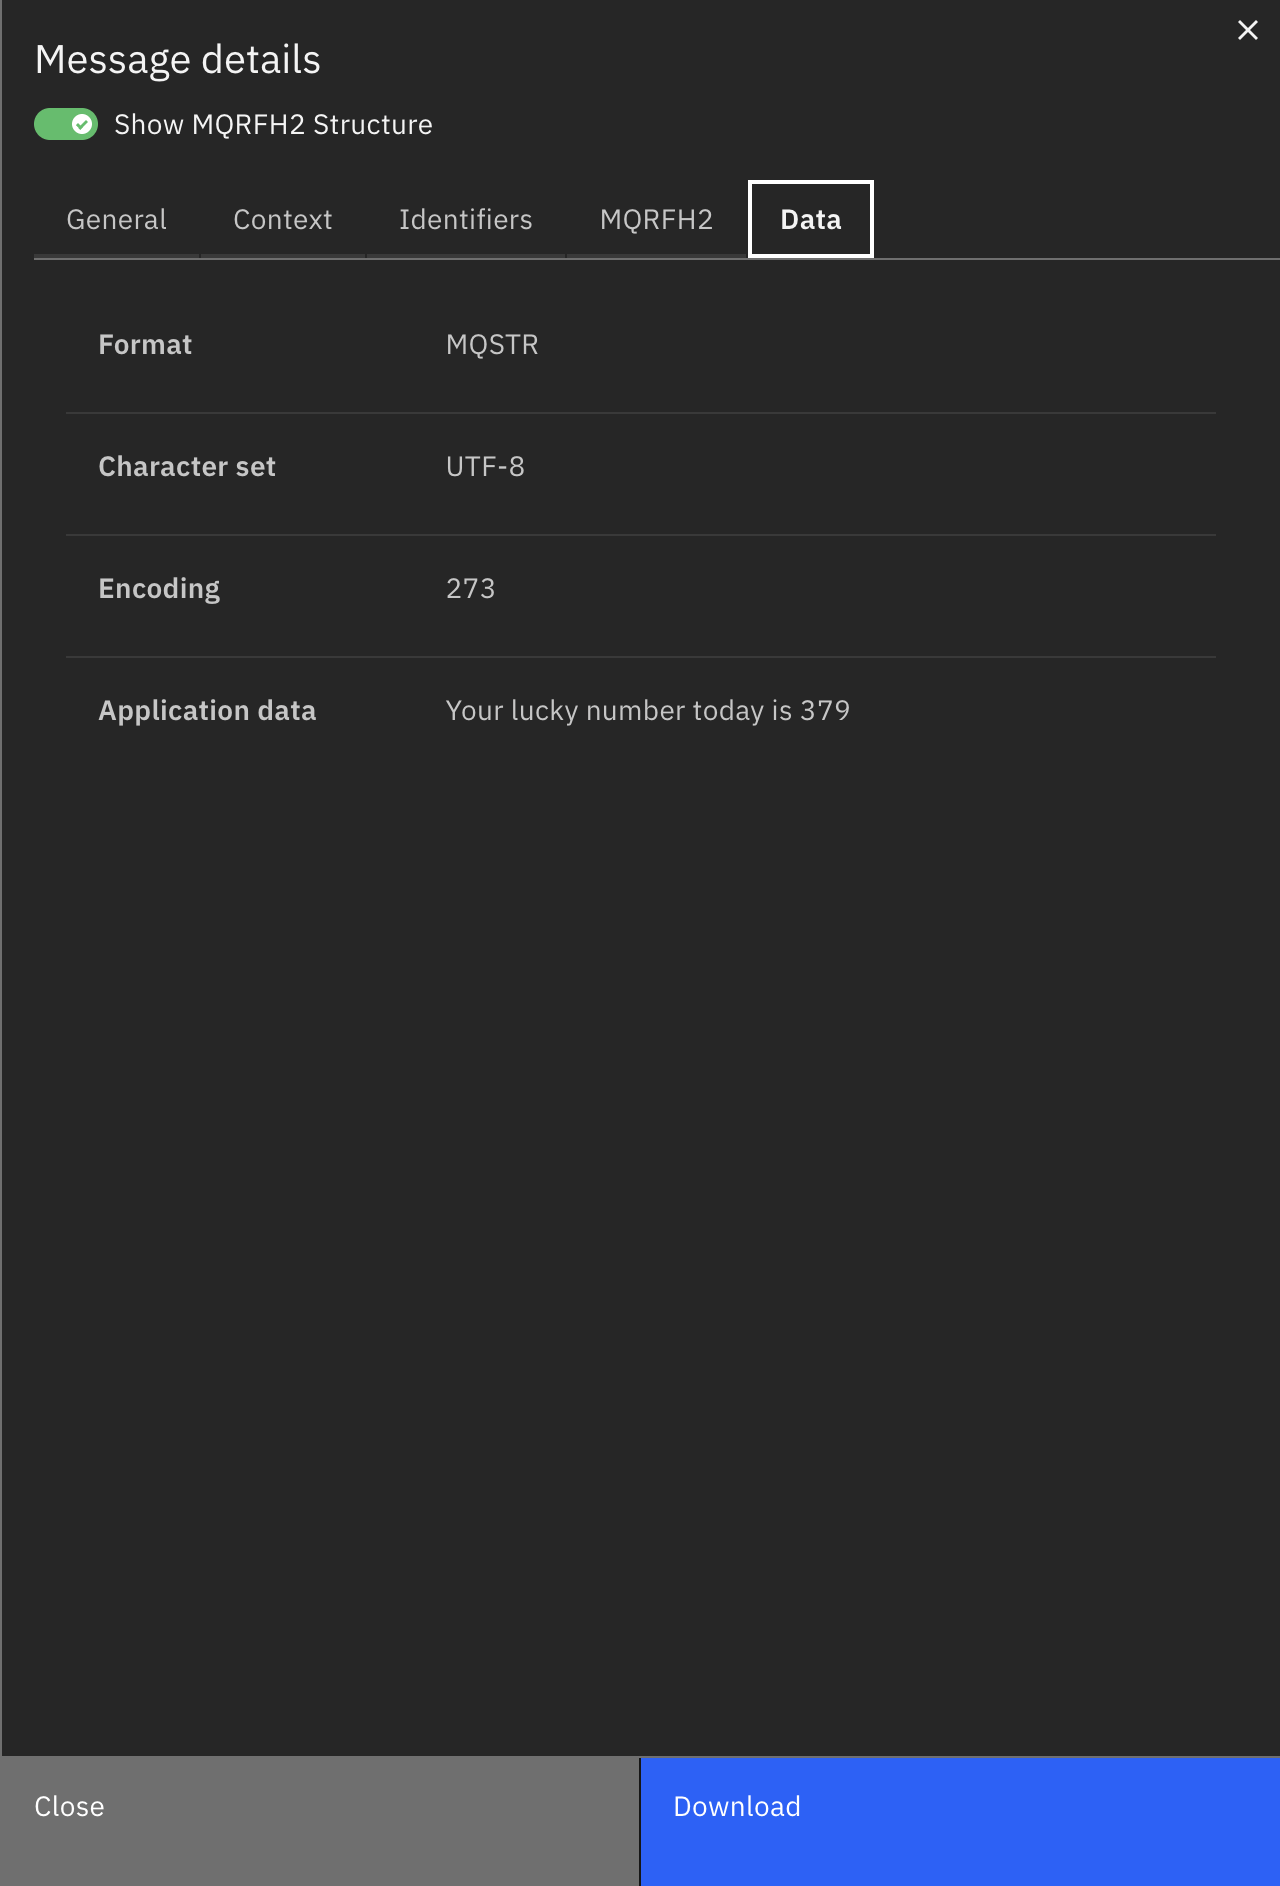
If you click on the message, it will provide you with more information related to it.
Run JakartaGet to receive the message from the queue
Now, run JakartaGet to receive the message from the queue.
On Windows:
java -cp .\com.ibm.mq.jakarta.client-10.0.0.0.jar;.\jakarta.jms-api-3.1.0.jar;.\json-20260814.jar;. com.ibm.mq.samples.jakarta.JakartaGetOn Windows PowerShell:
java -cp '.\com.ibm.mq.jakarta.client-10.0.0.0.jar;.\jakarta.jms-api-3.1.0.jar;.\json-20260814.jar;.' com.ibm.mq.samples.jakarta.JakartaGetOn Linux or Mac:
java -cp ./com.ibm.mq.jakarta.client-10.0.0.0.jar:./jakarta.jms-api-3.1.0.jar:./json-20260814.jar:. com.ibm.mq.samples.jakarta.JakartaGet
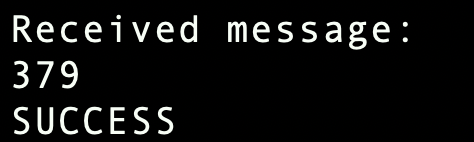
You should see output like this, confirming the message was received from the queue:
Summary
Congratulations! You edited and compiled your first Jakarta application, put a message onto an IBM MQ queue, and received it from the queue. You also set up your environment with everything you need to develop with Jakarta and IBM MQ.
You have a basic understanding of what you’re aiming to hit on the MQ server side with the objects in your Jakarta application and how JAKARTA helps you achieve that.
To make sure your Jakarta application performs reliably, review the IBM MQ best practices for Jakarta applications article.